Module 1 Formstorming

Weekly Activity Template

Mikaela Mariel Cadiz


Project 1: CONNECT


Module 1

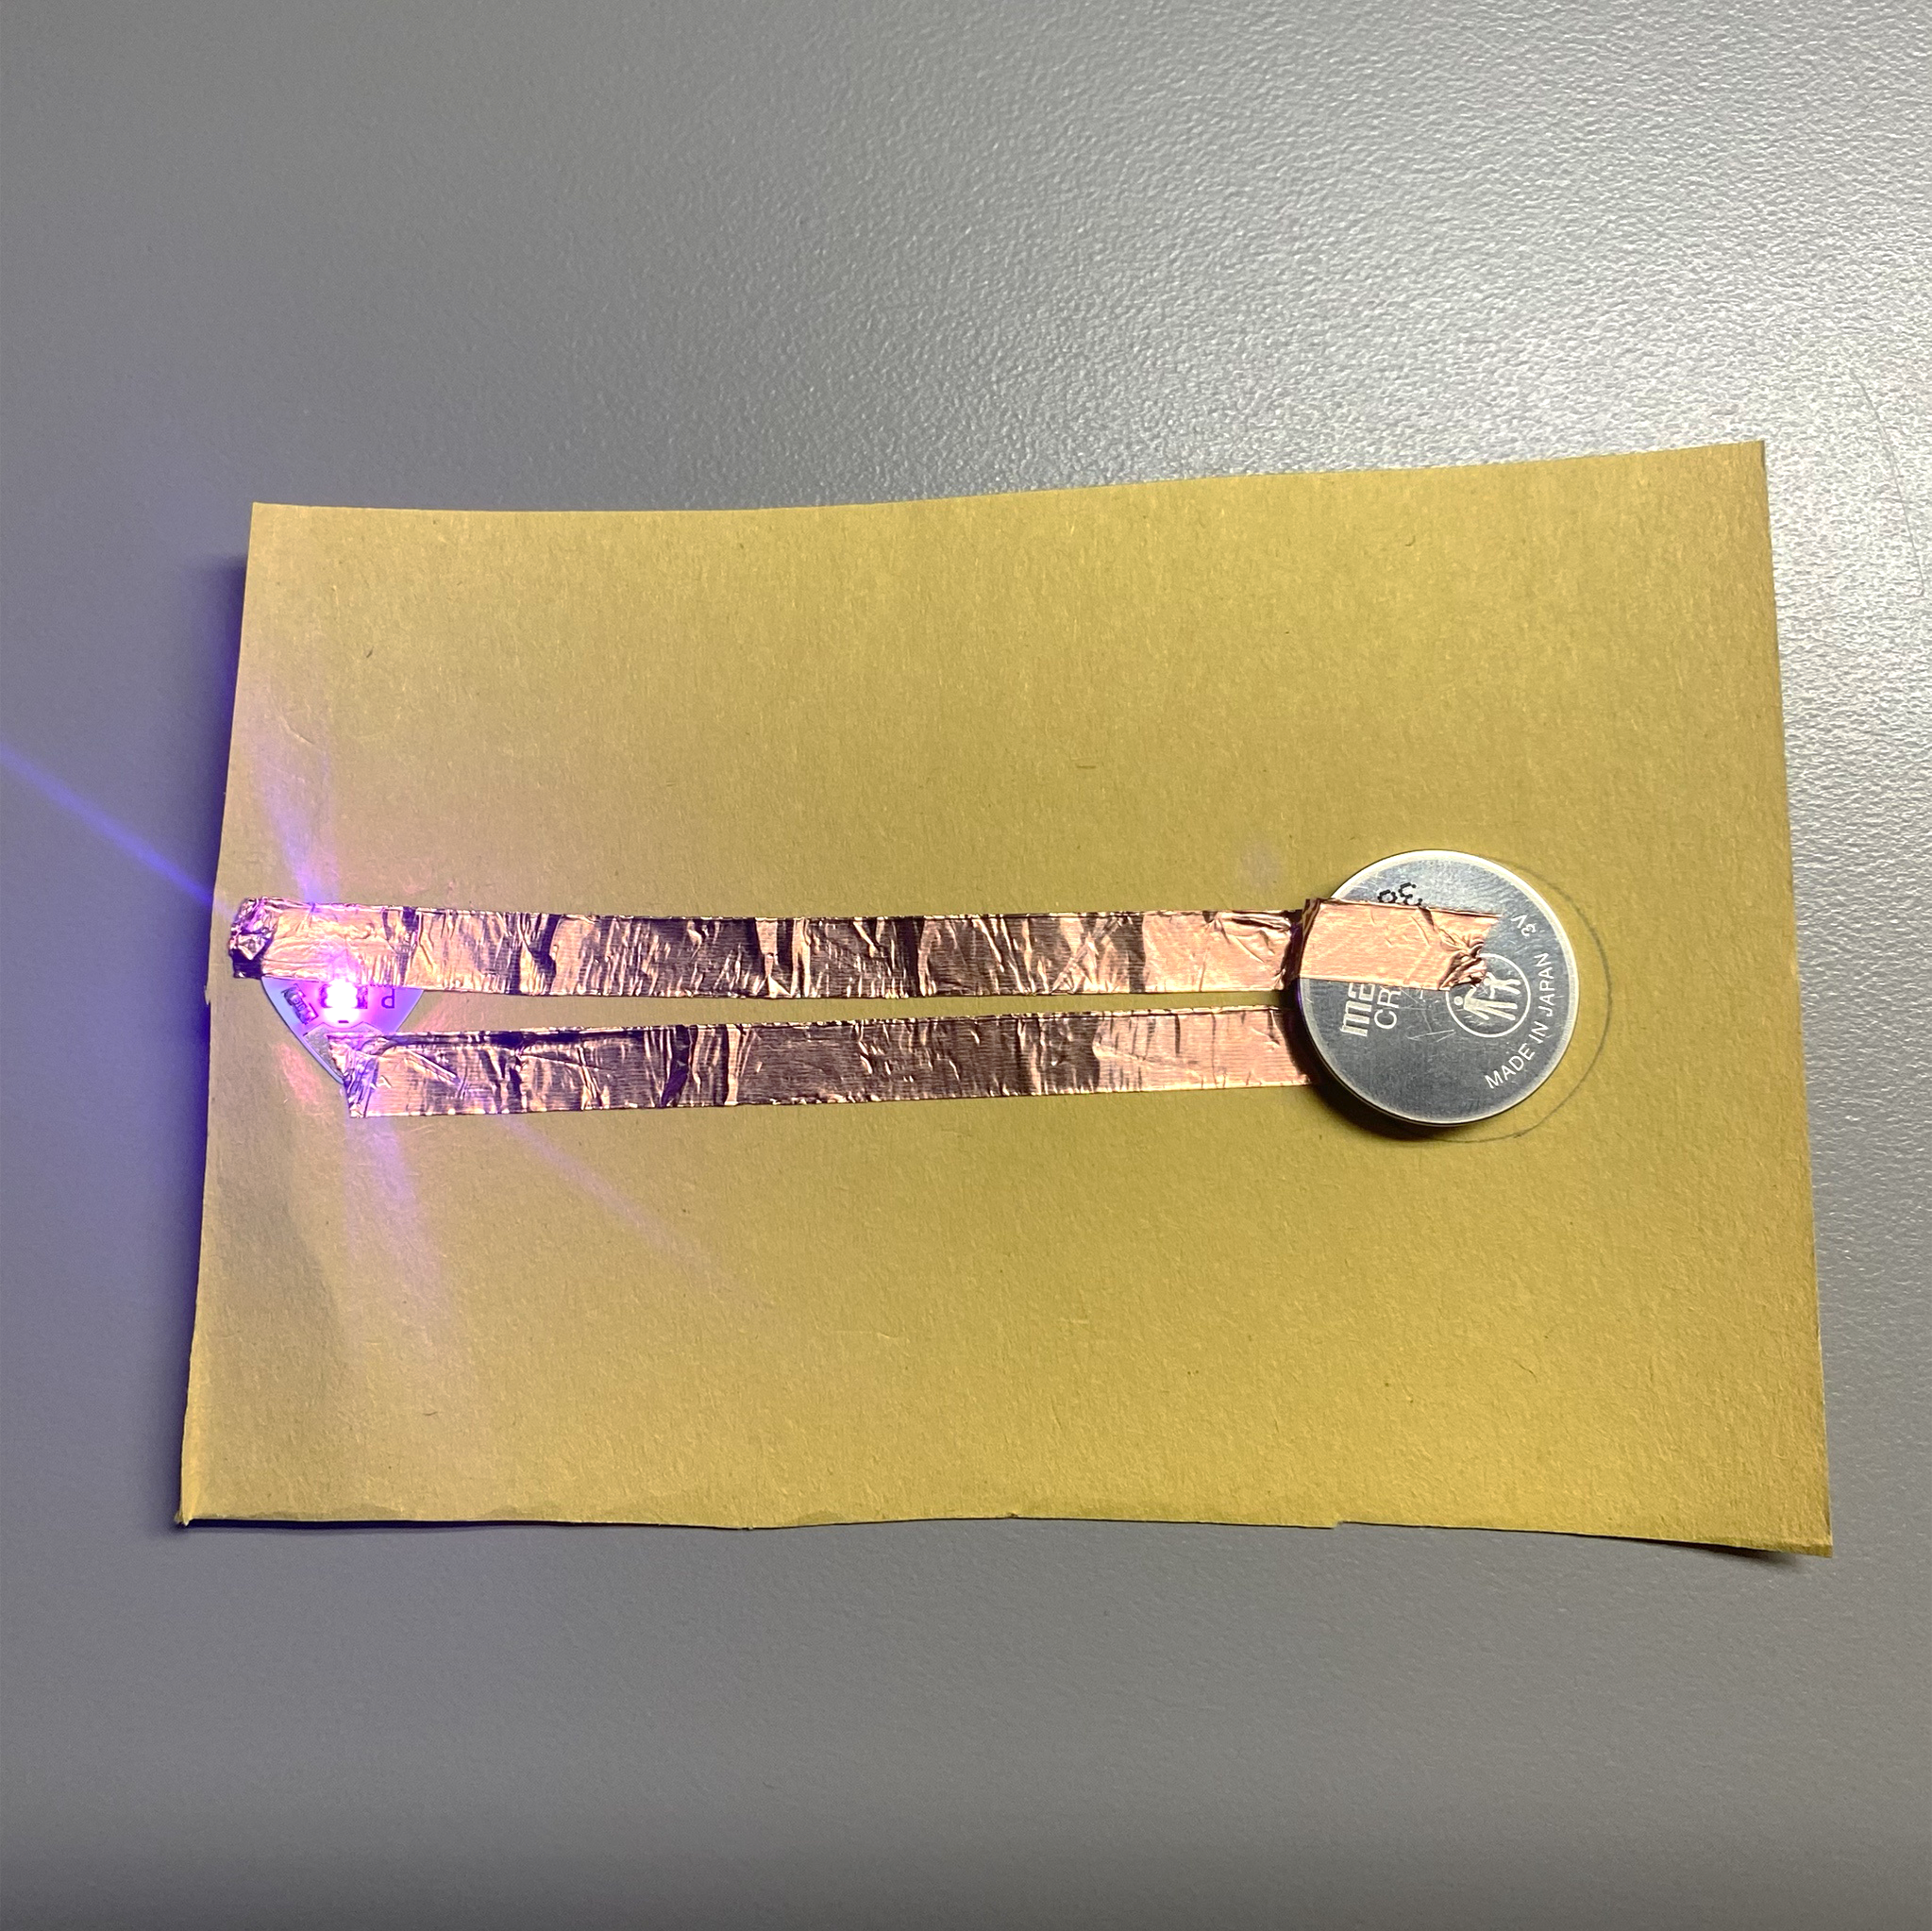
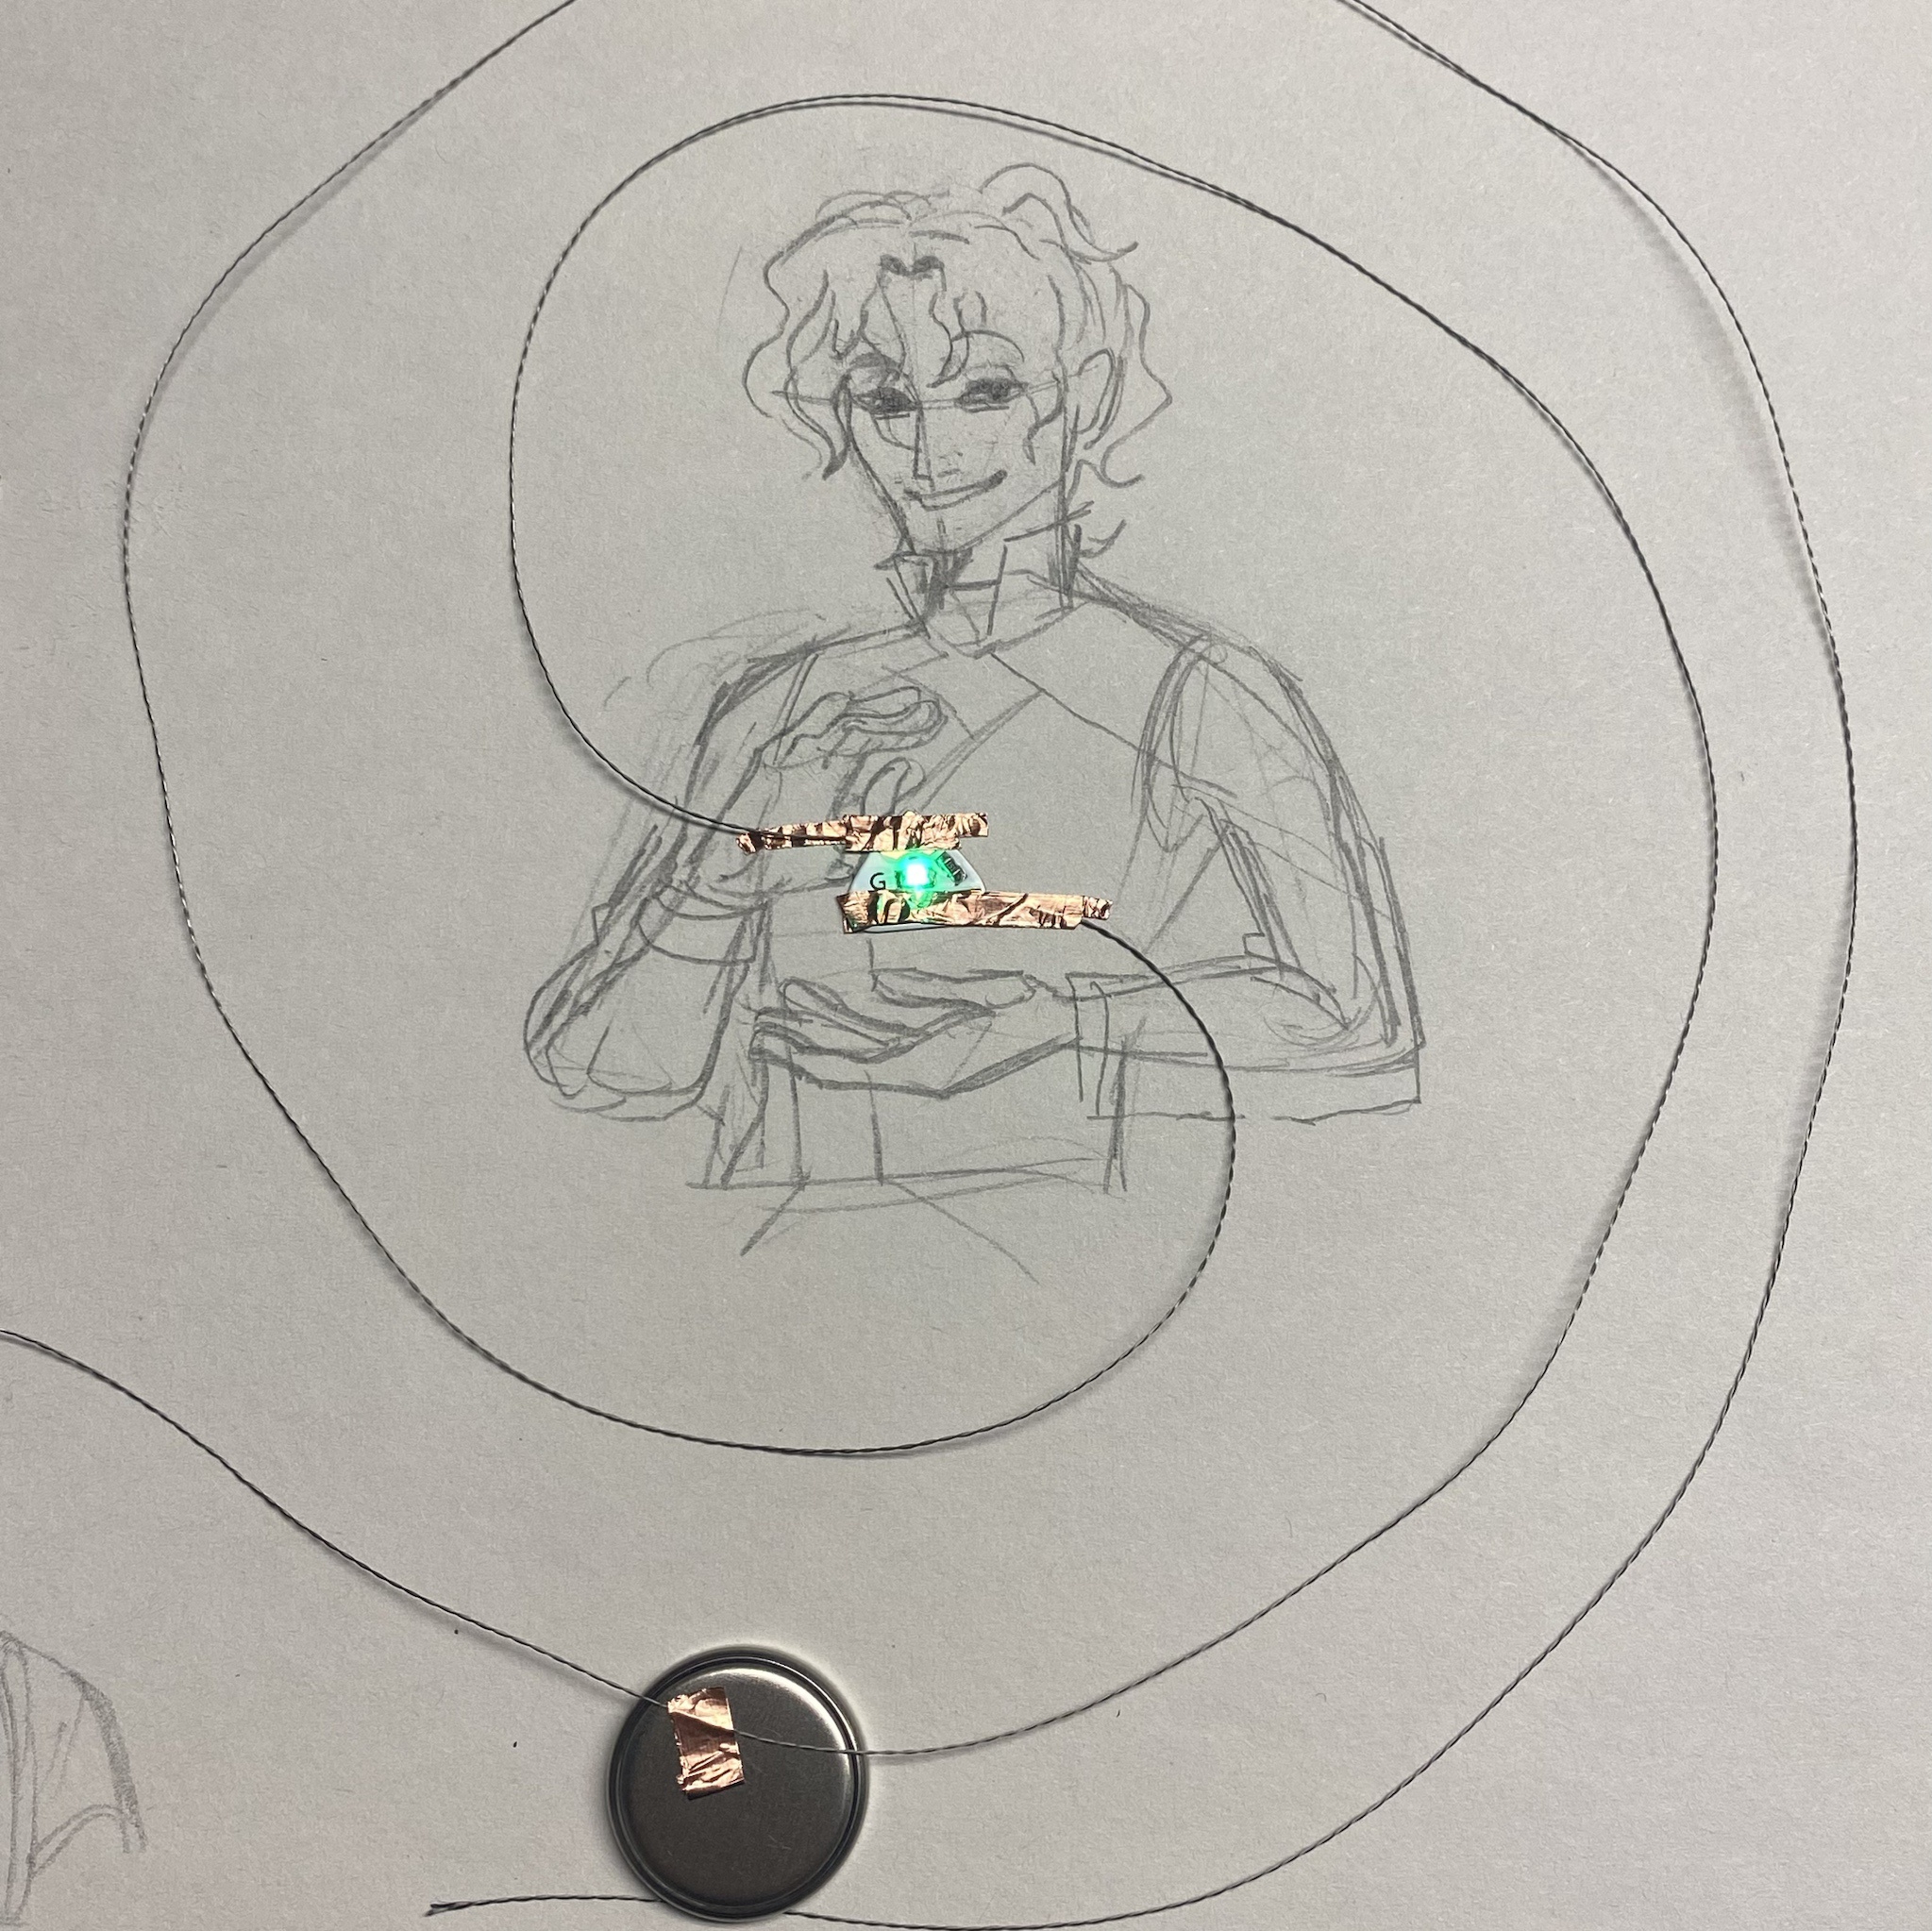
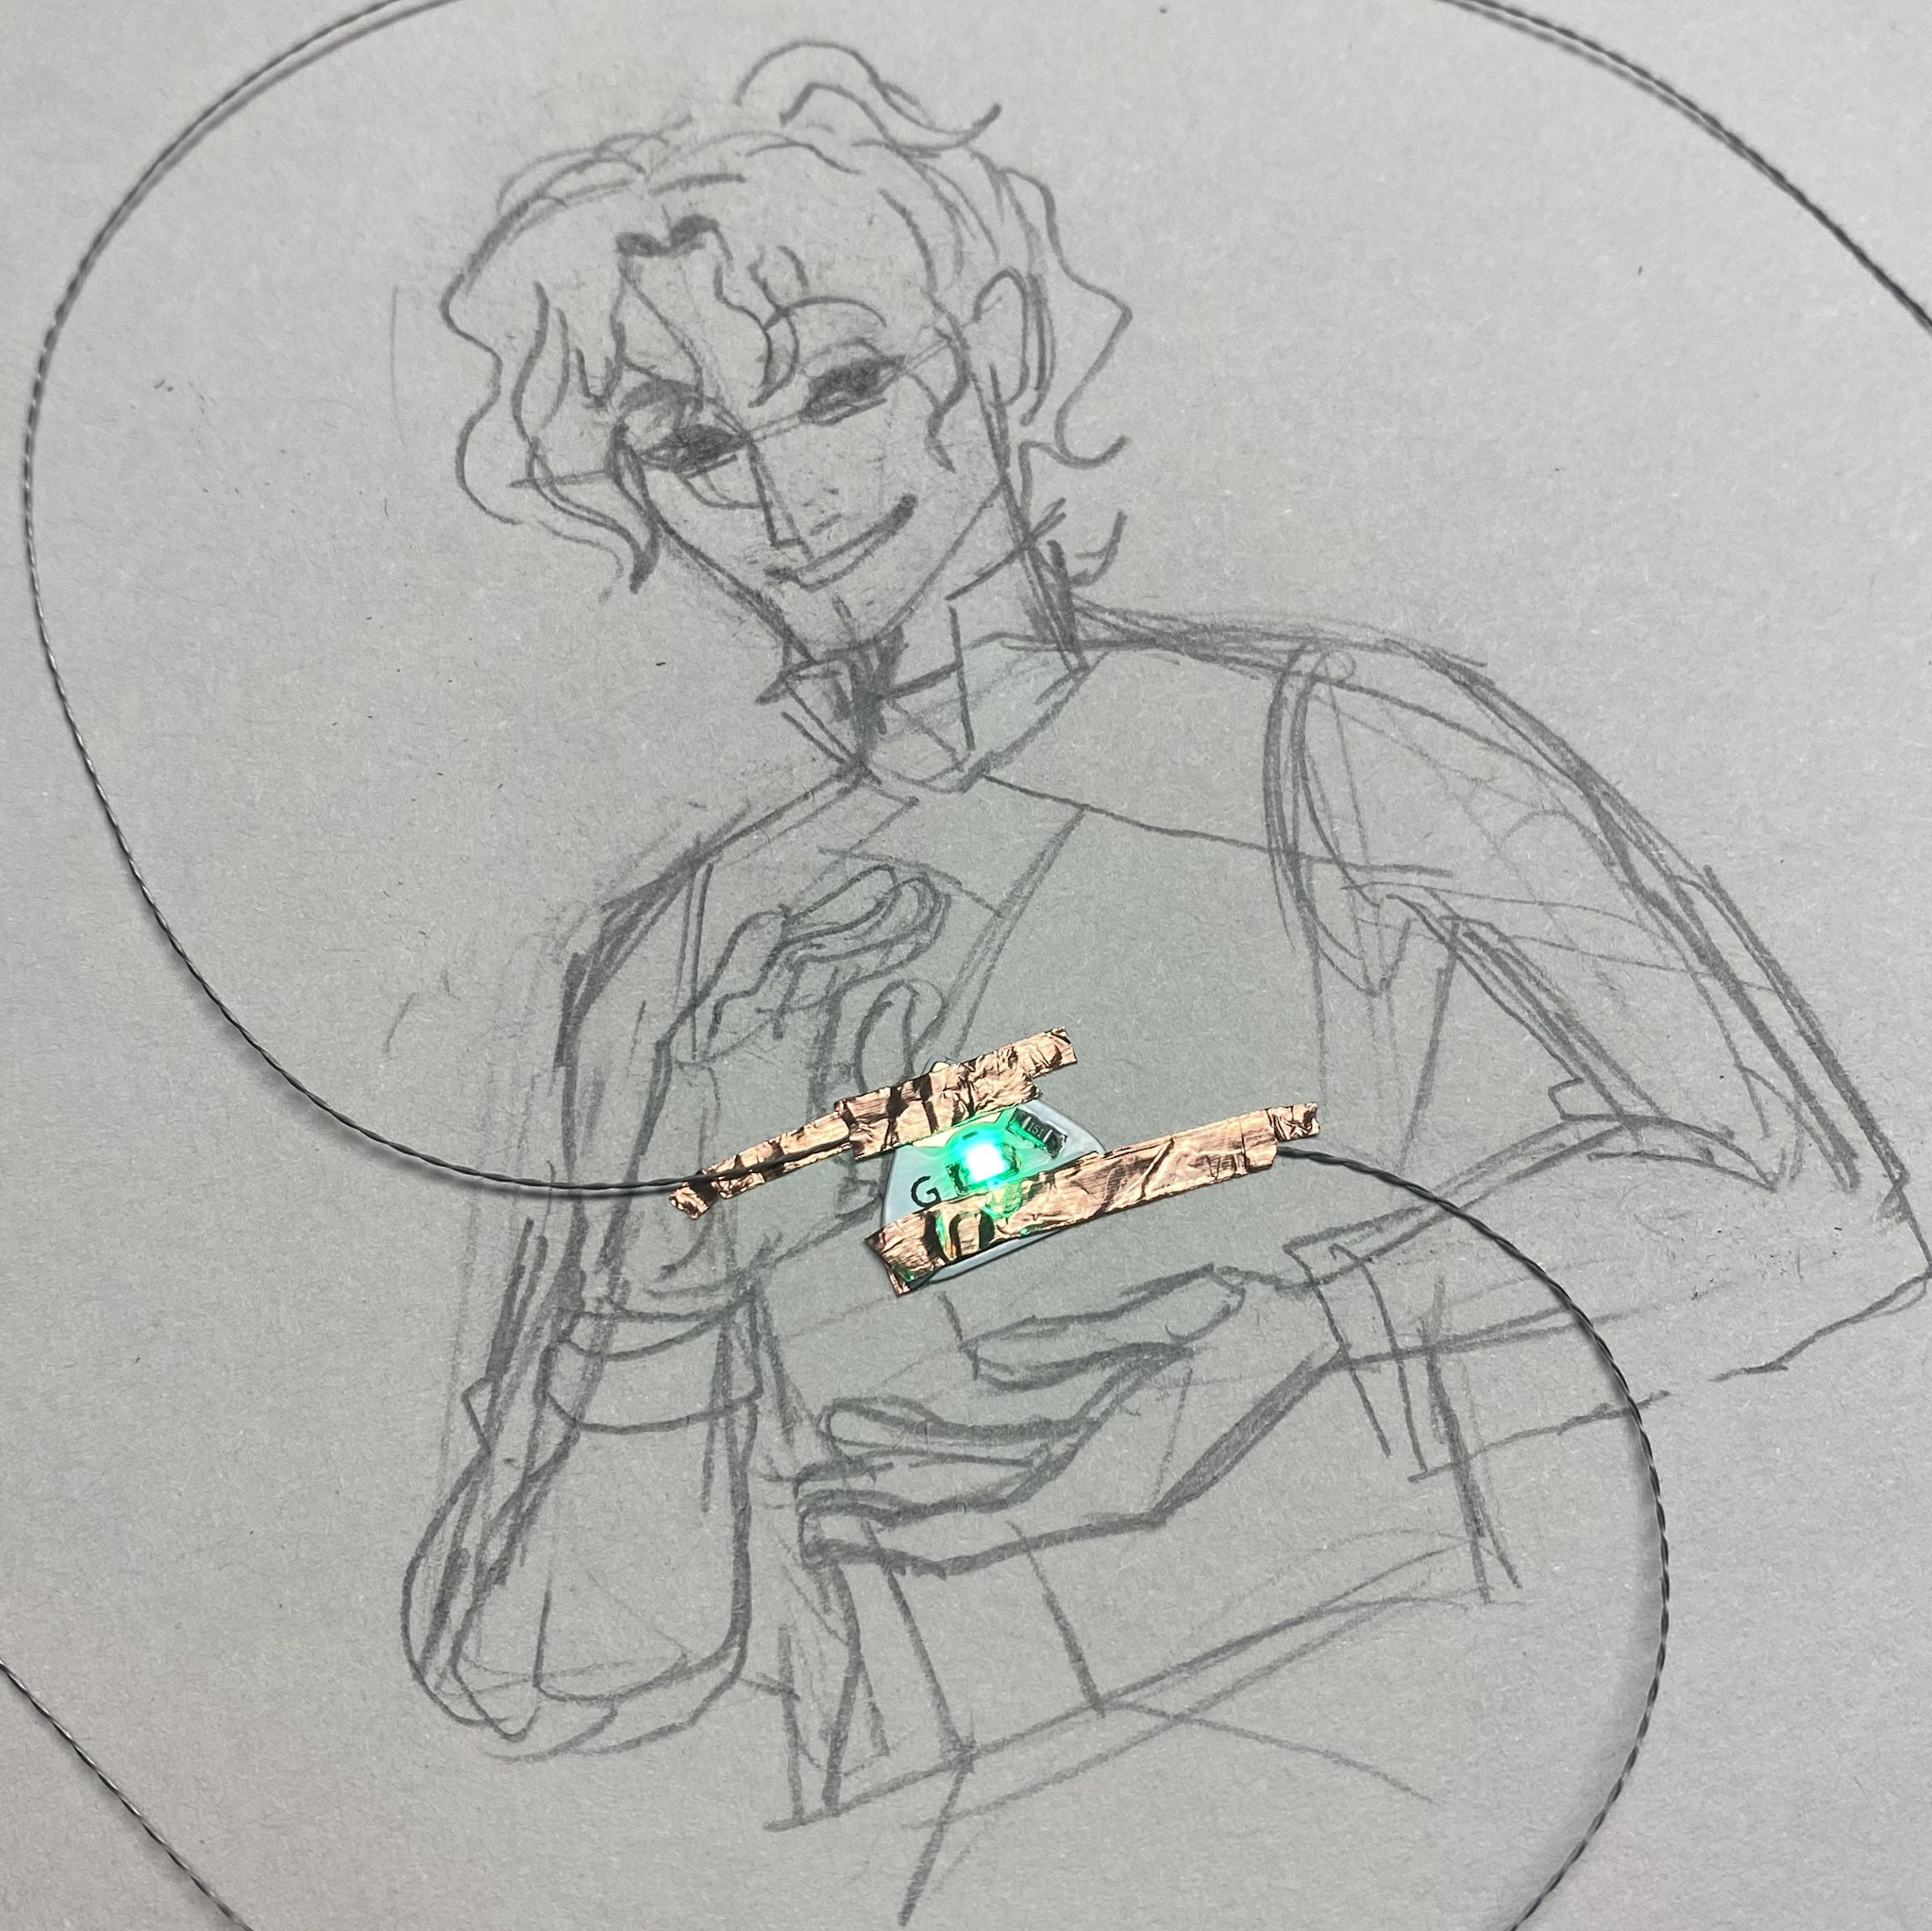
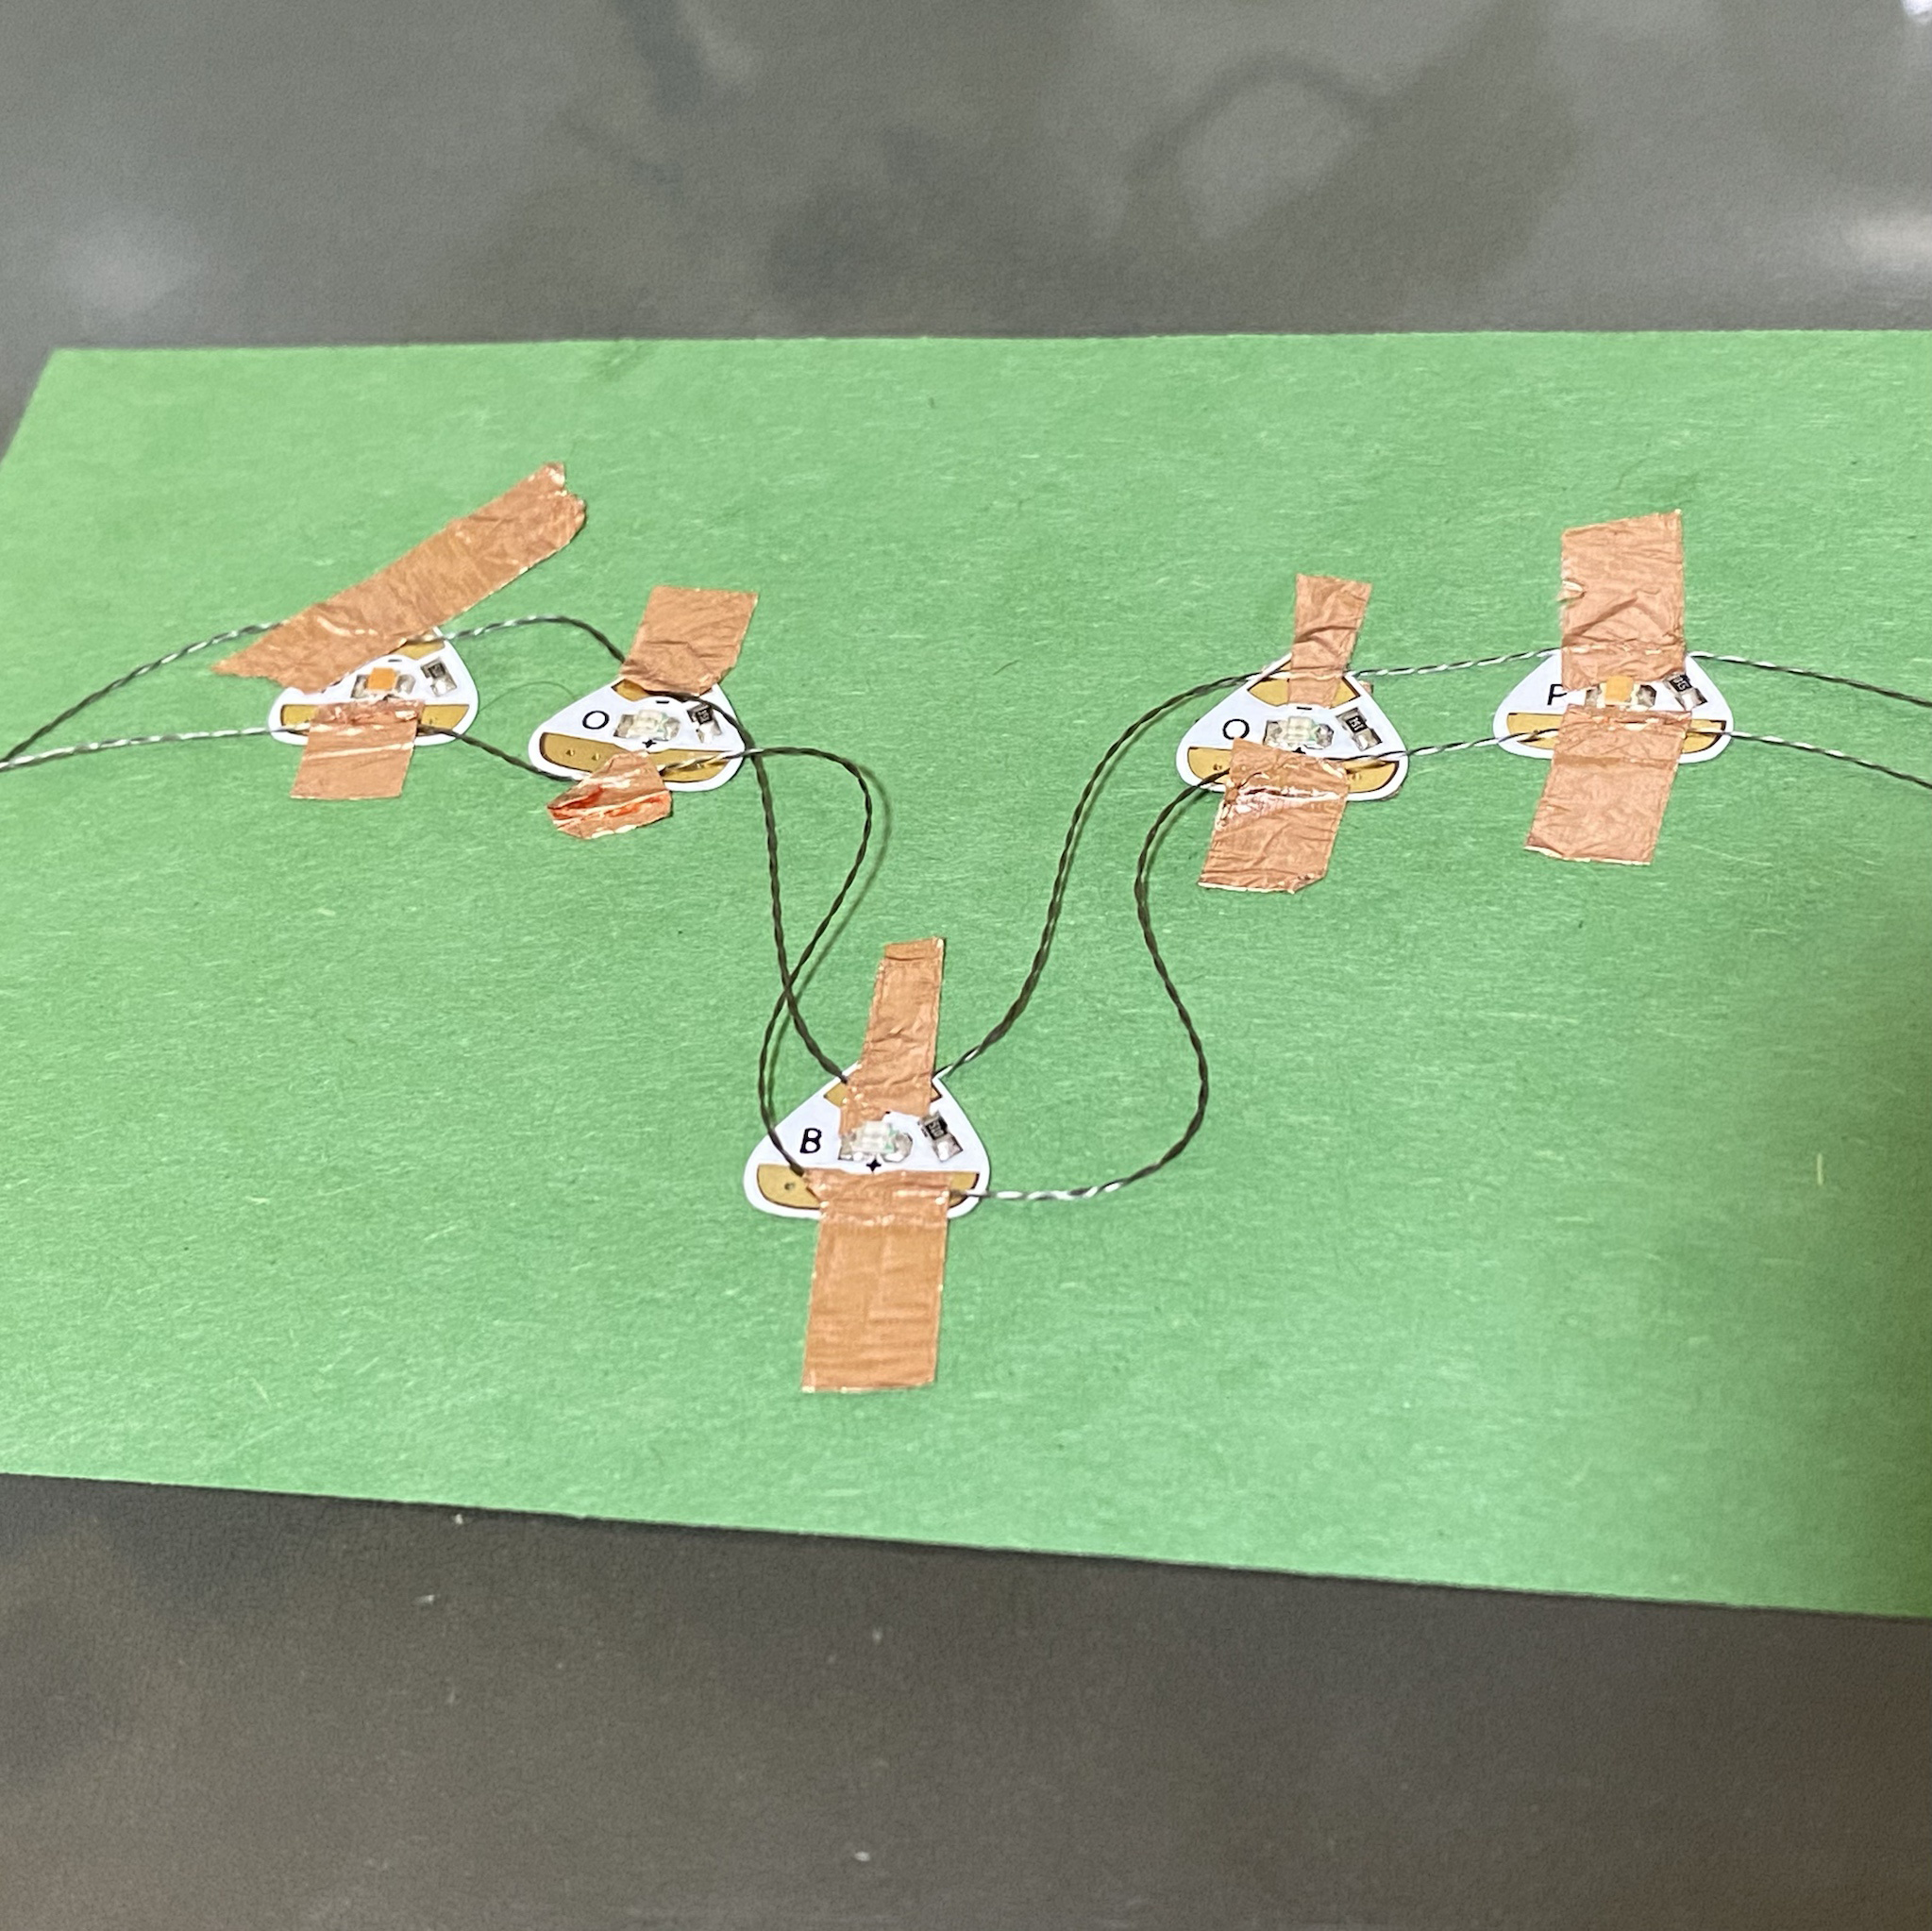
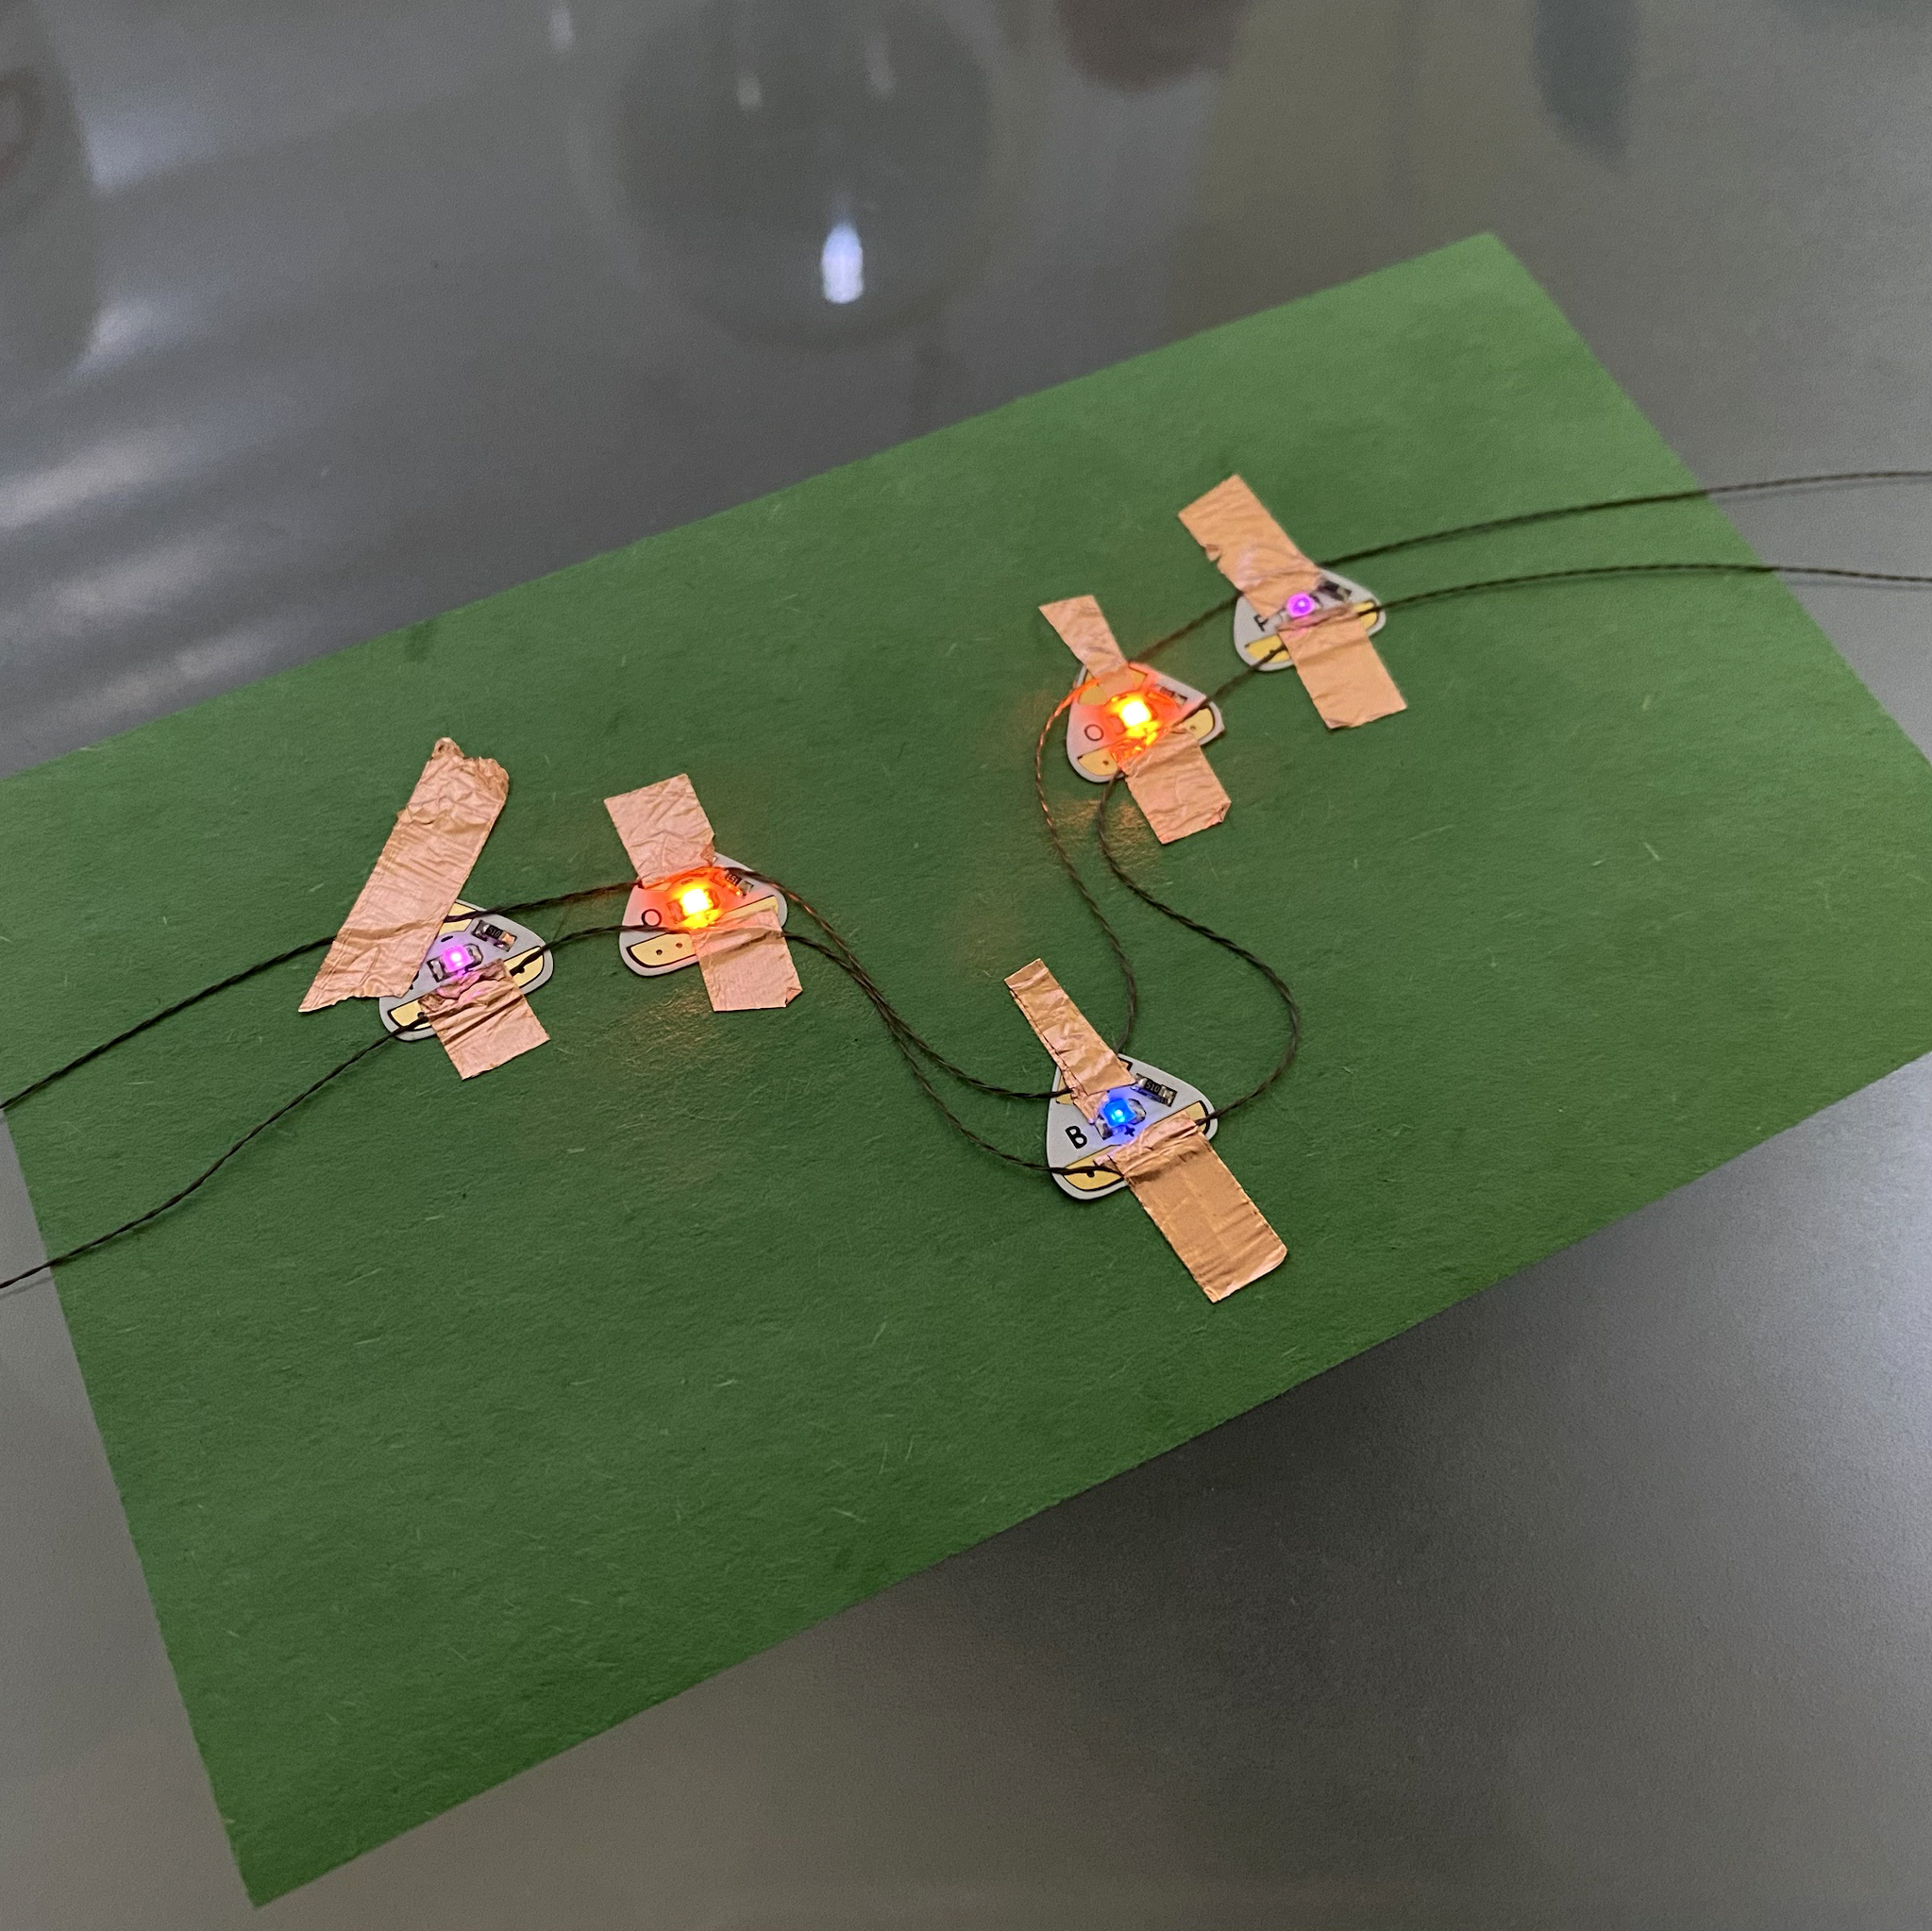
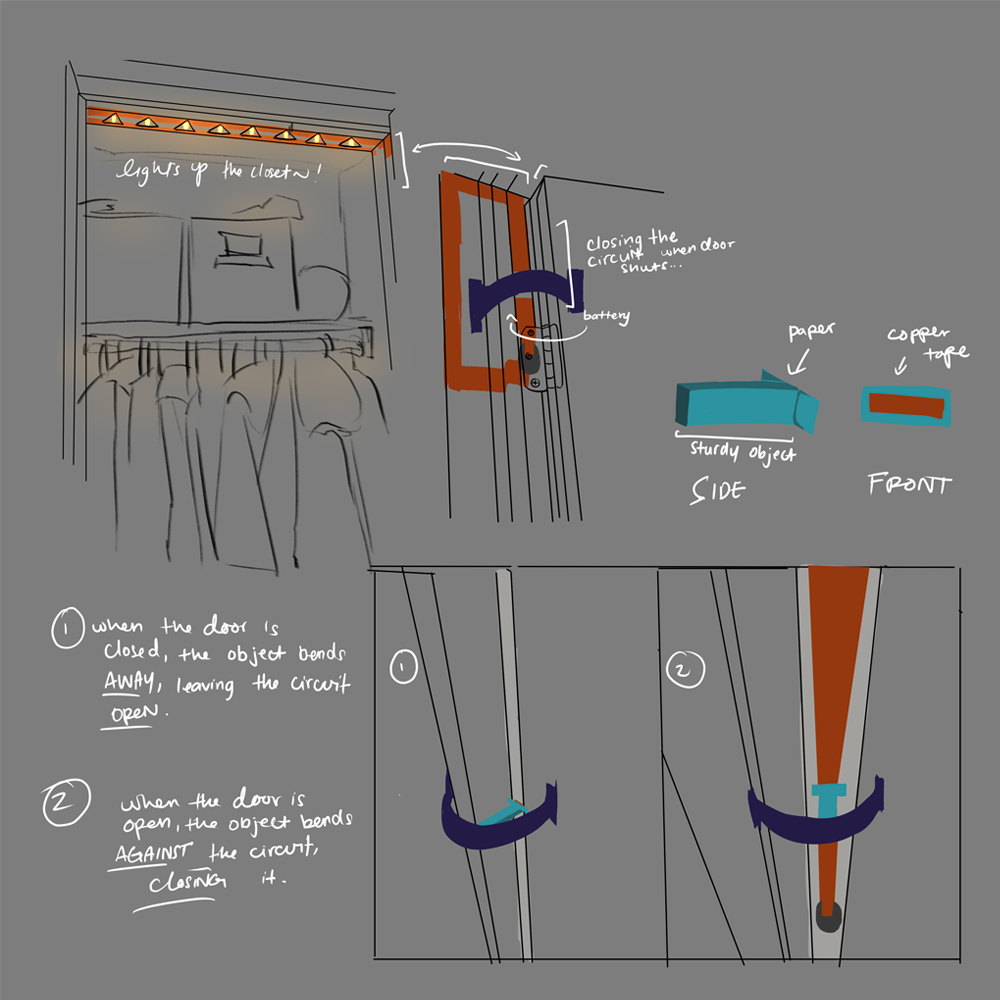
The first module is all about experimentation with circuits. In this module, we explore and push ourselves to think of imaginative interactions with simple materials.

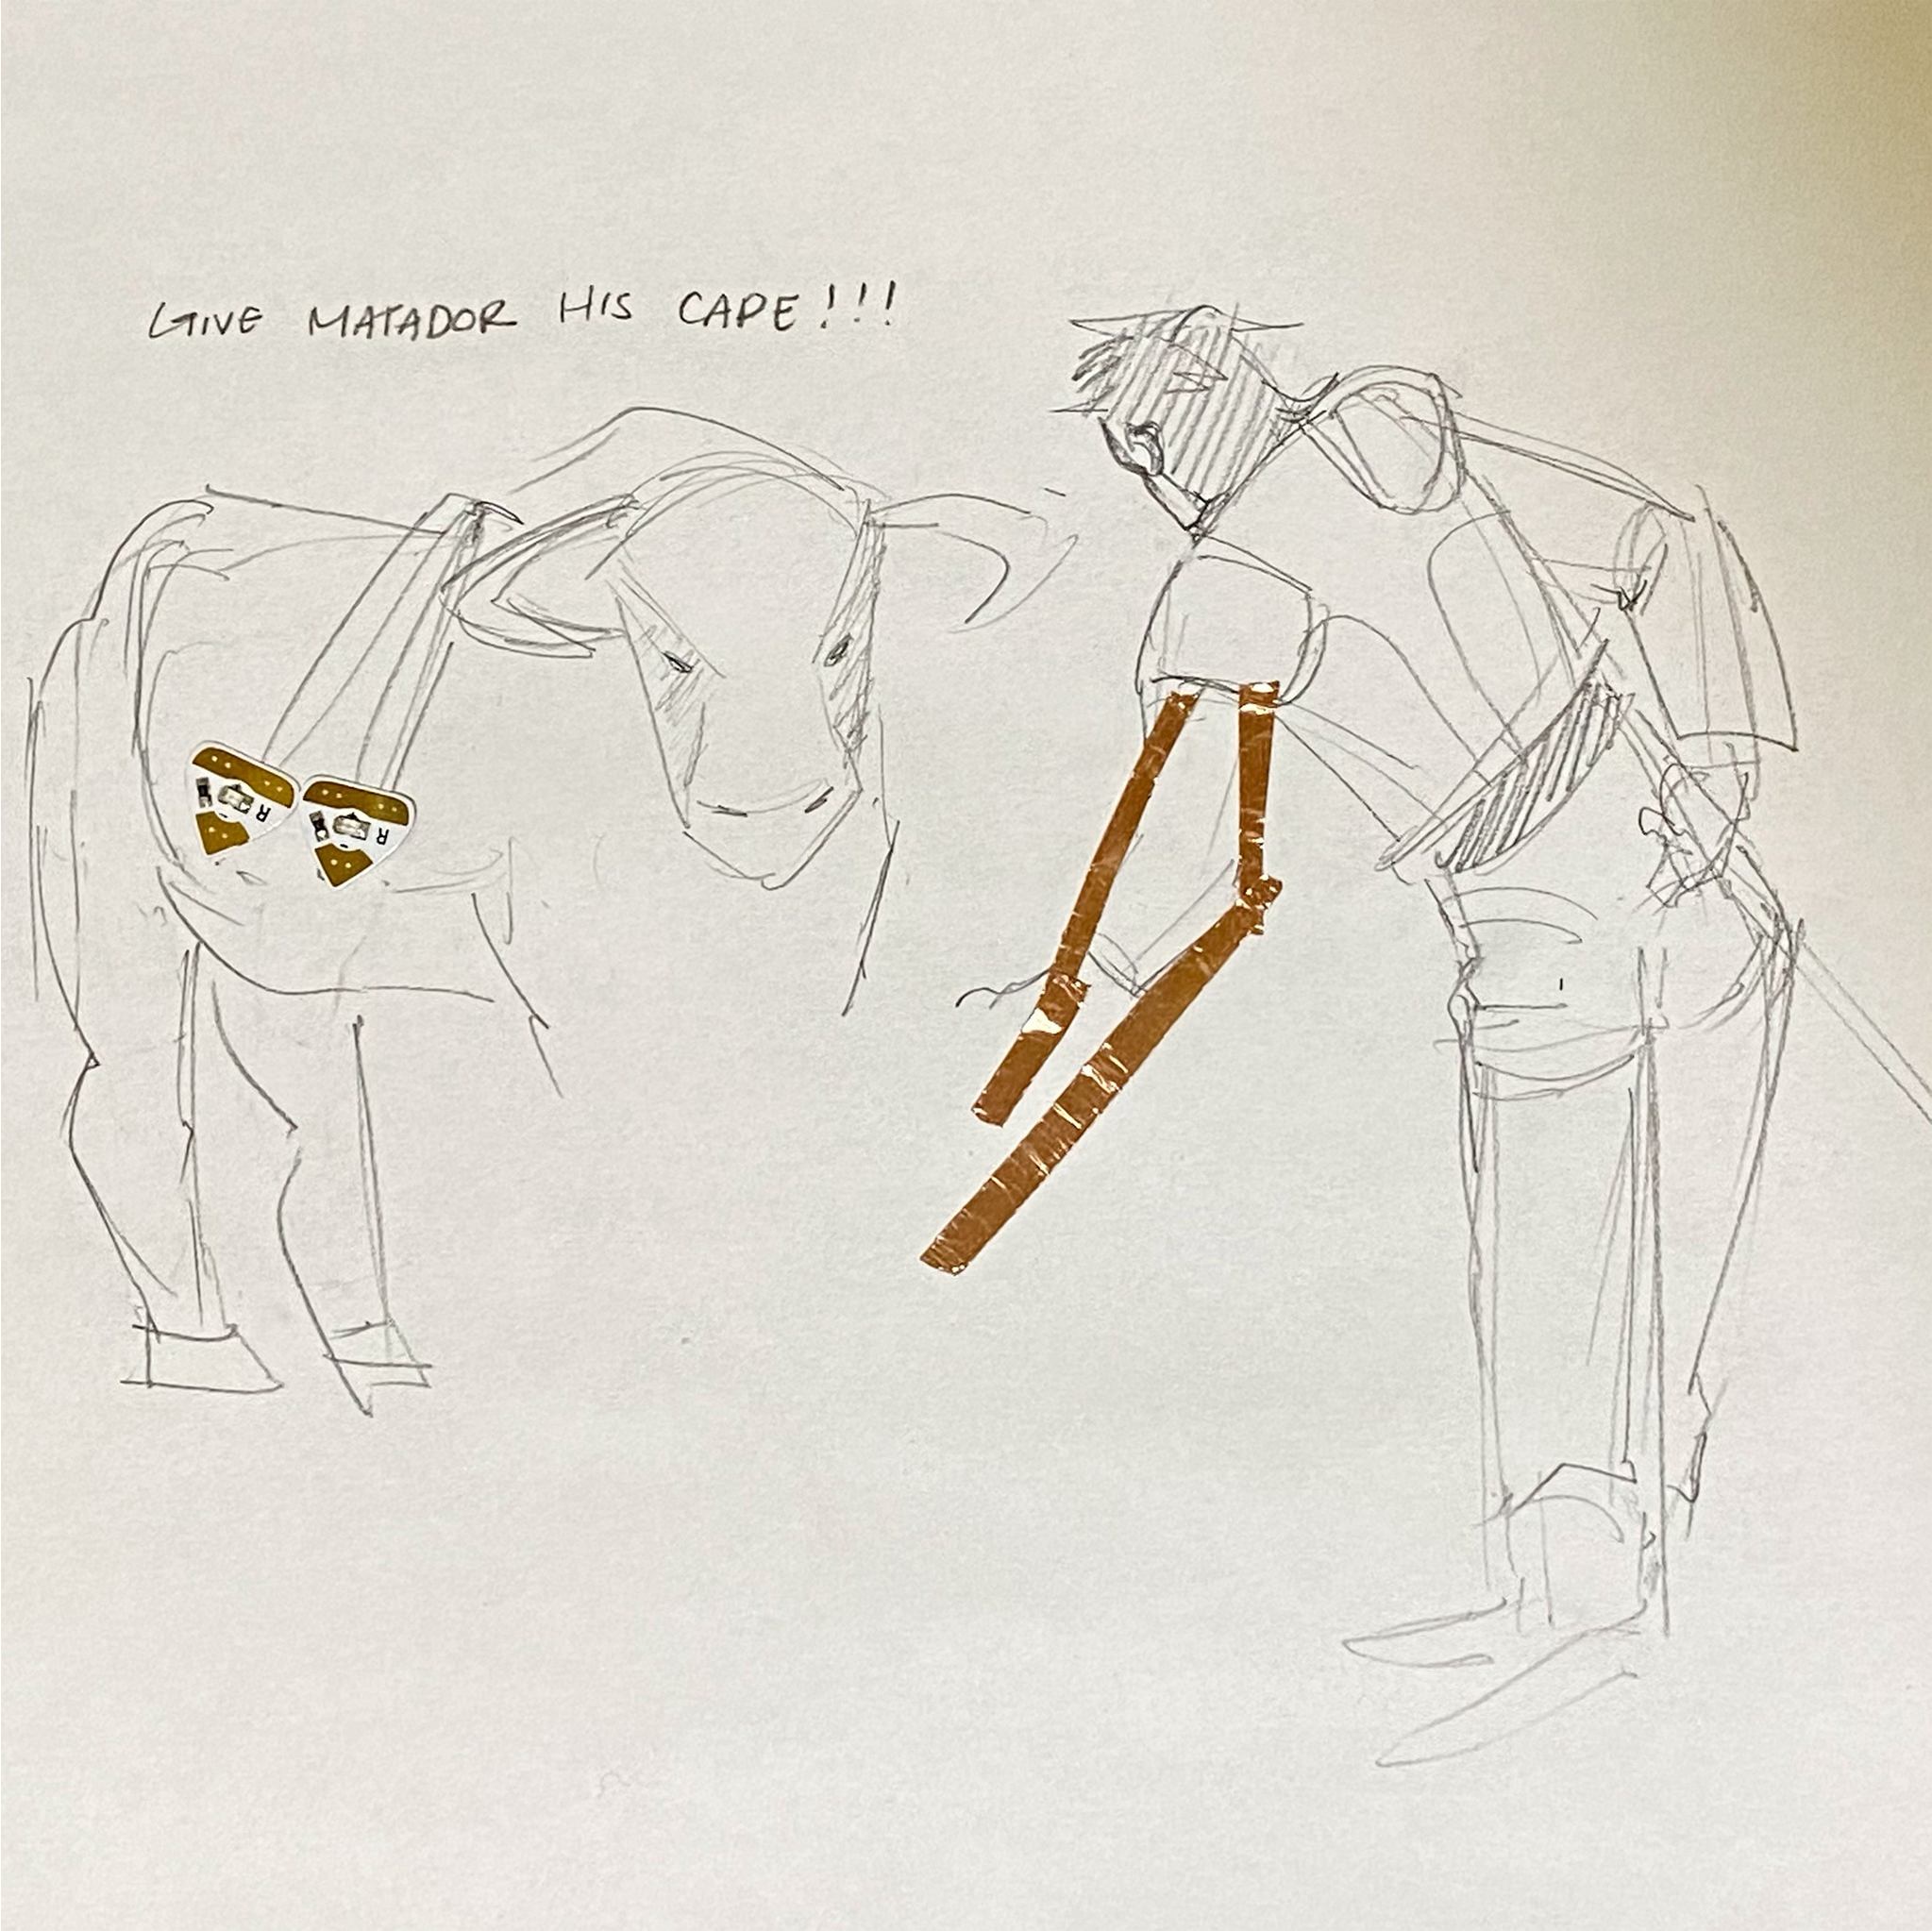
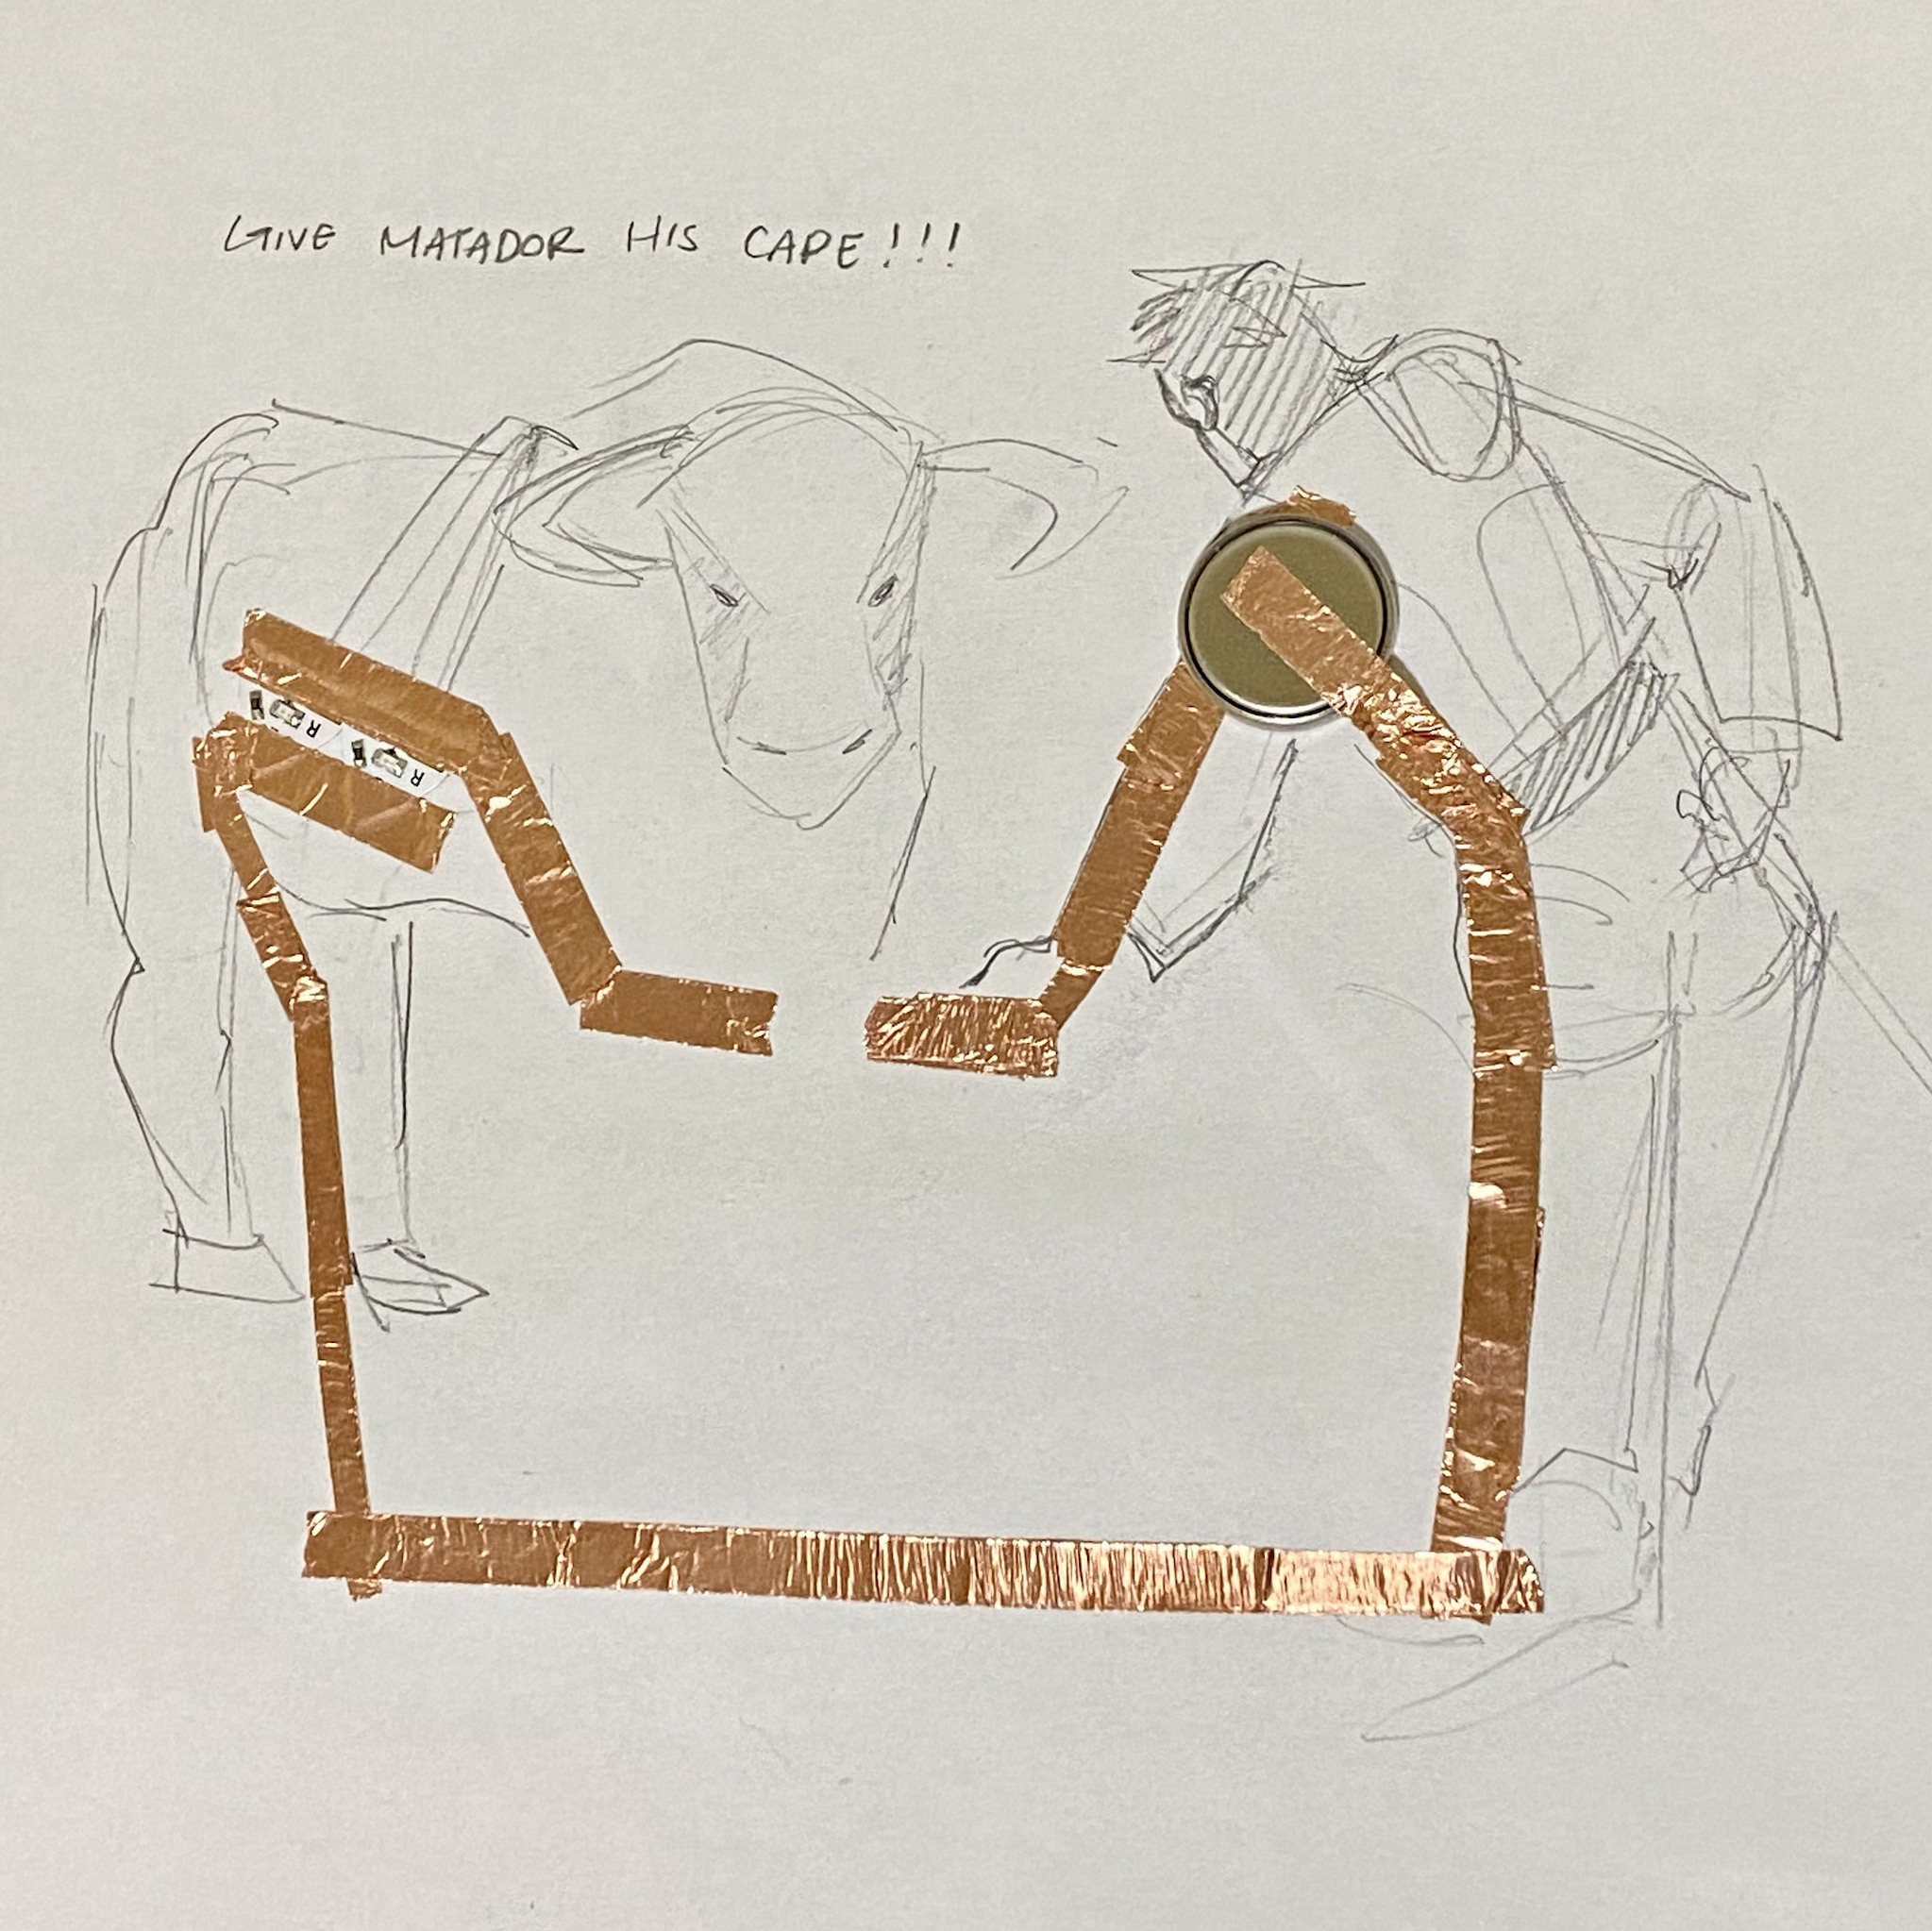
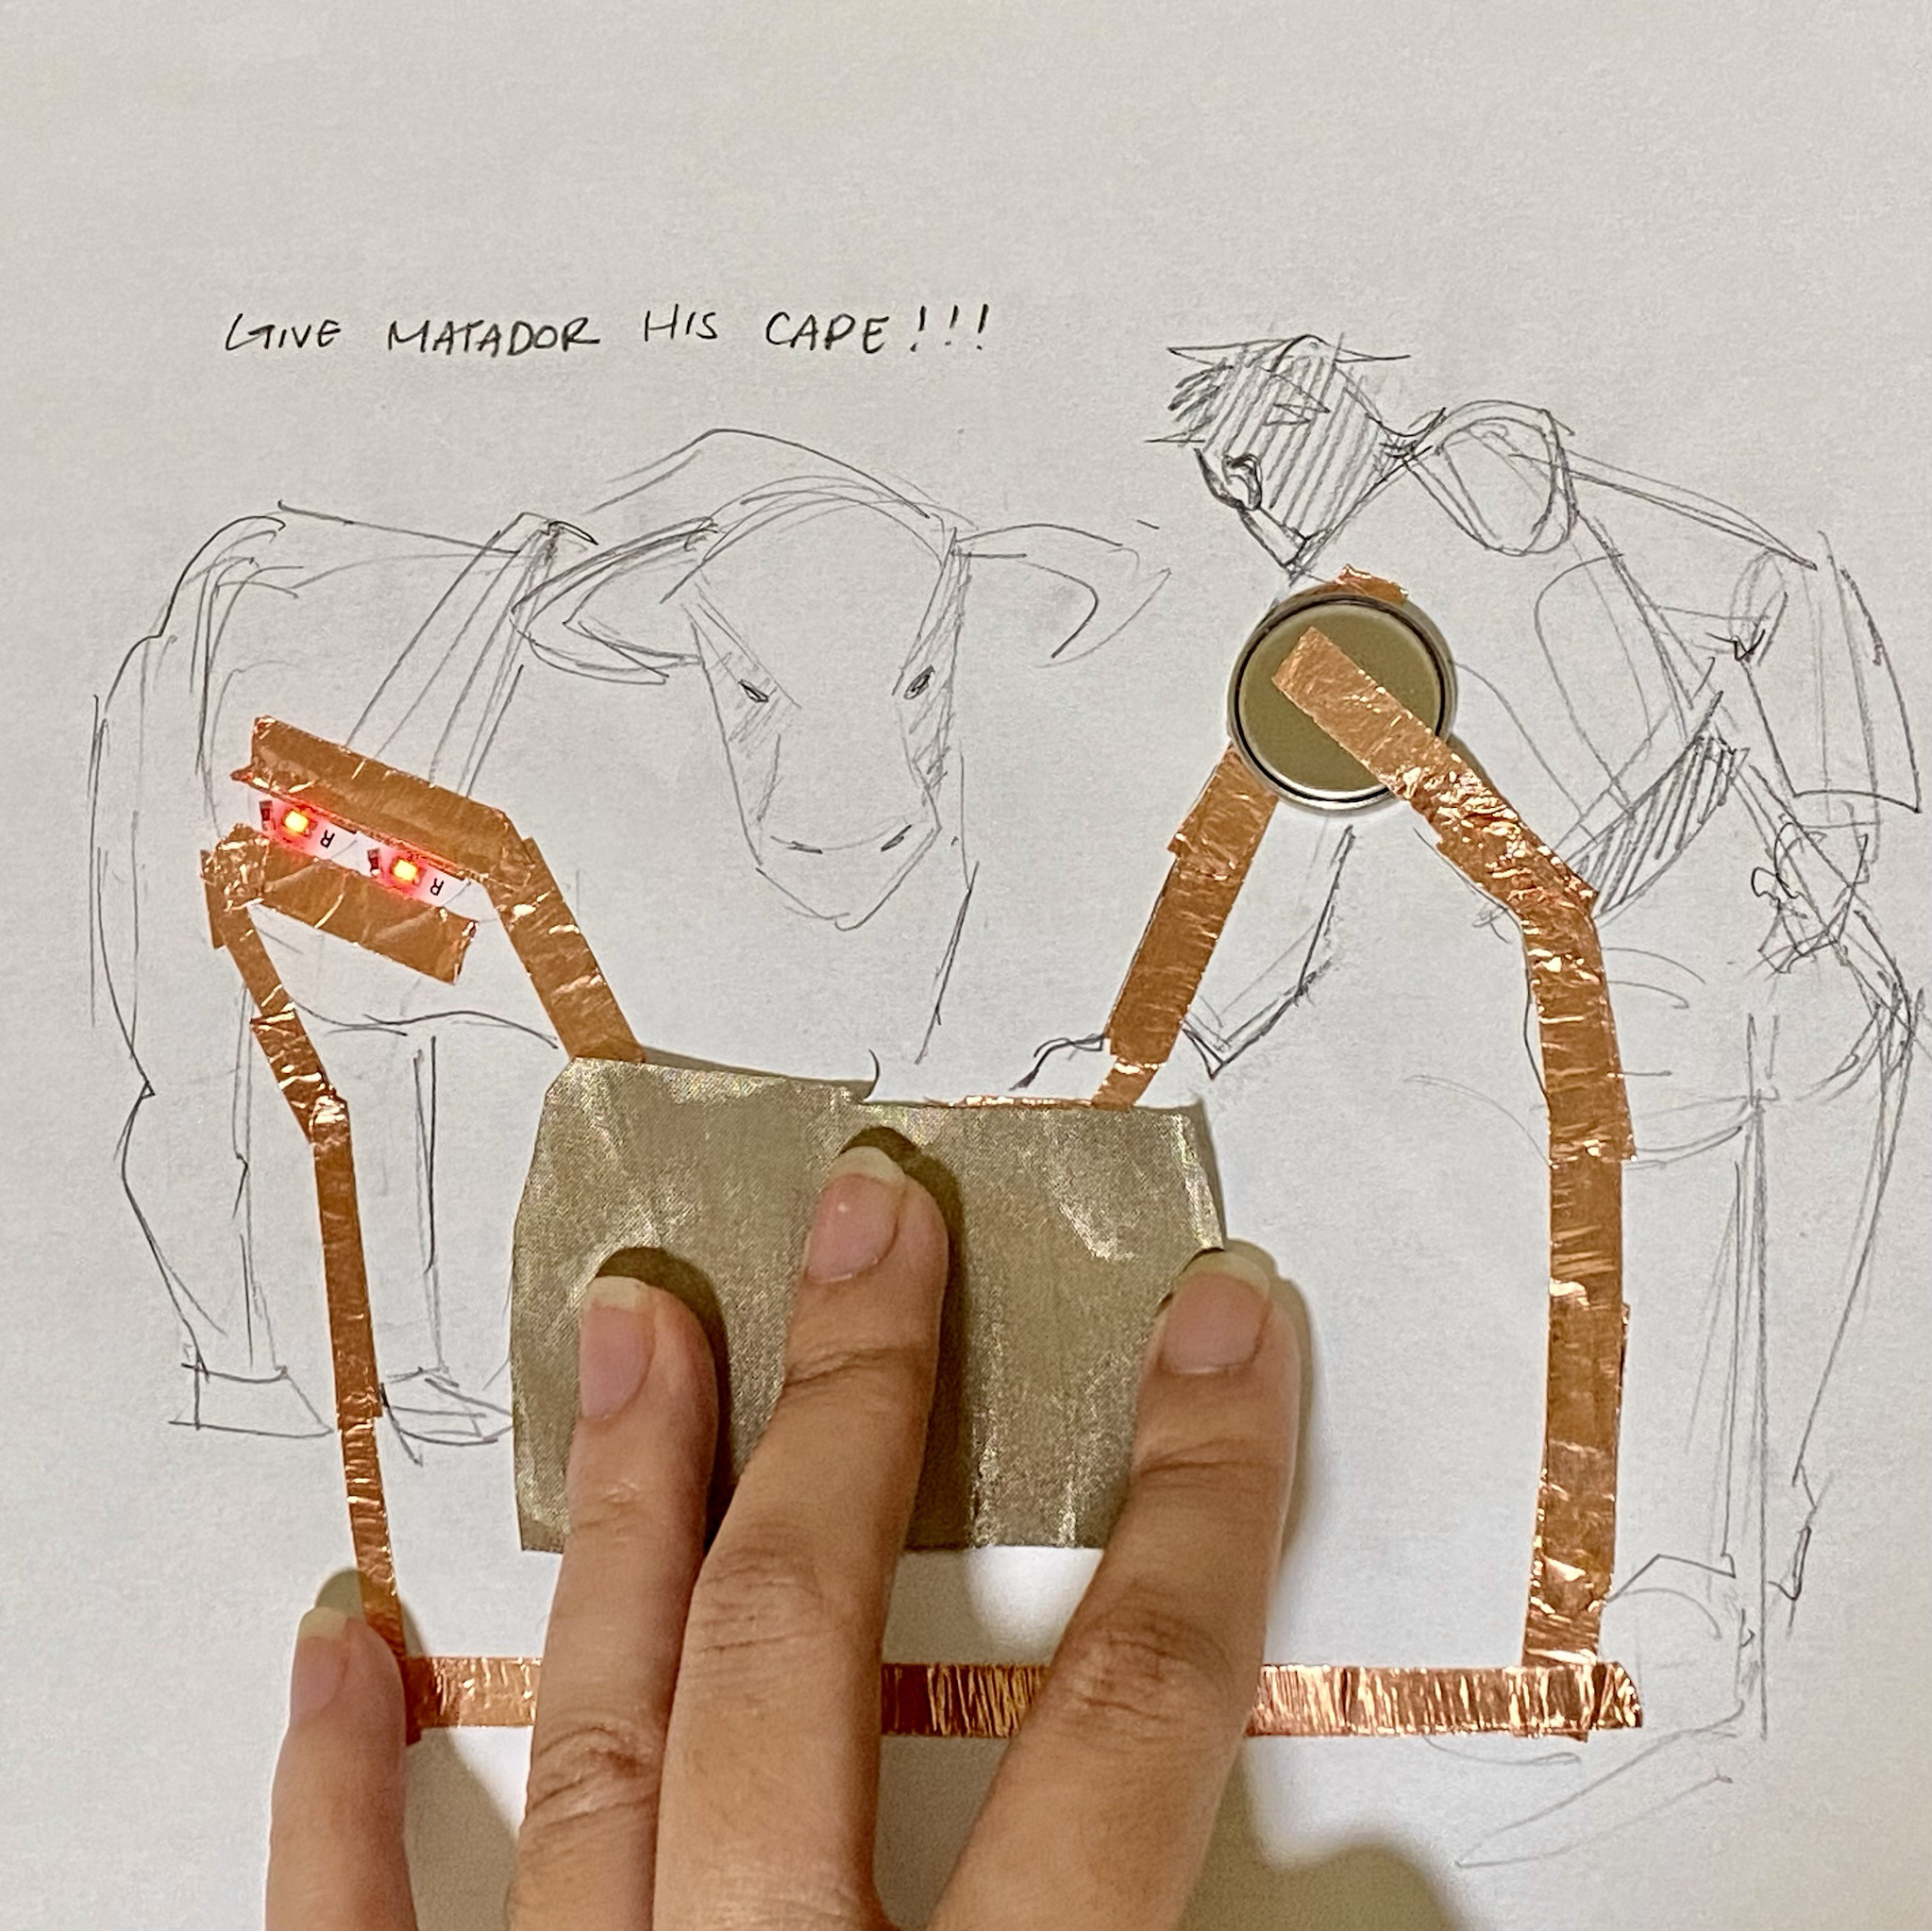
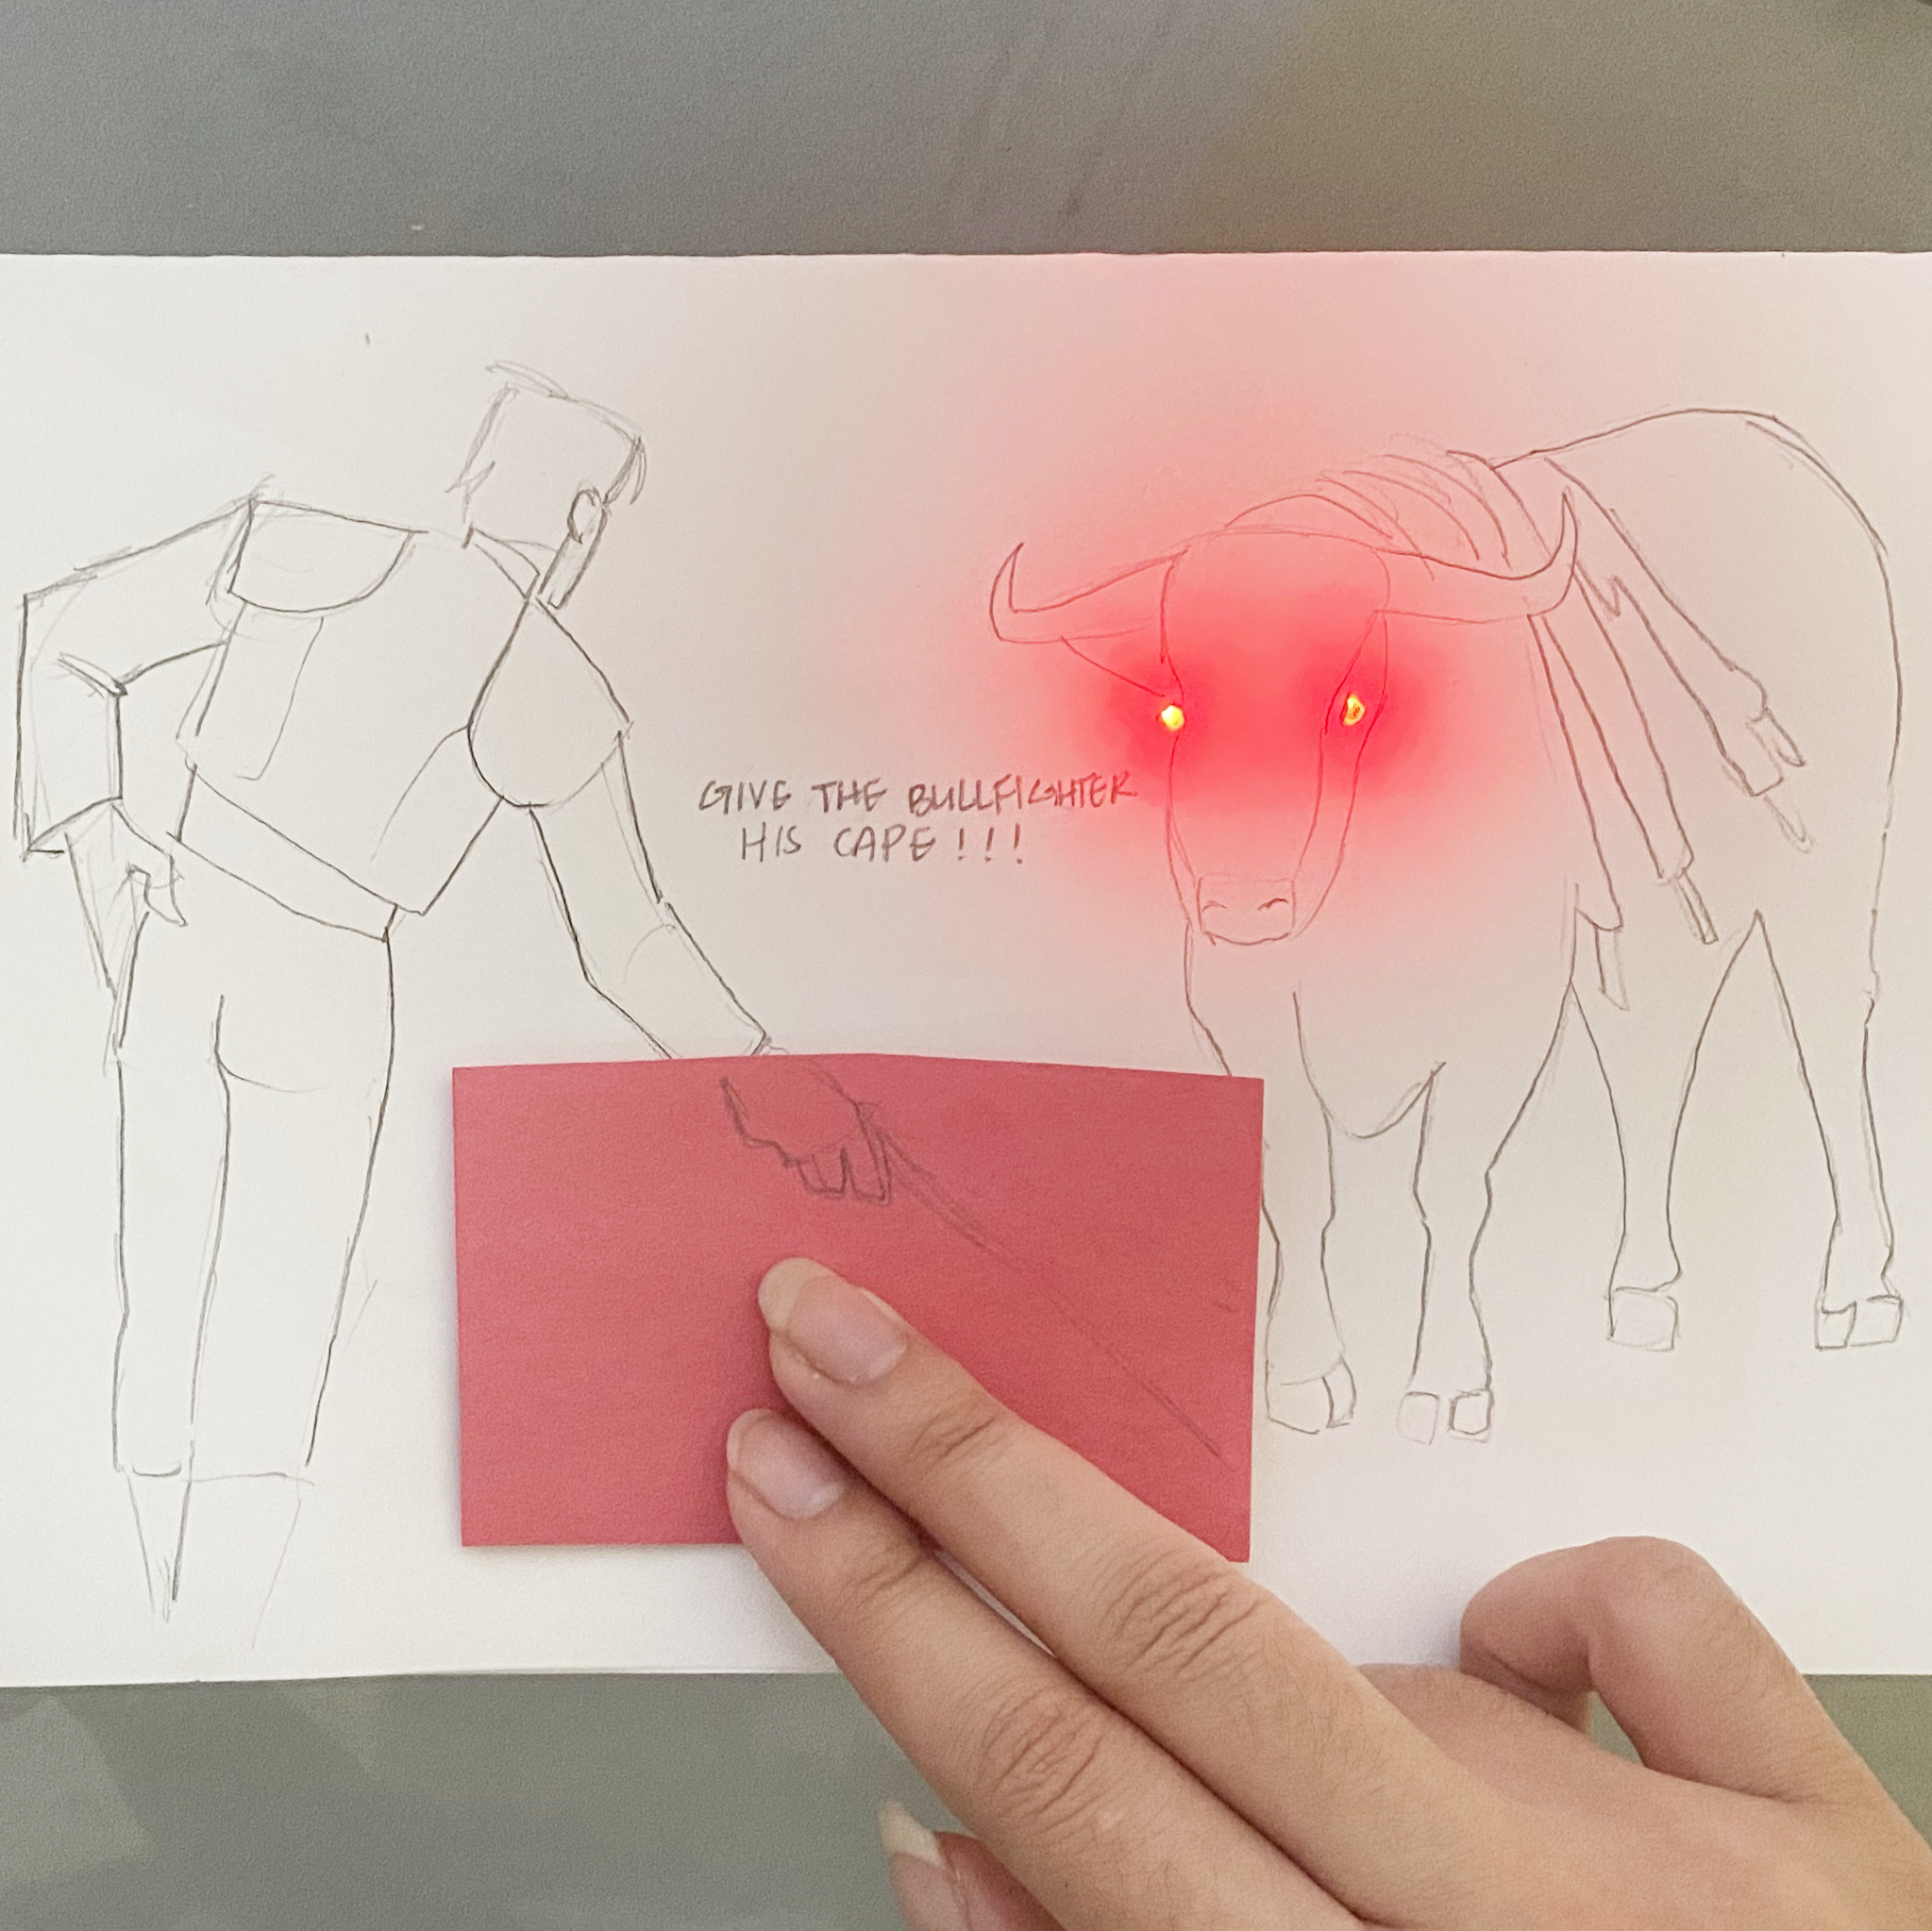
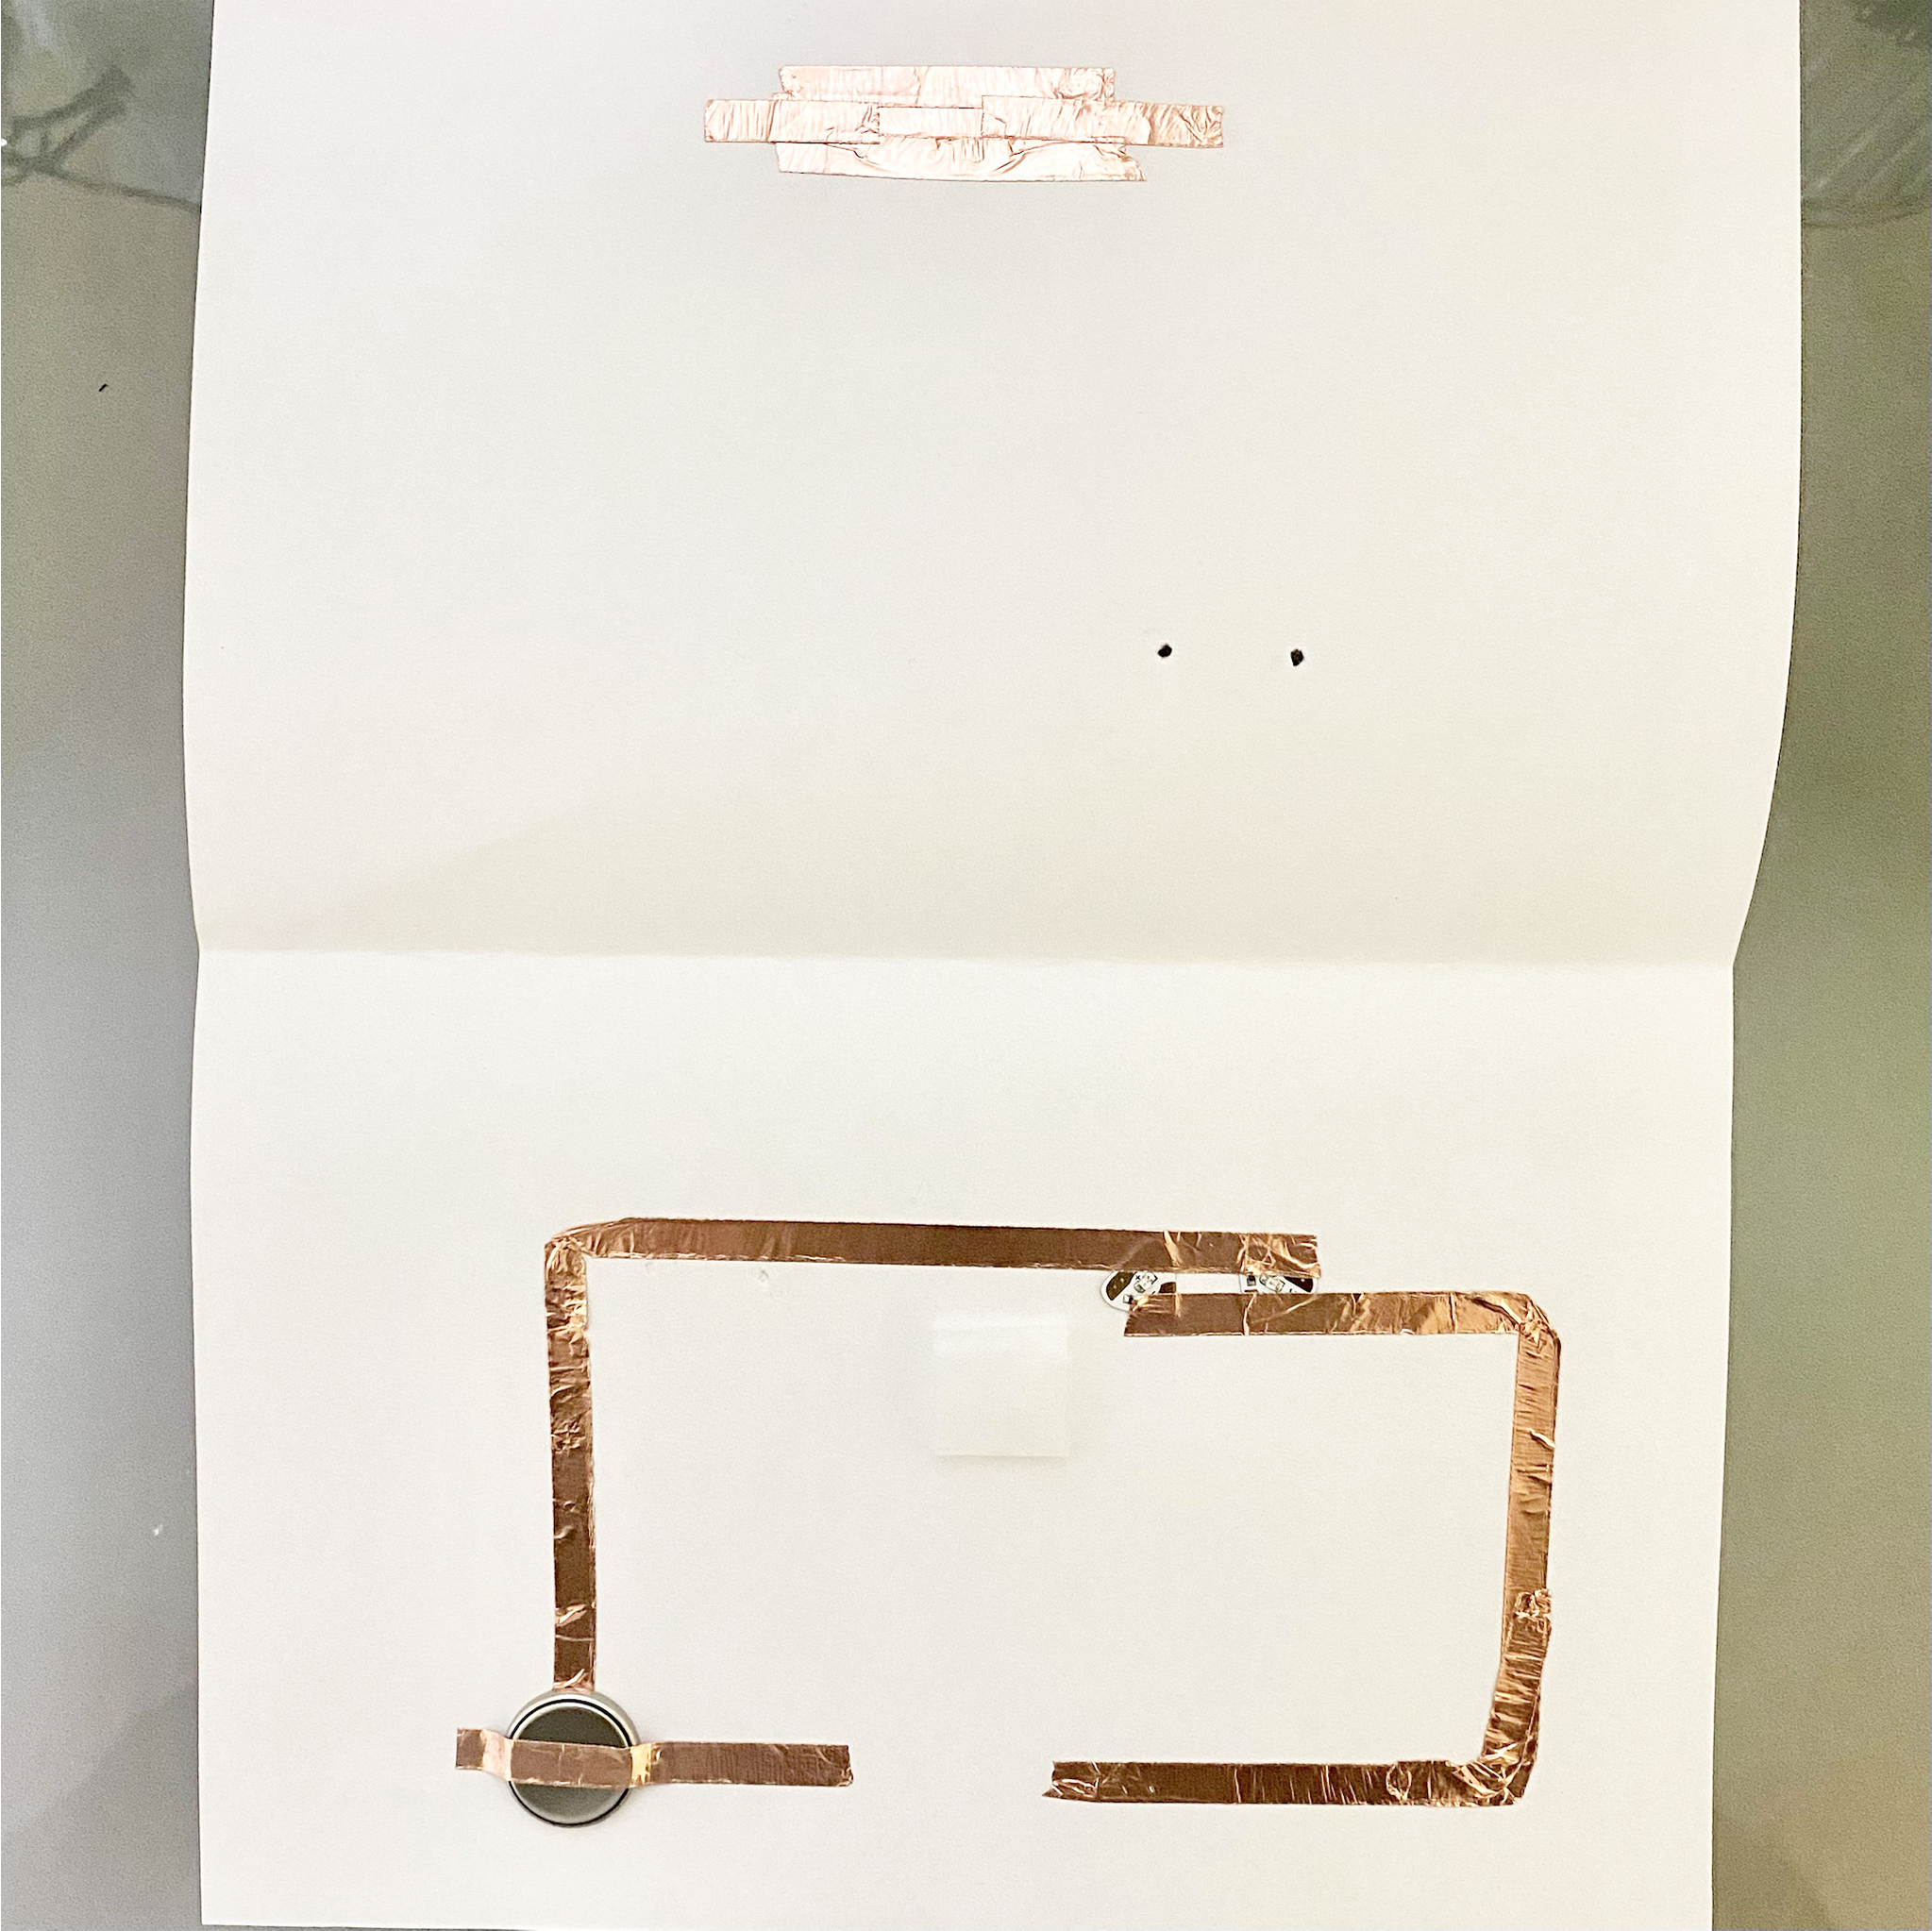
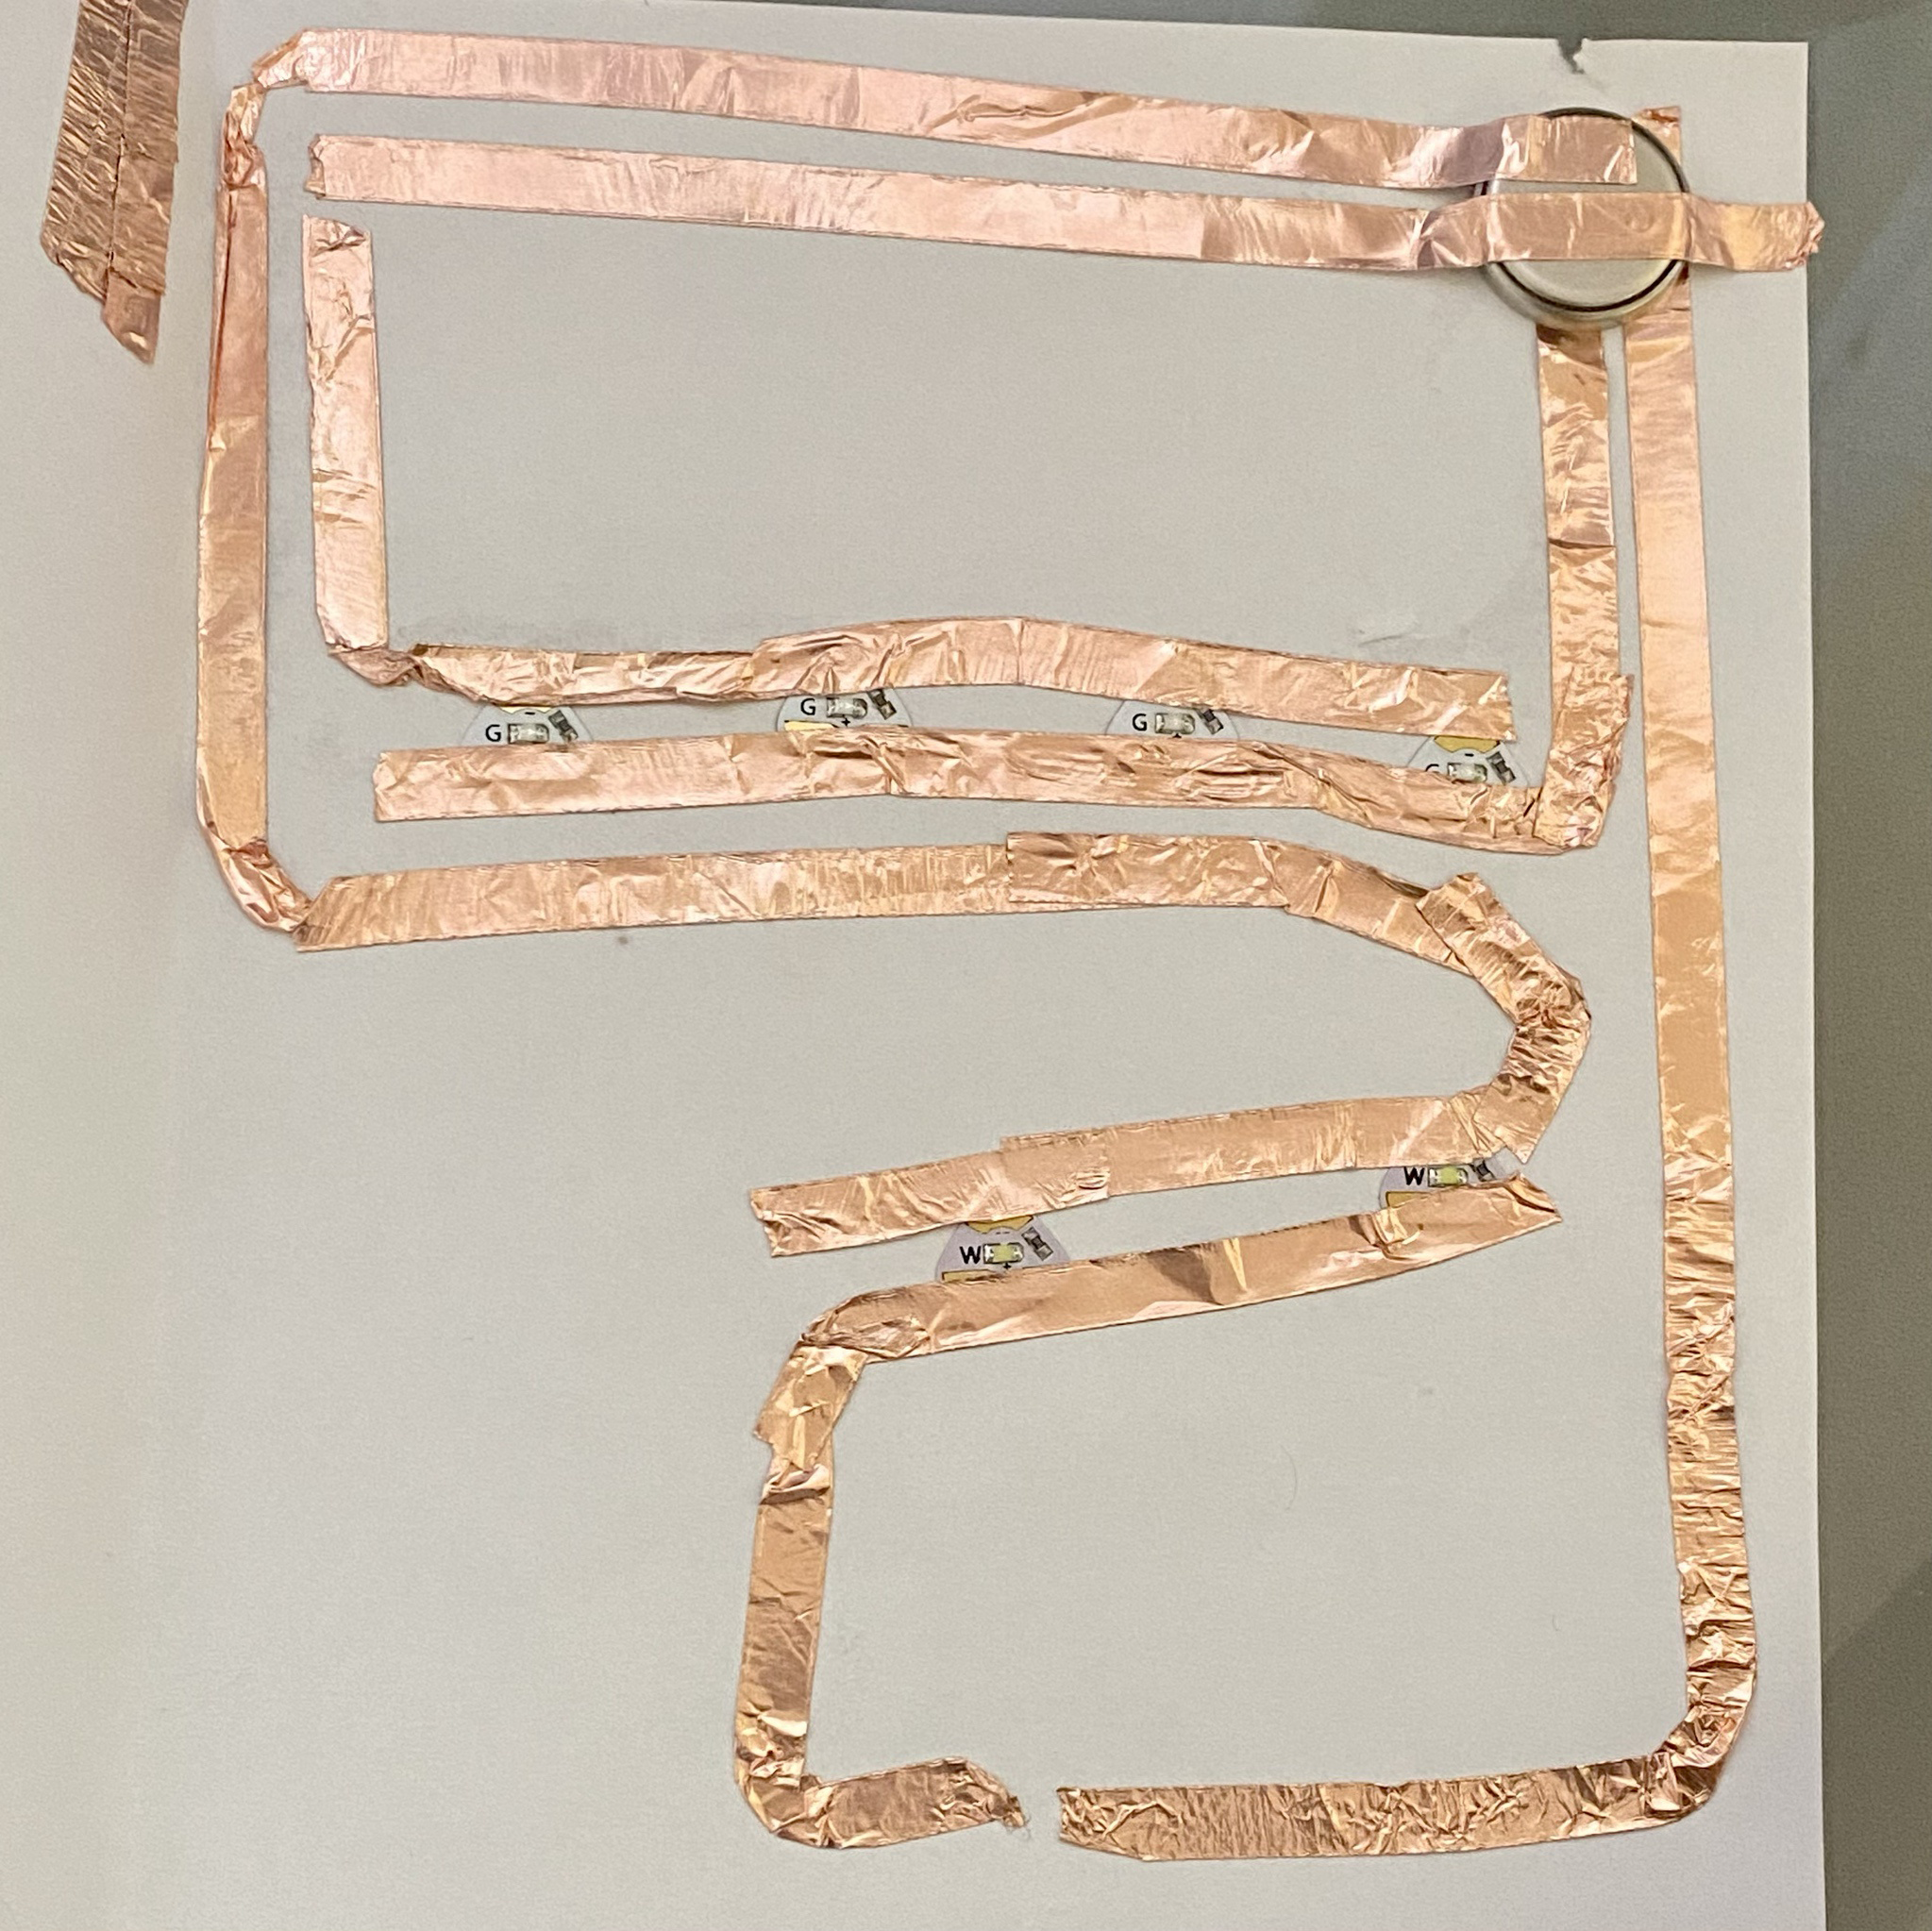
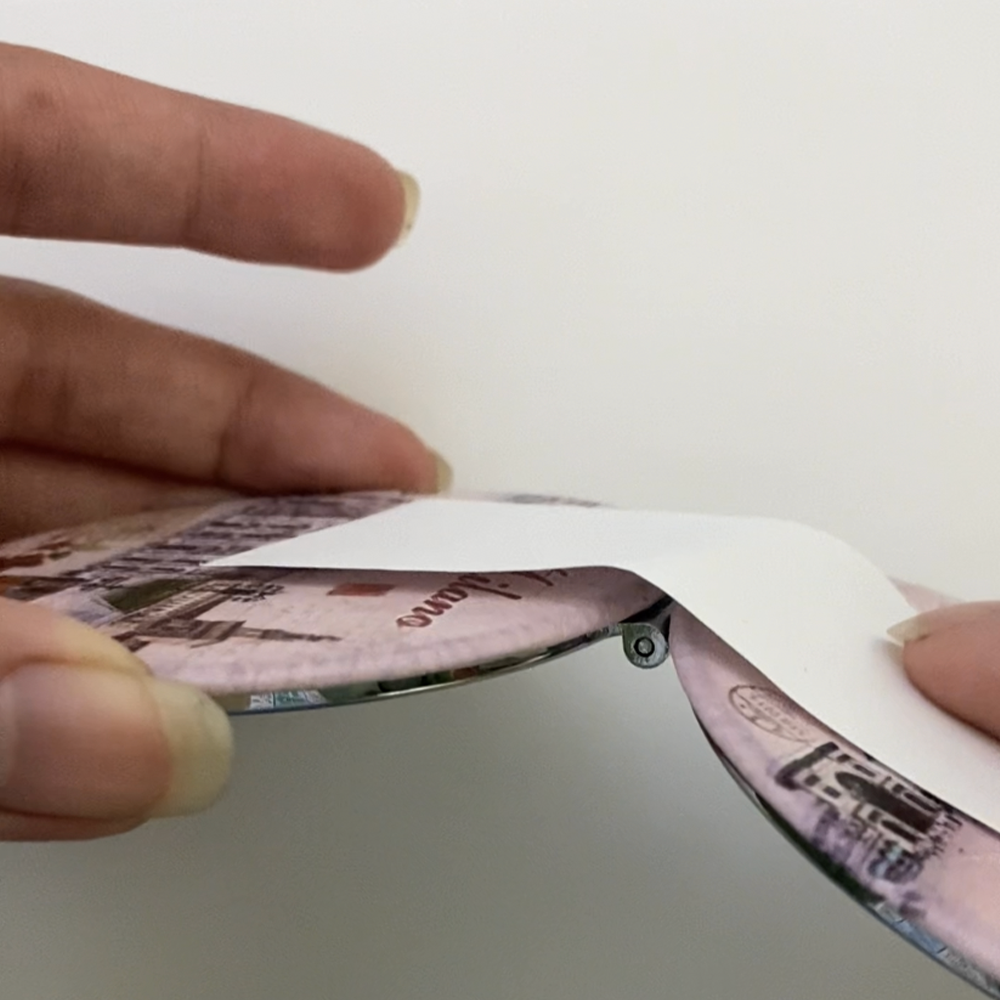
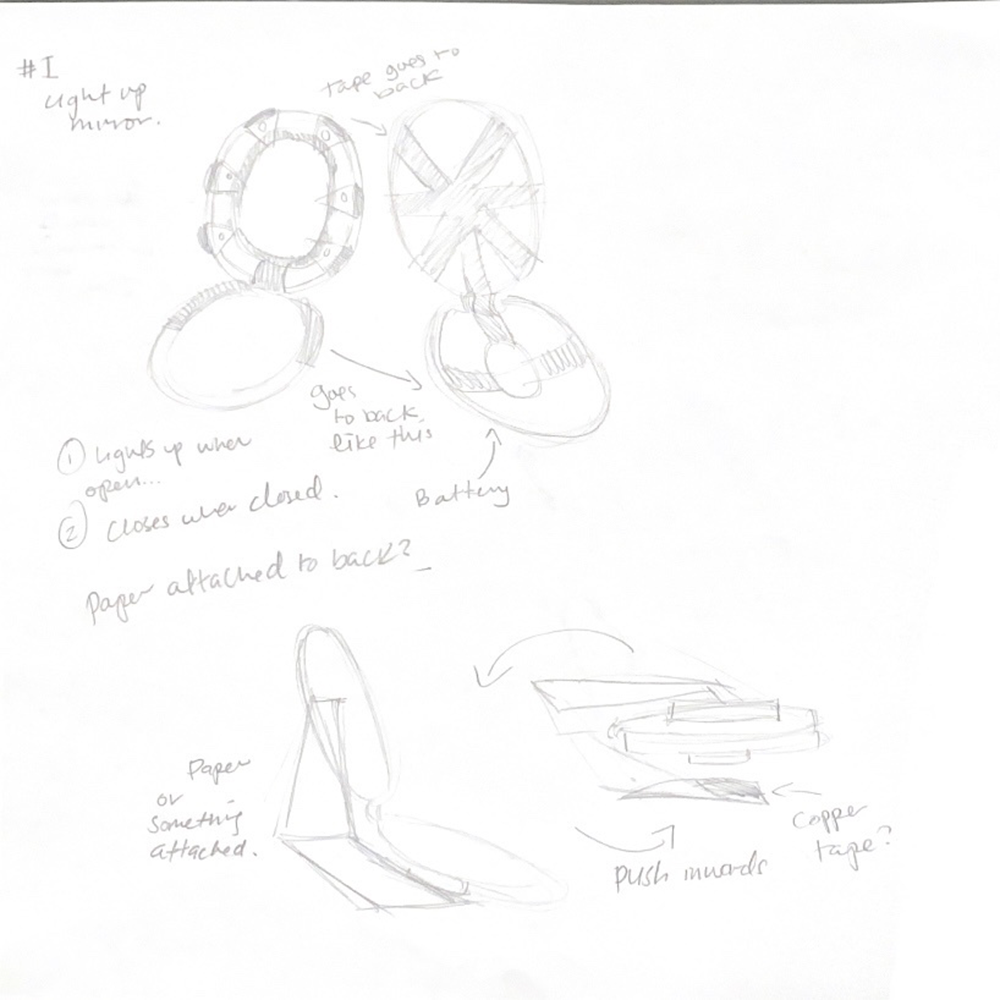
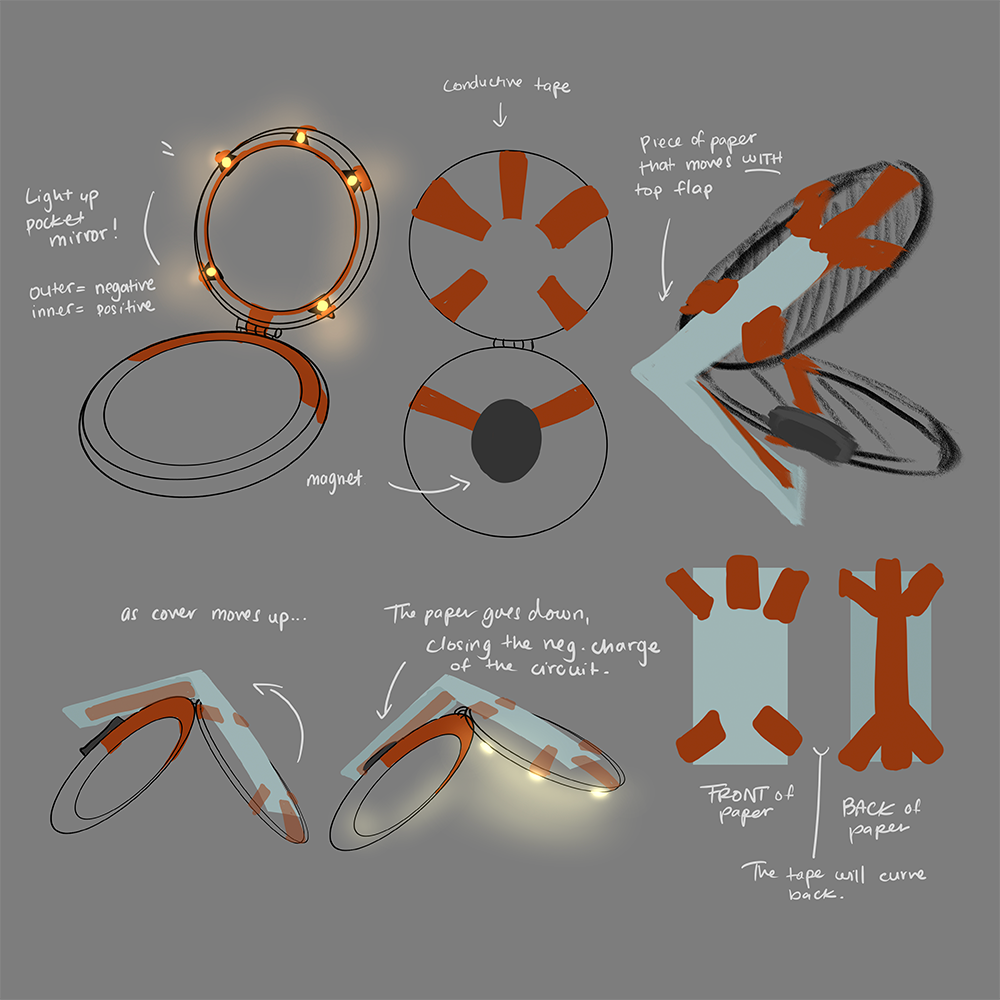
Activity 1: Circuit Experimentation
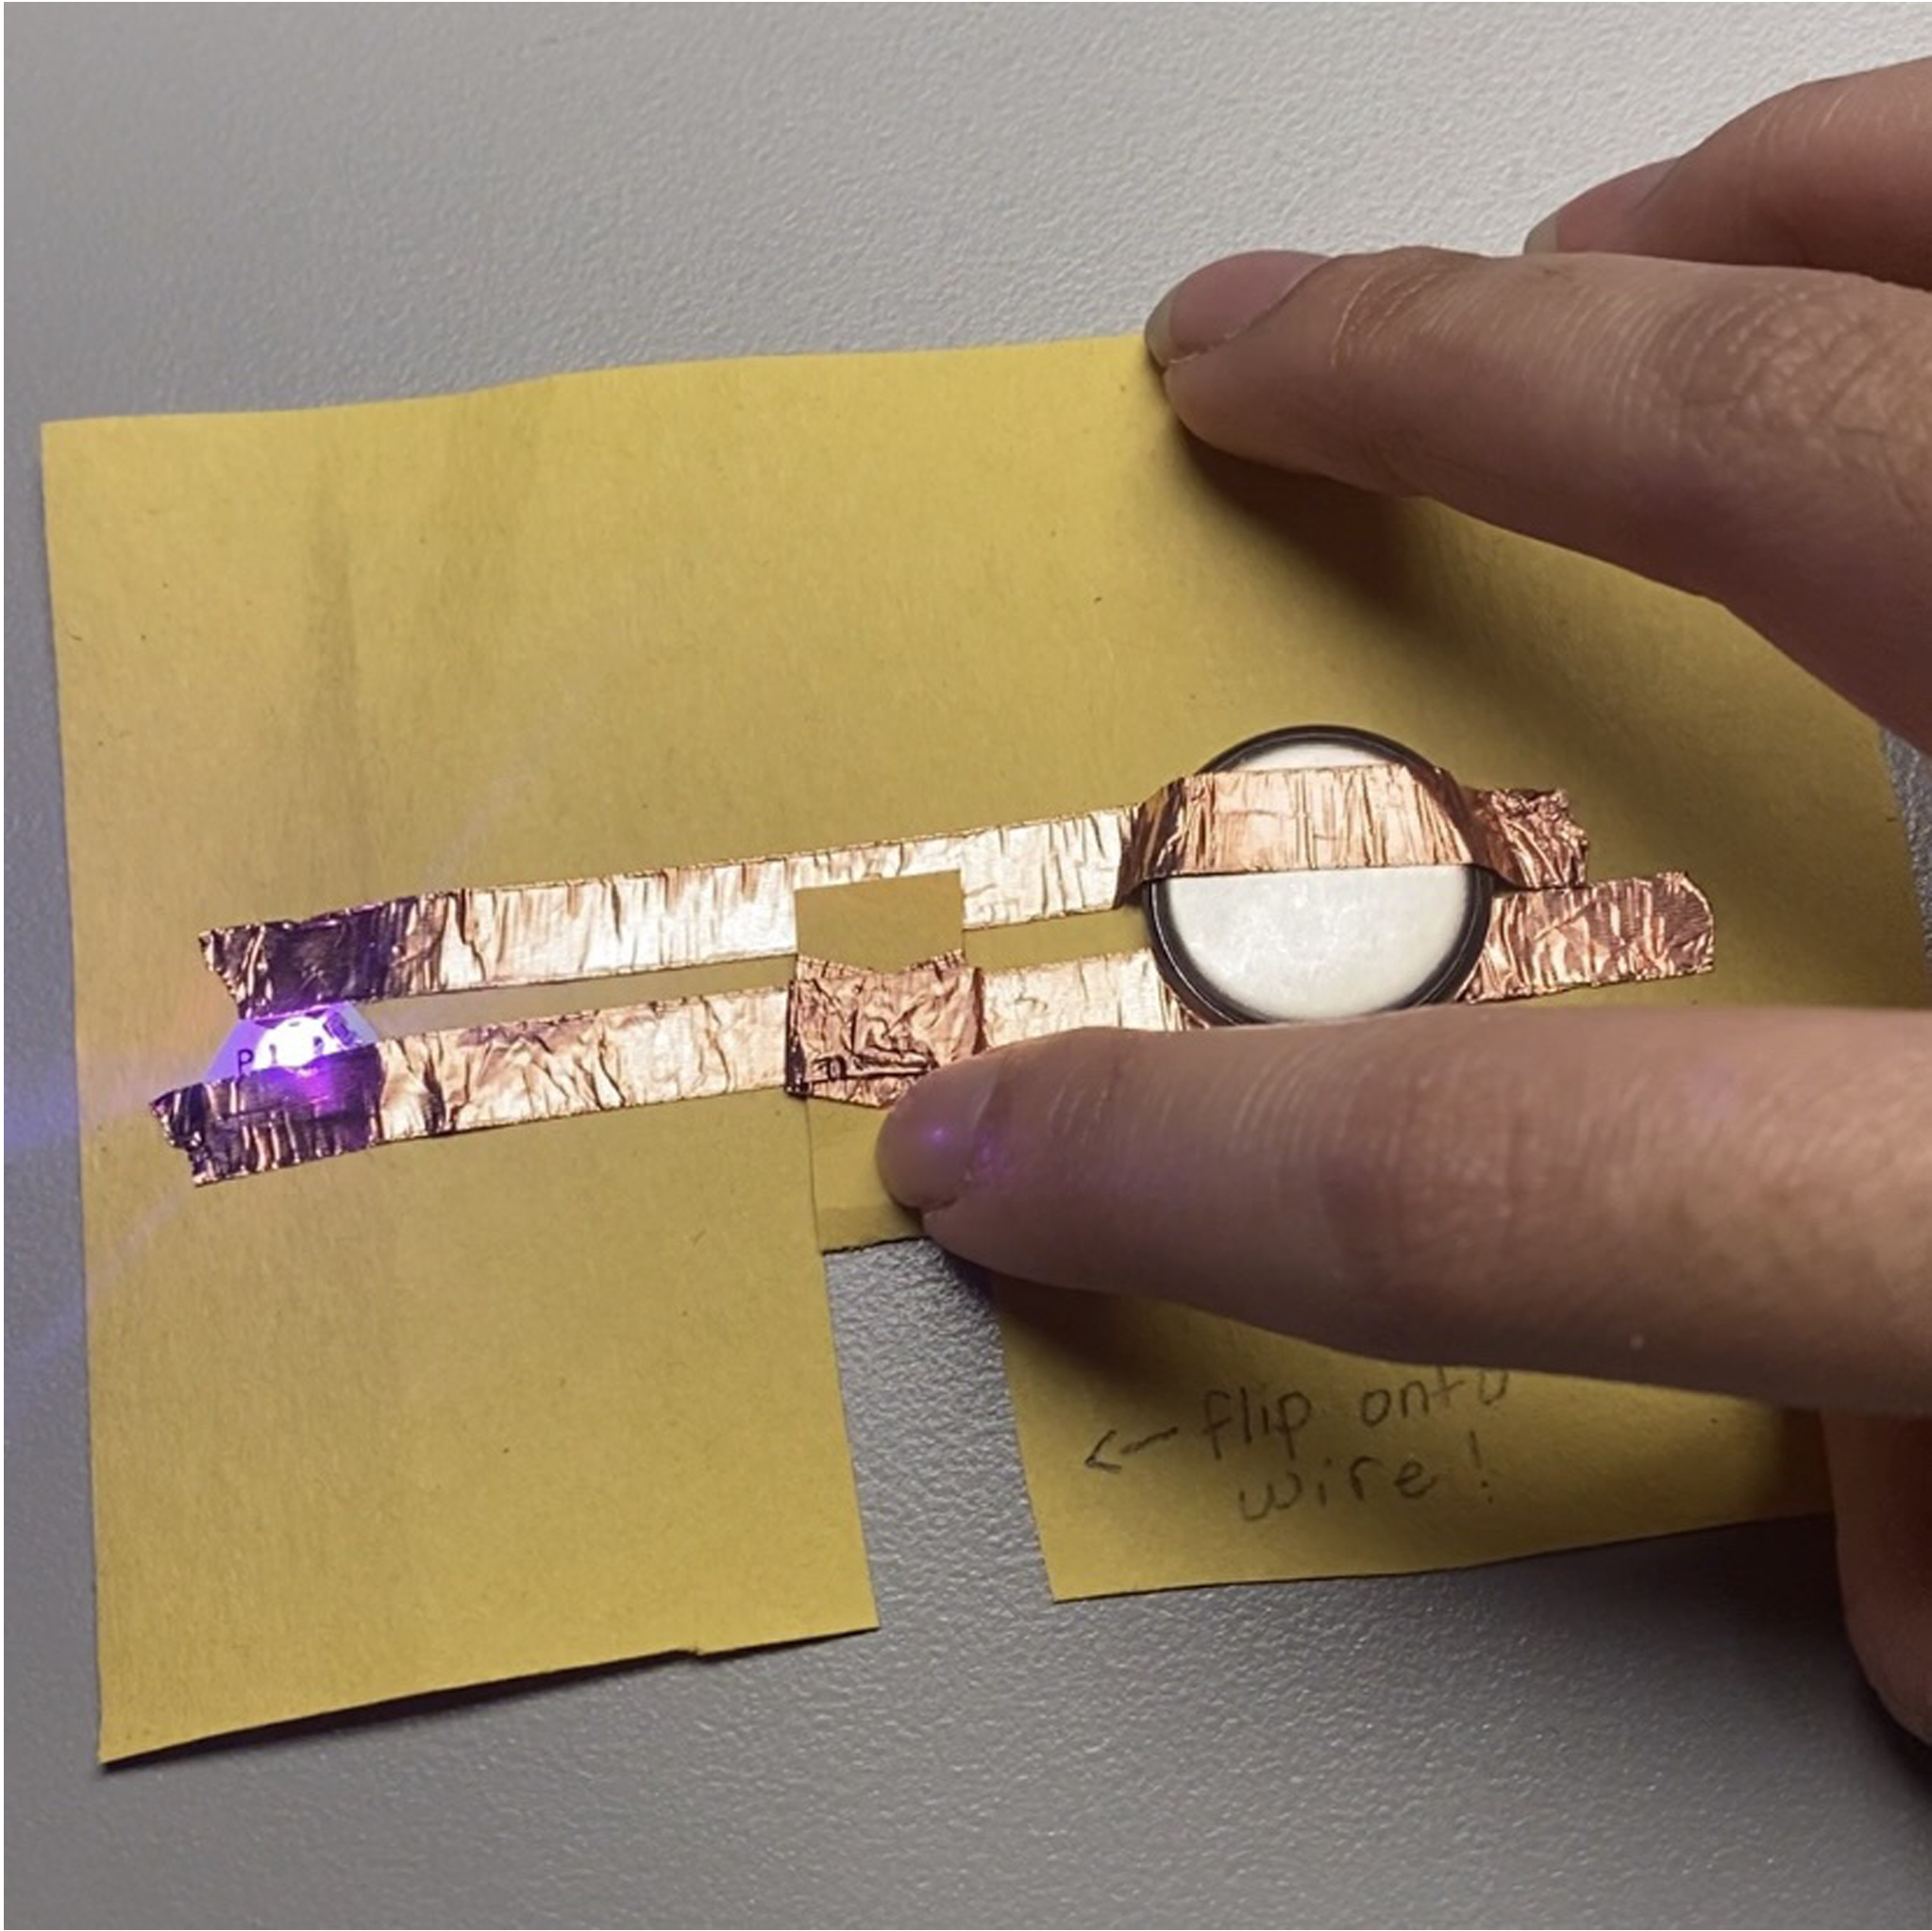
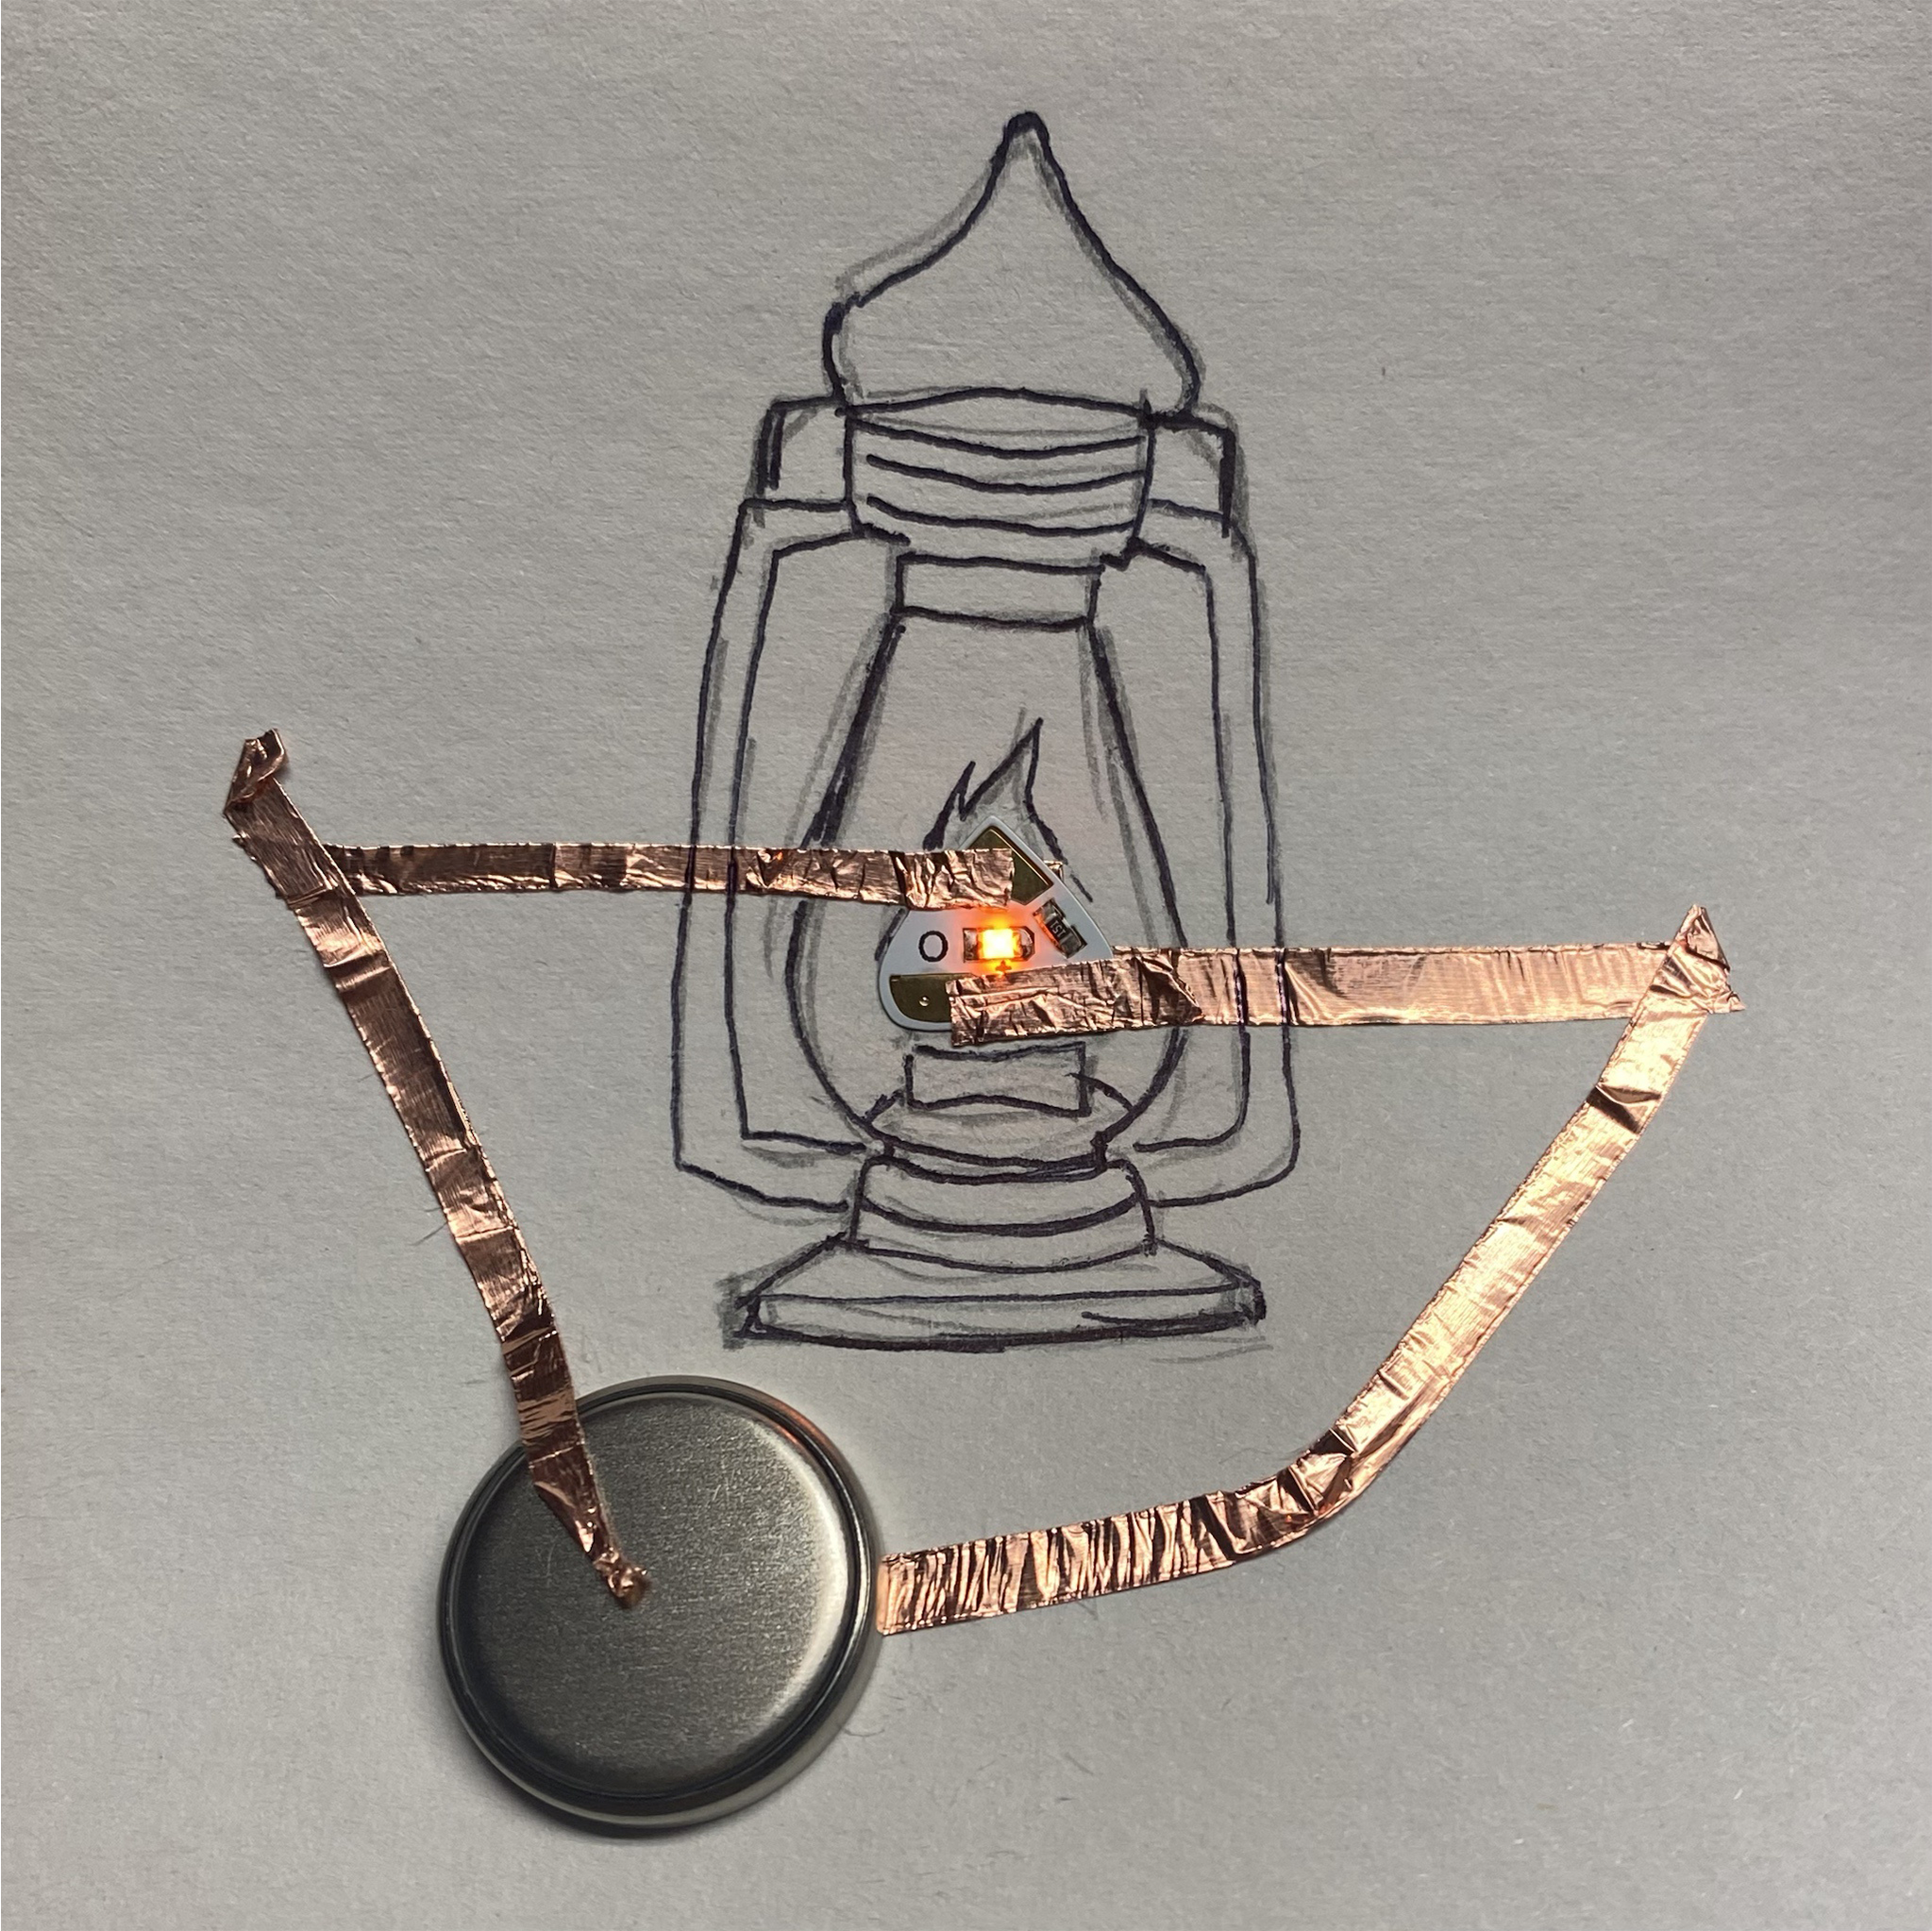
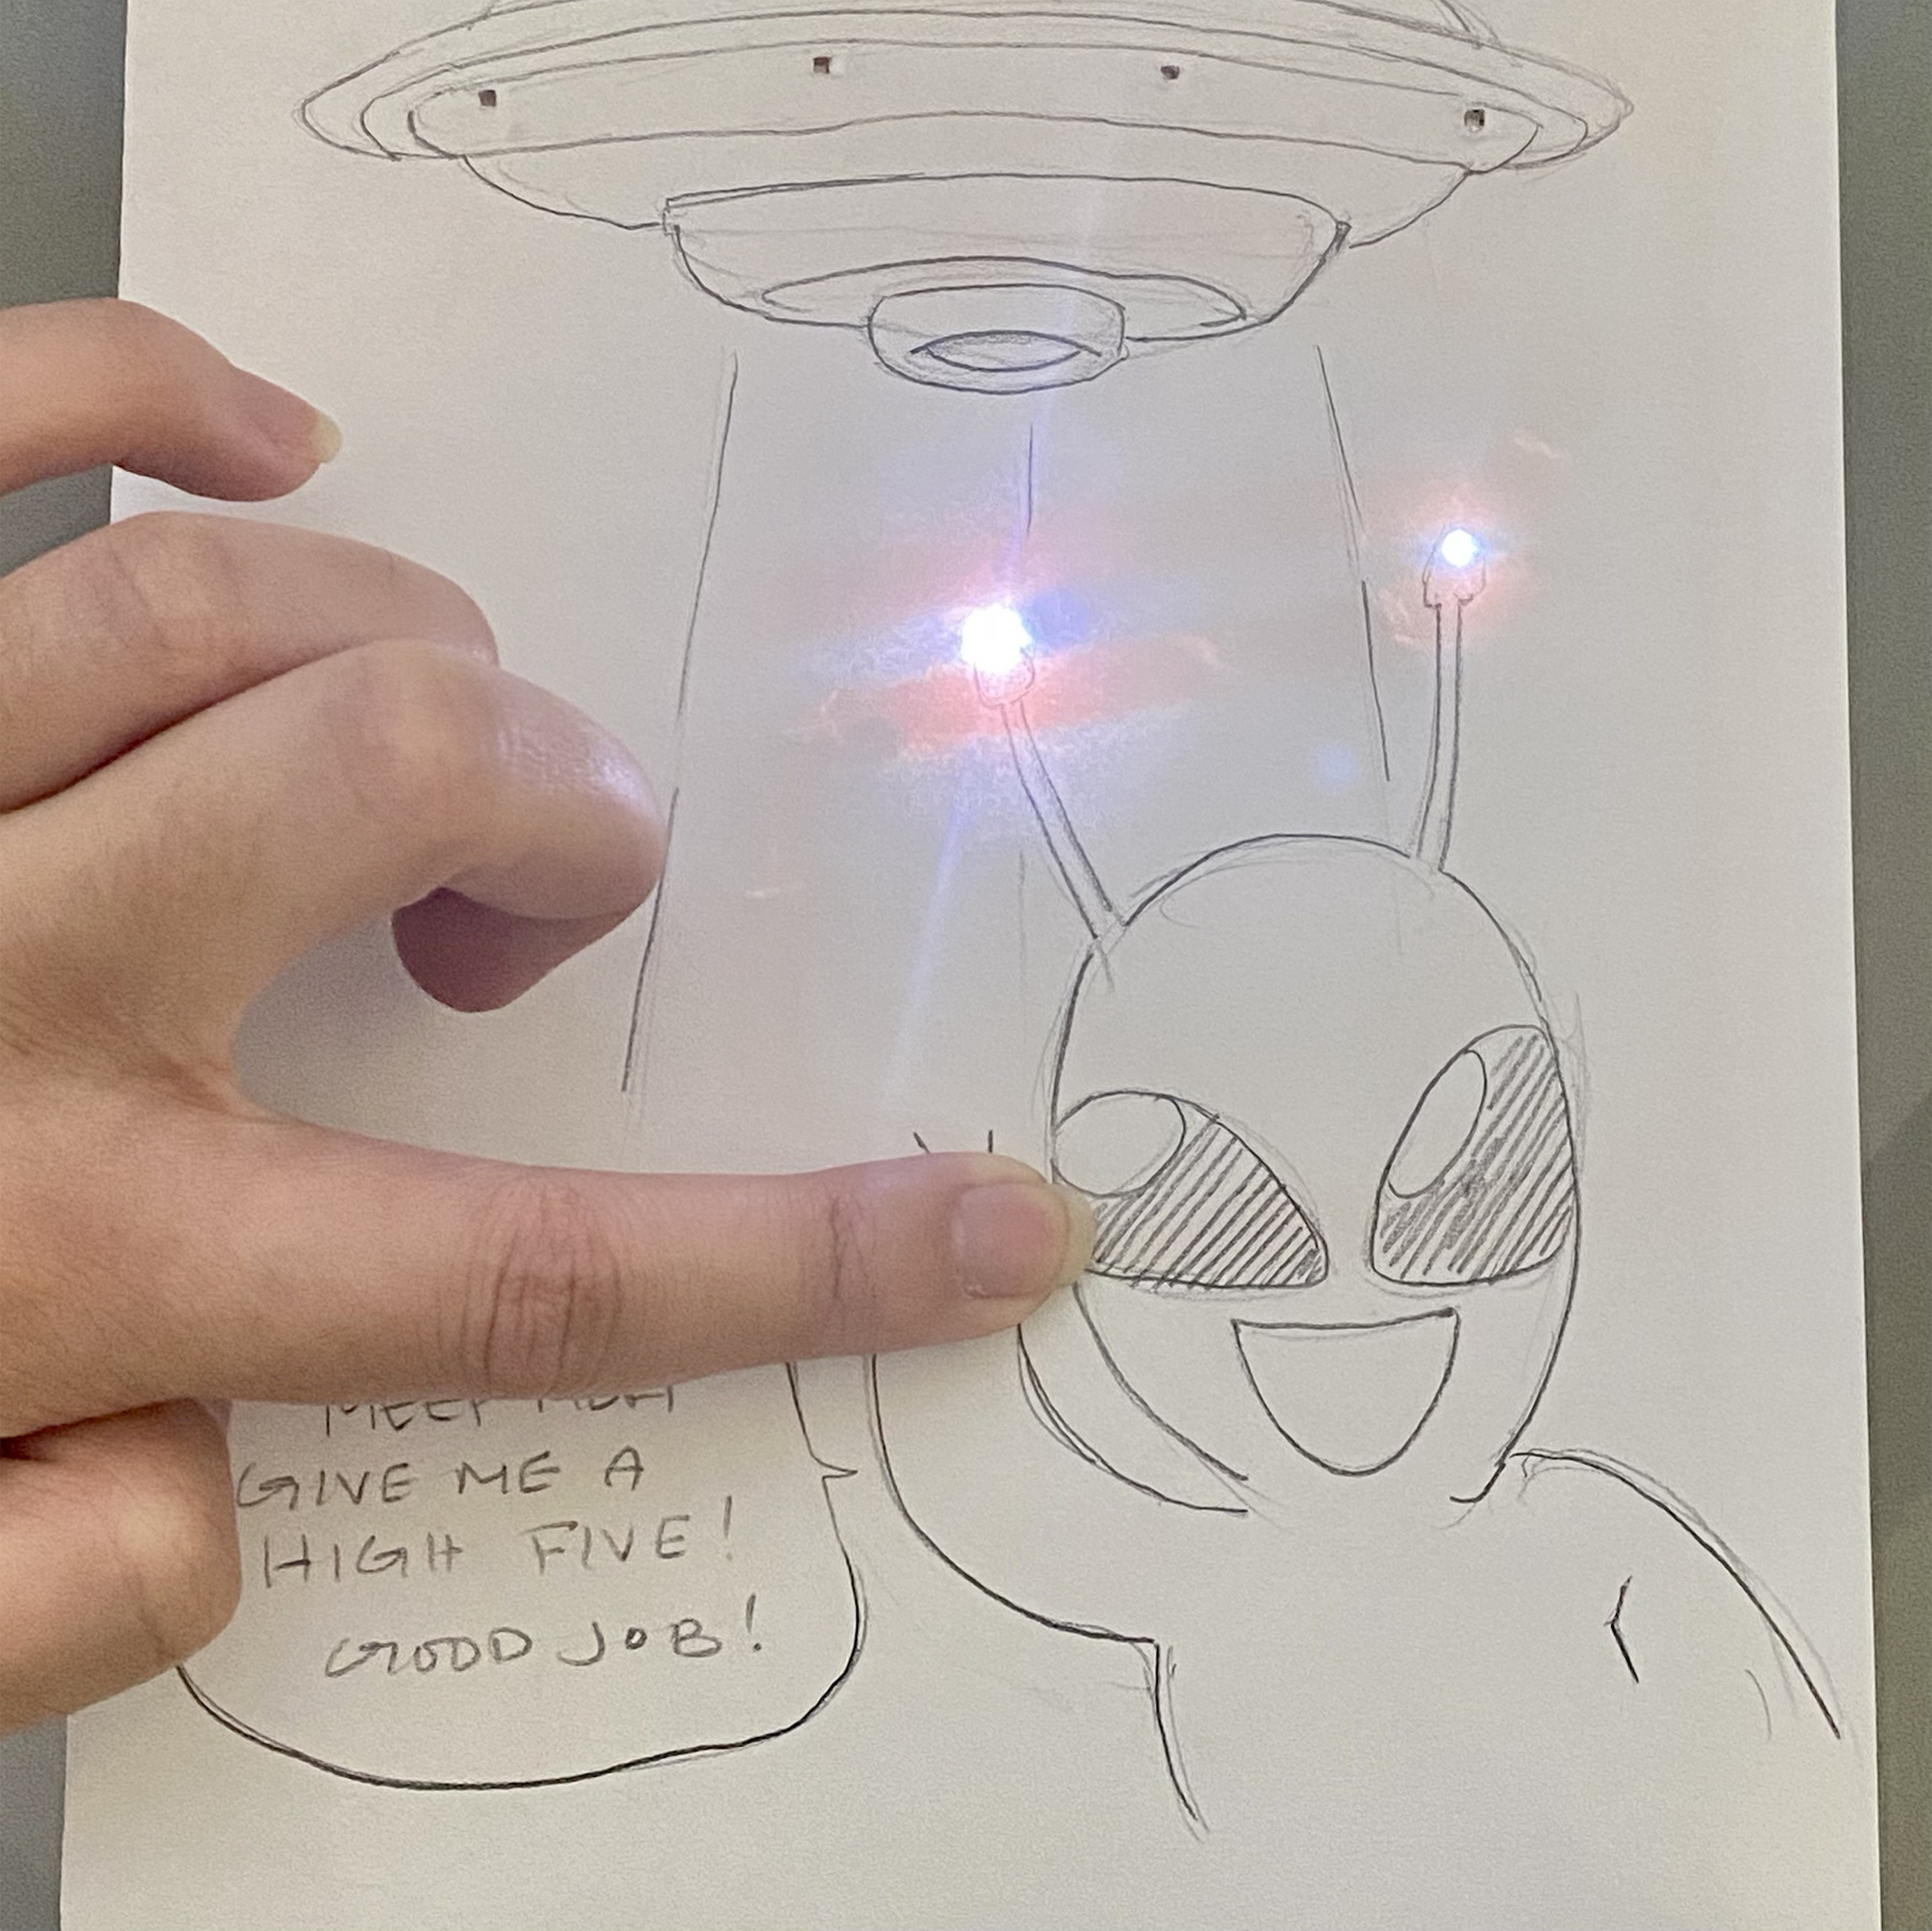
This is the first circuit I ever made. It is a very simple circuit to fundamentally understand how energy flows throughout the circuit. This is my first flip/switch circuit to experiment with how to create interactive circuits. This is a simple circuit where the LED is in the place of fire inside an old lamp. The copper tape is still above the lamp itself here. This is an interactive circuit where you can finish the dress by placing the final piece. This is the previous circuit, but lit up. The necklace lights up once you finish the dress piece. I wanted to take a more illustrative approach while experimenting the wire. One of my characters uses magic, so I wanted him to look like he is using it through the LED. I used the copper wire decoratively to enhance the magic look. This is just a closeup of the previous image. I wanted to begin experimenting with more than one LED being lit up, but hidden. I decided on beads/jewels. This is the first iteration of what was underneath the drawing. I had to make sure the first side lit up before I continued. I also used the conductive wire and tape for this because I wanted to further experiment. This is an image where none of the LEDs were lighting up - it was definitely finnicky at first, but I was able to sory it out by adjusting the placement of the wire onto the LEDs. This is the previous image all lit up. This is the final image, with the drawing placed on top. Holes were poked through the paper to light up the beads in the drawing. Another angle of the drawing but in darker lighting to show the LEDs better. This is the initial concept of a bullfighting sequence, and the beginning of me placing the copper tape on top. My goal was to use the conductive fabric as the red cape, to experiment with the fabric. I didn't know how I would do this without the copper tape showing though, so I unfortunately had to do this on top of the drawing. More process of the bullfighting concept. This is the final image of the bullfighting concept, where I placed the fabric over the copper tape to finish the circuit. This is a refined version of the previous bullfighting concept. I didn't use the conductive fabric for this, but it is more interactive. The paper prompts us to give the bullfighter his cape, and when you press down, the bull's eyes light up! This is how the circuit looks on the inside - it's a relatively simple interactive circuit. This is an image of the alien circuit with the UFO lit up. This is an image of the alien circuit with the alien's antenna lit up. This is how the circuit looks. It's messy, and I definitely want to improve in cleaner placement. I created two different circuits that could be interacted with by closing the circuit with the page.

Activity 2

put a description here or you will lose grades put a description here or you will lose grades put a description here or you will lose grades put a description here or you will lose grades put a description here or you will lose grades put a description here or you will lose grades put a description here or you will lose grades put a description here or you will lose grades put a description here or you will lose grades put a description here or you will lose grades put a description here or you will lose grades put a description here or you will lose grades put a description here or you will lose grades put a description here or you will lose grades put a description here or you will lose grades put a description here or you will lose grades put a description here or you will lose grades put a description here or you will lose grades put a description here or you will lose grades put a description here or you will lose grades put a description here or you will lose grades put a description here or you will lose grades put a description here or you will lose grades put a description here or you will lose grades put a description here or you will lose grades

Project 1


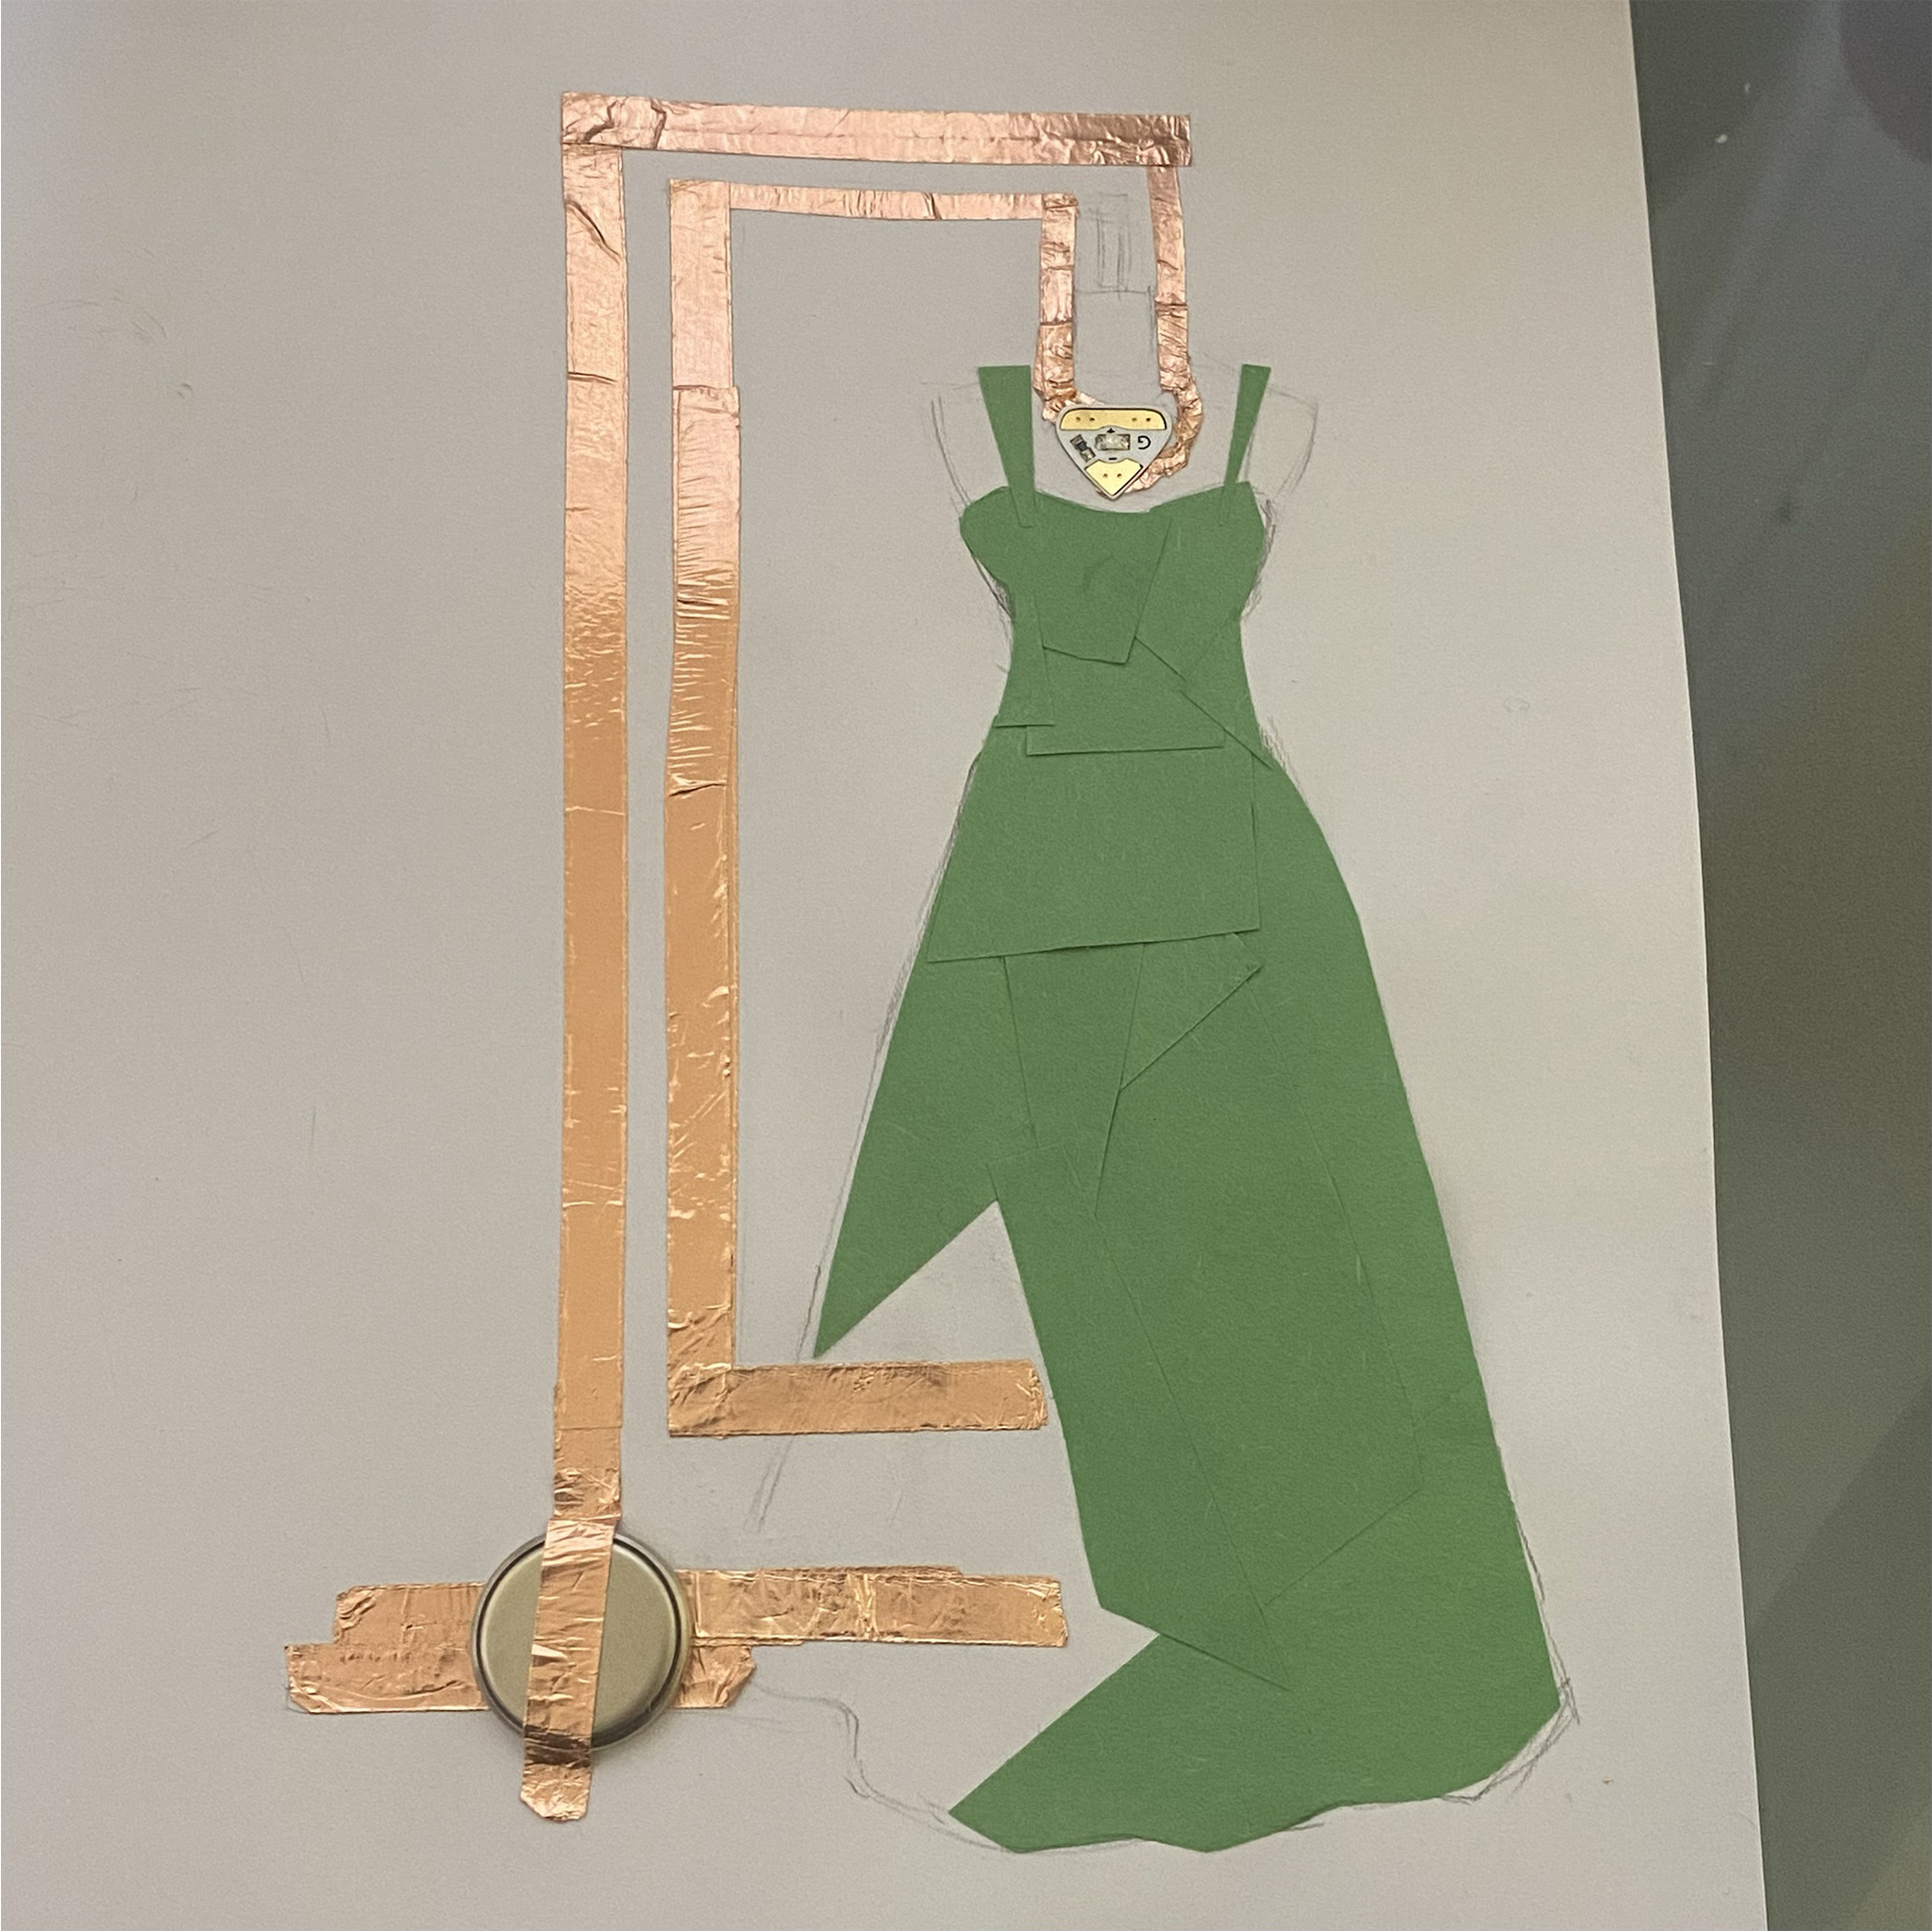
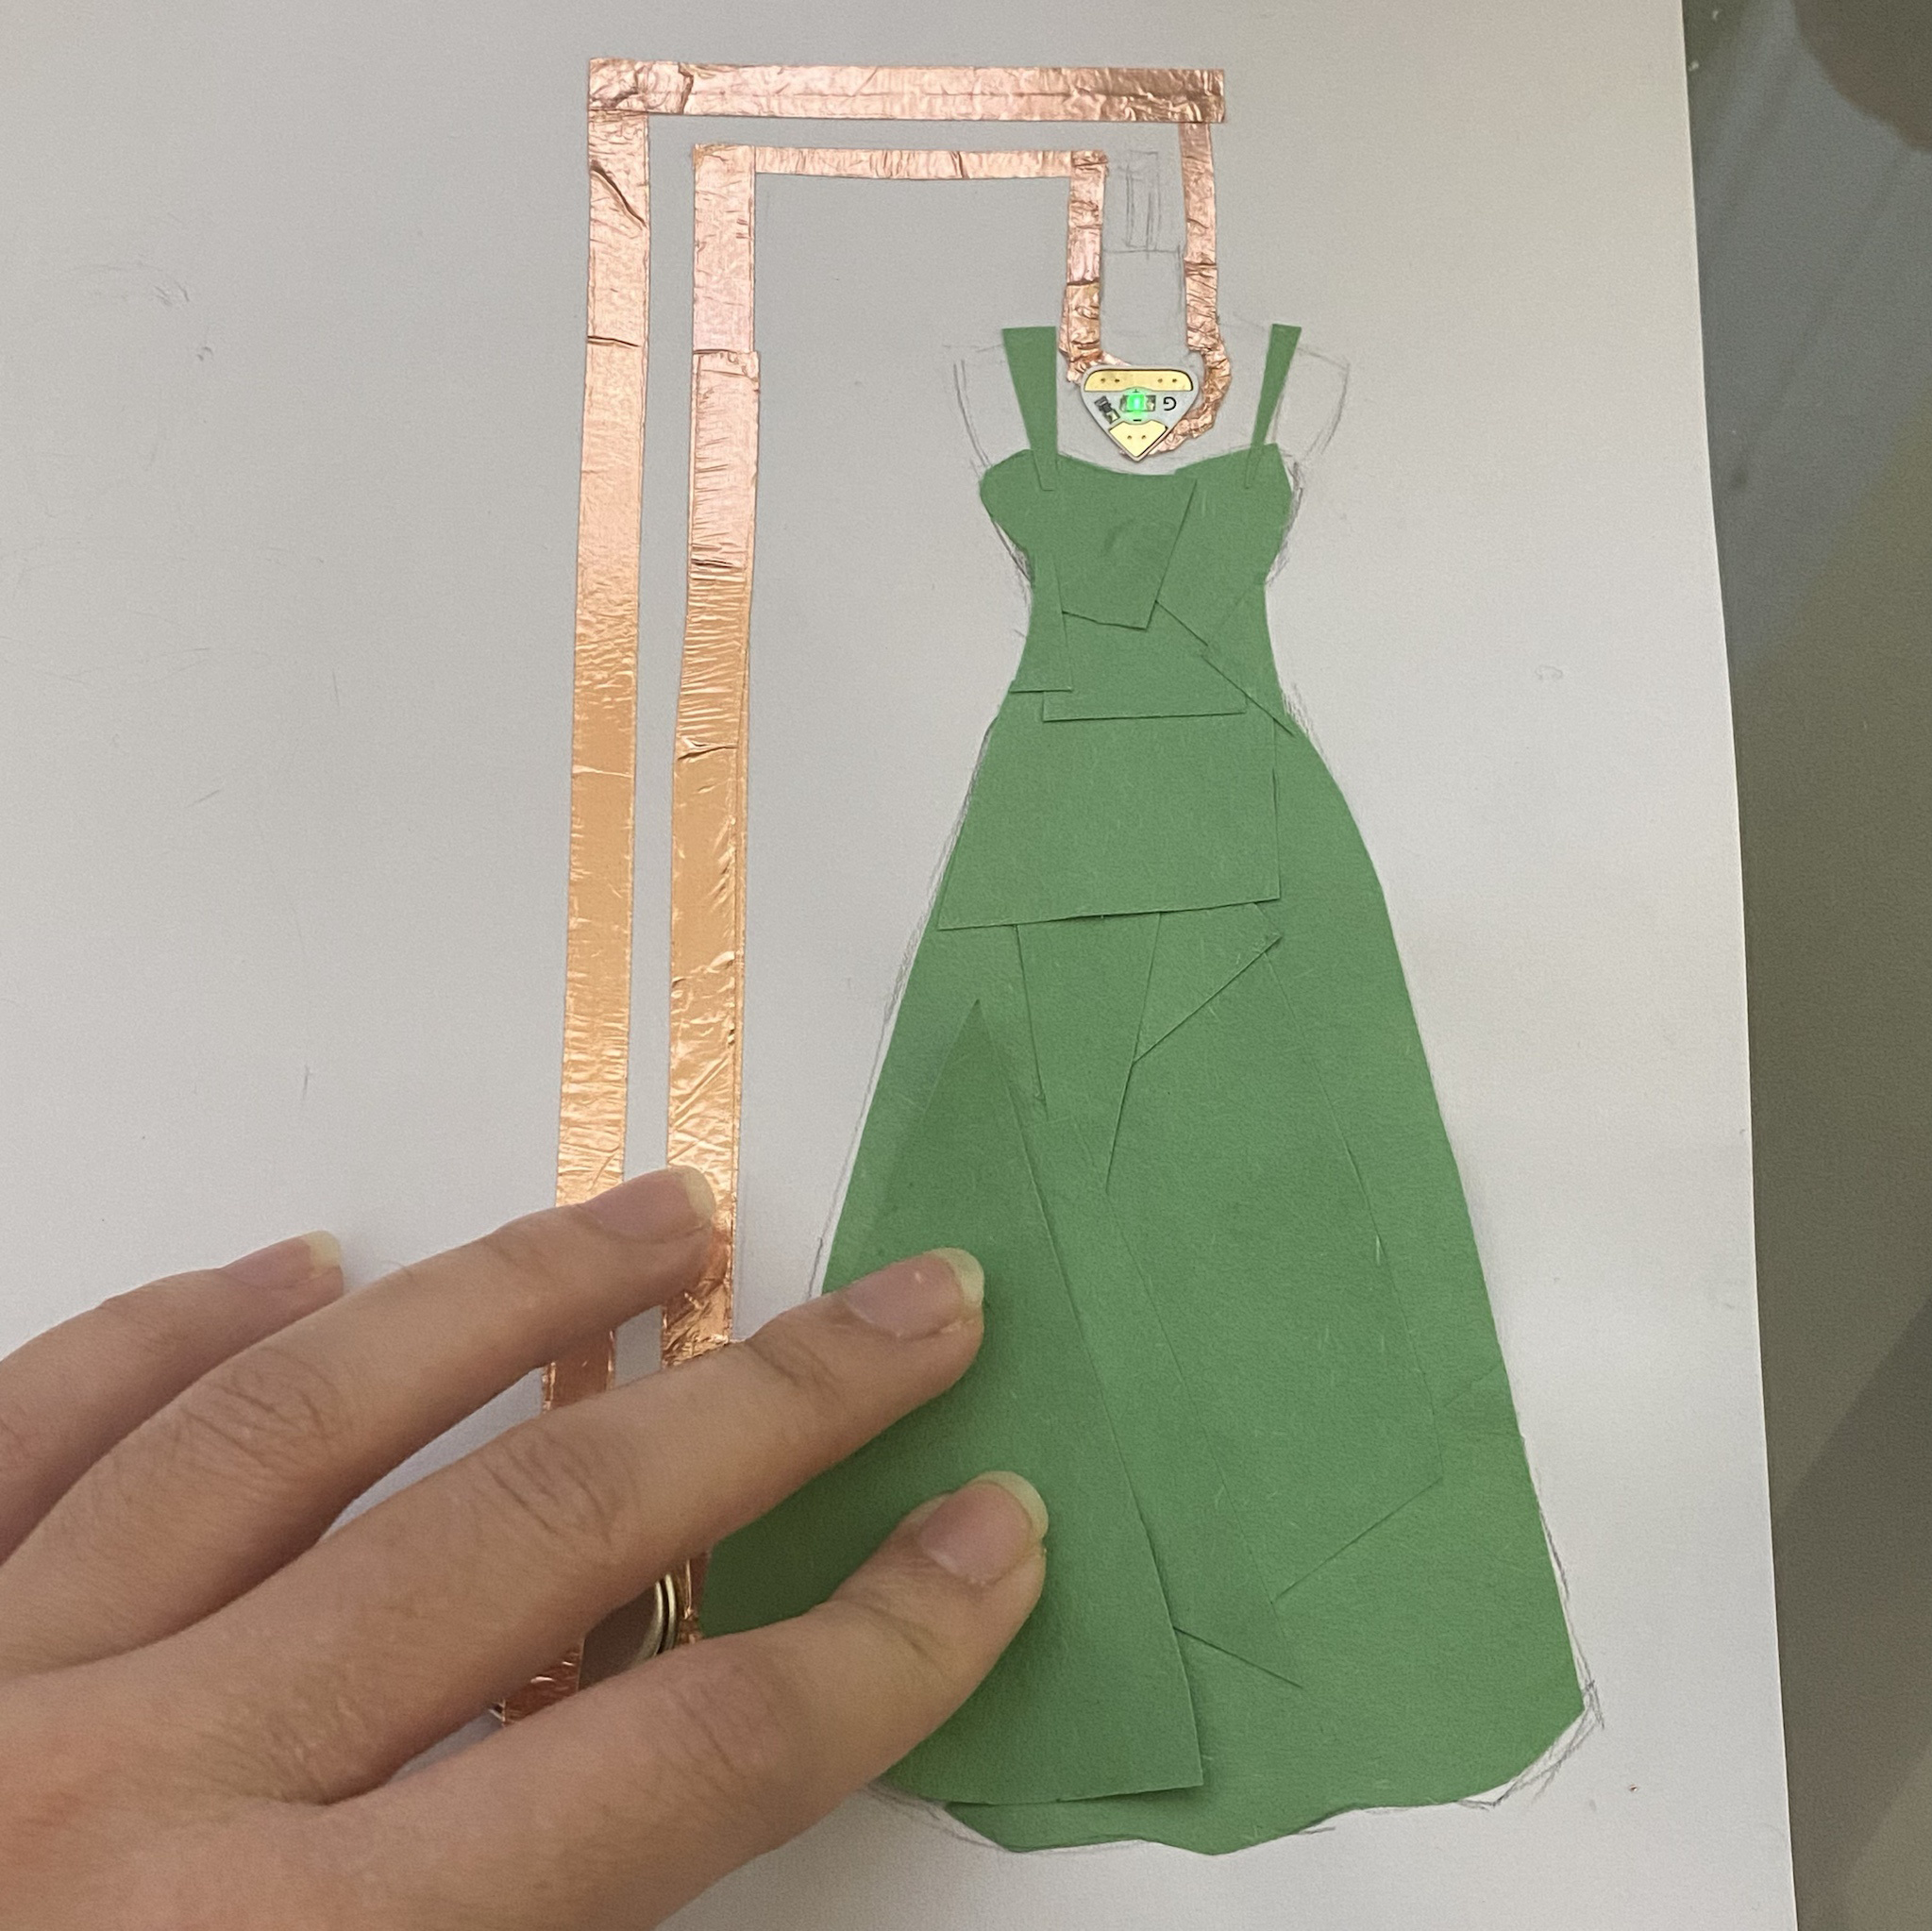
Final Project 1 Design

Wearable Interactive Affordance Based Circuit

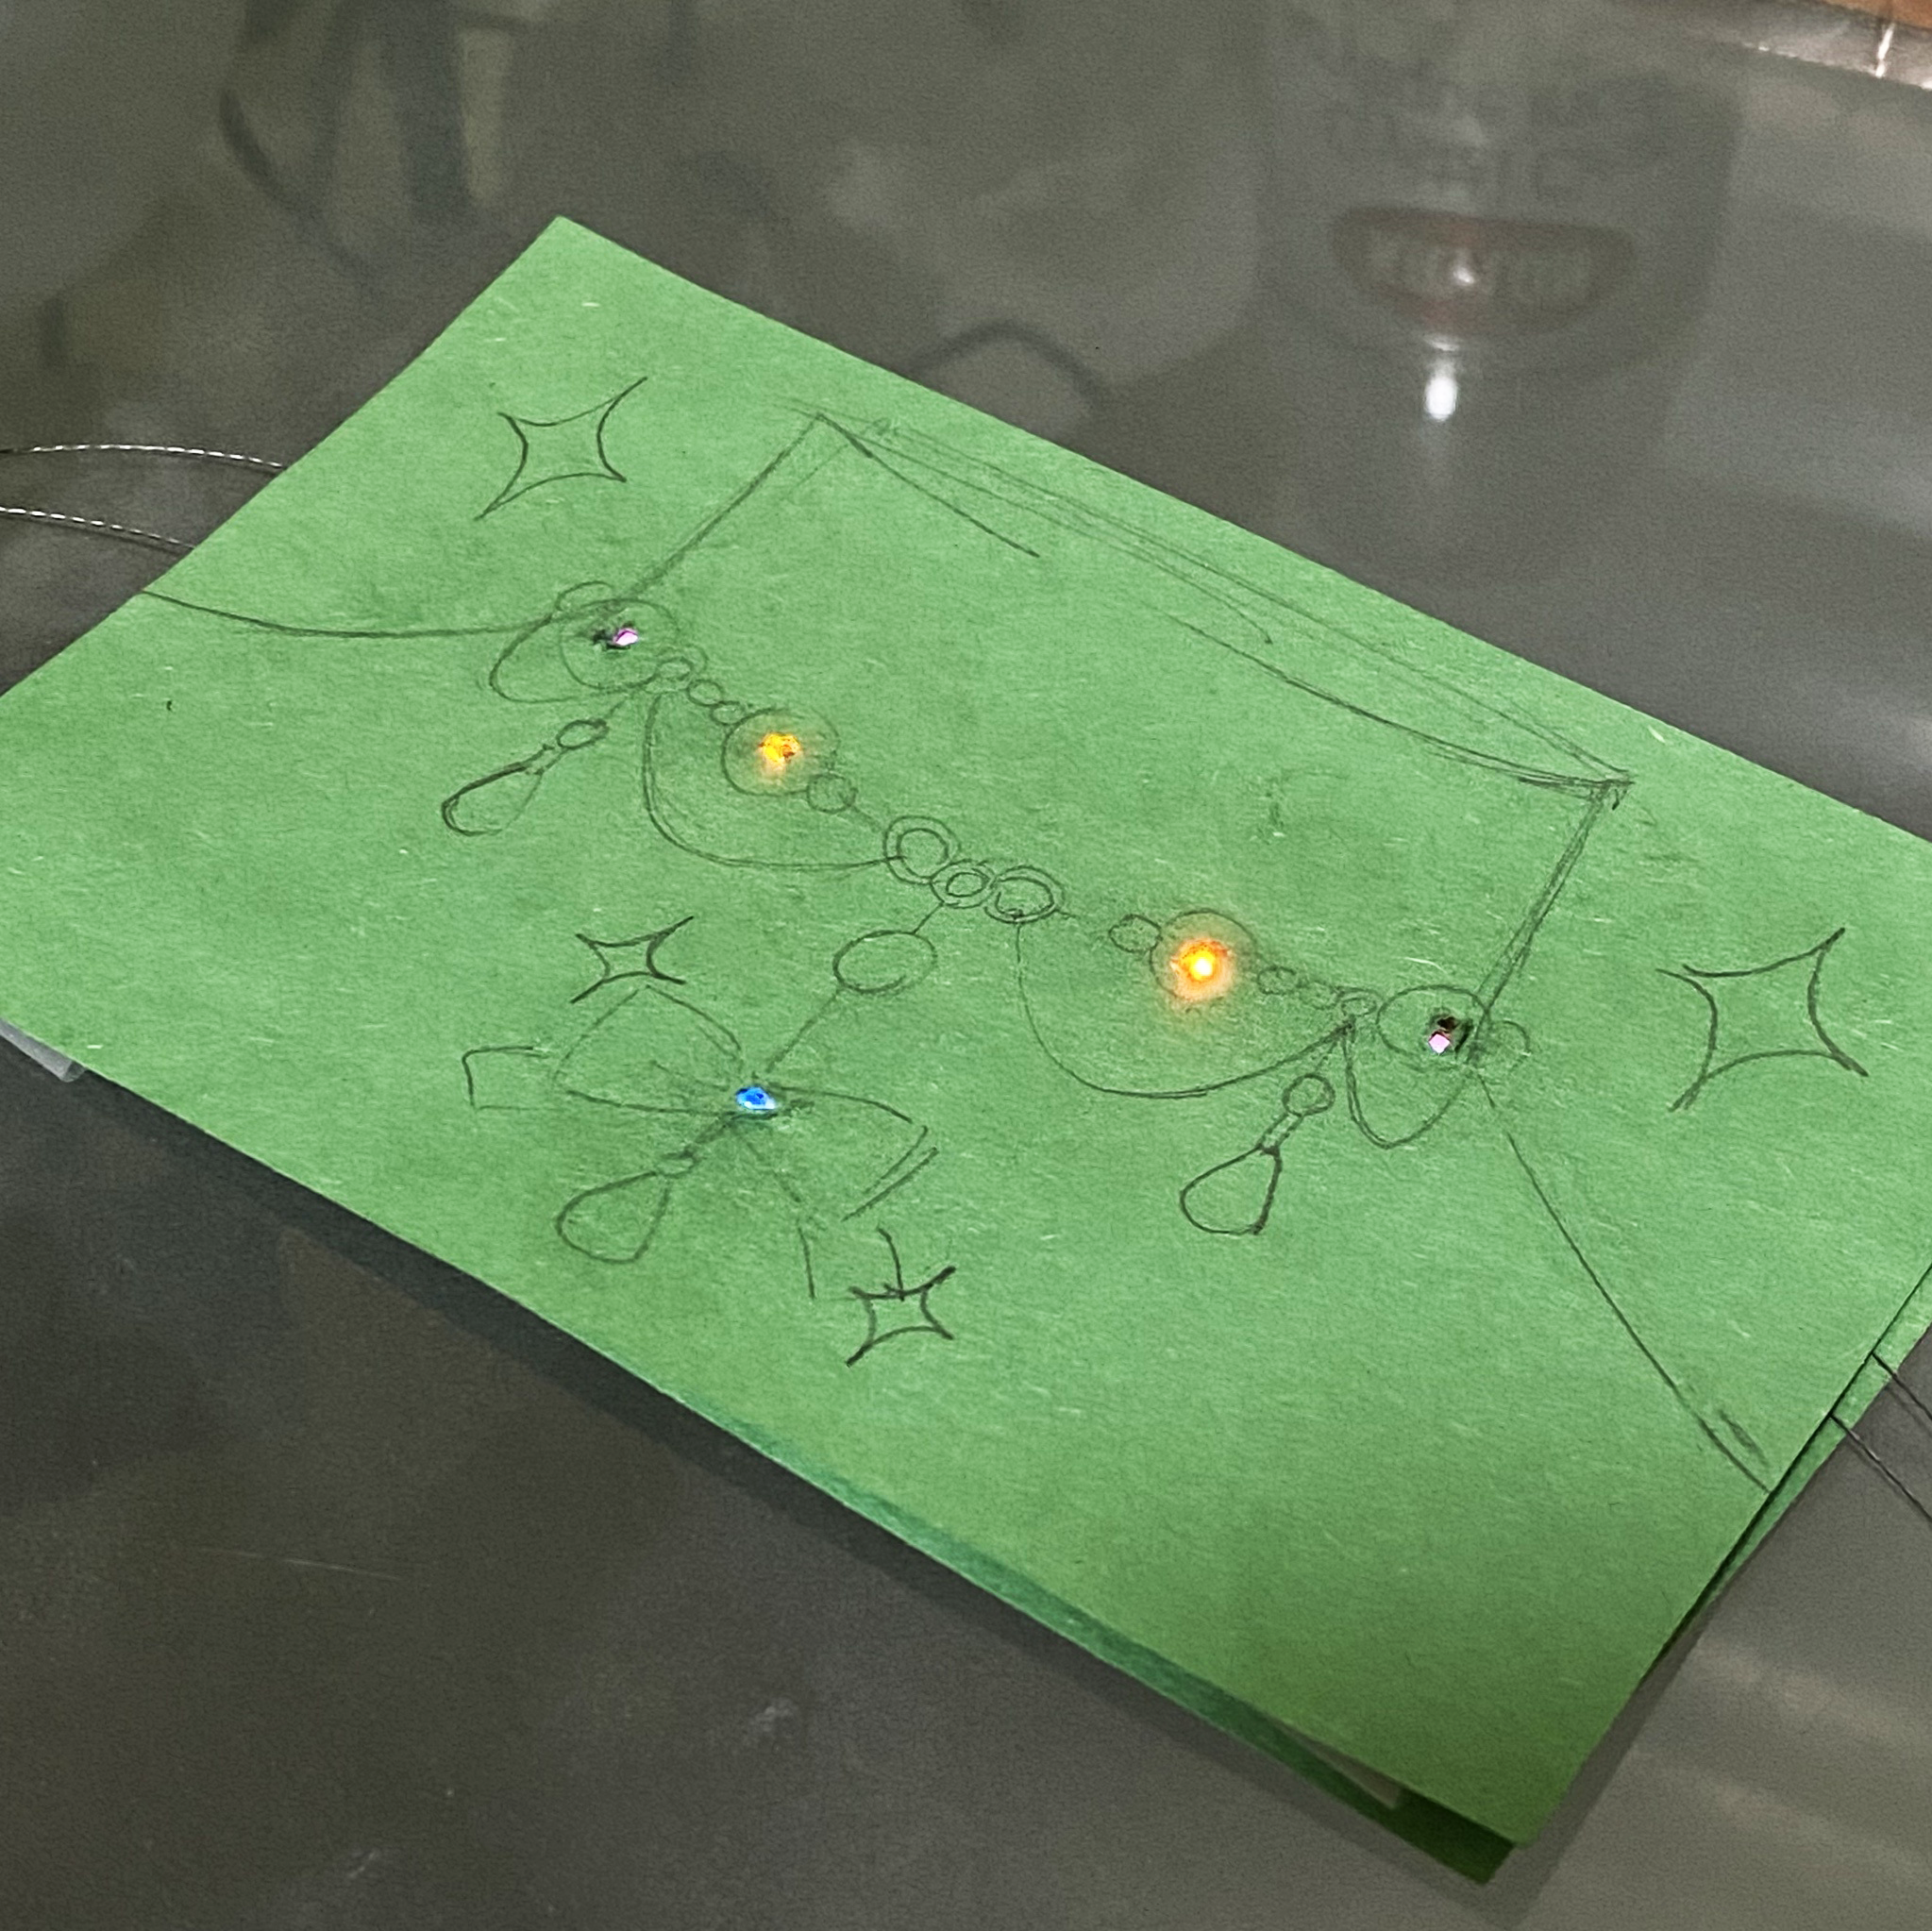
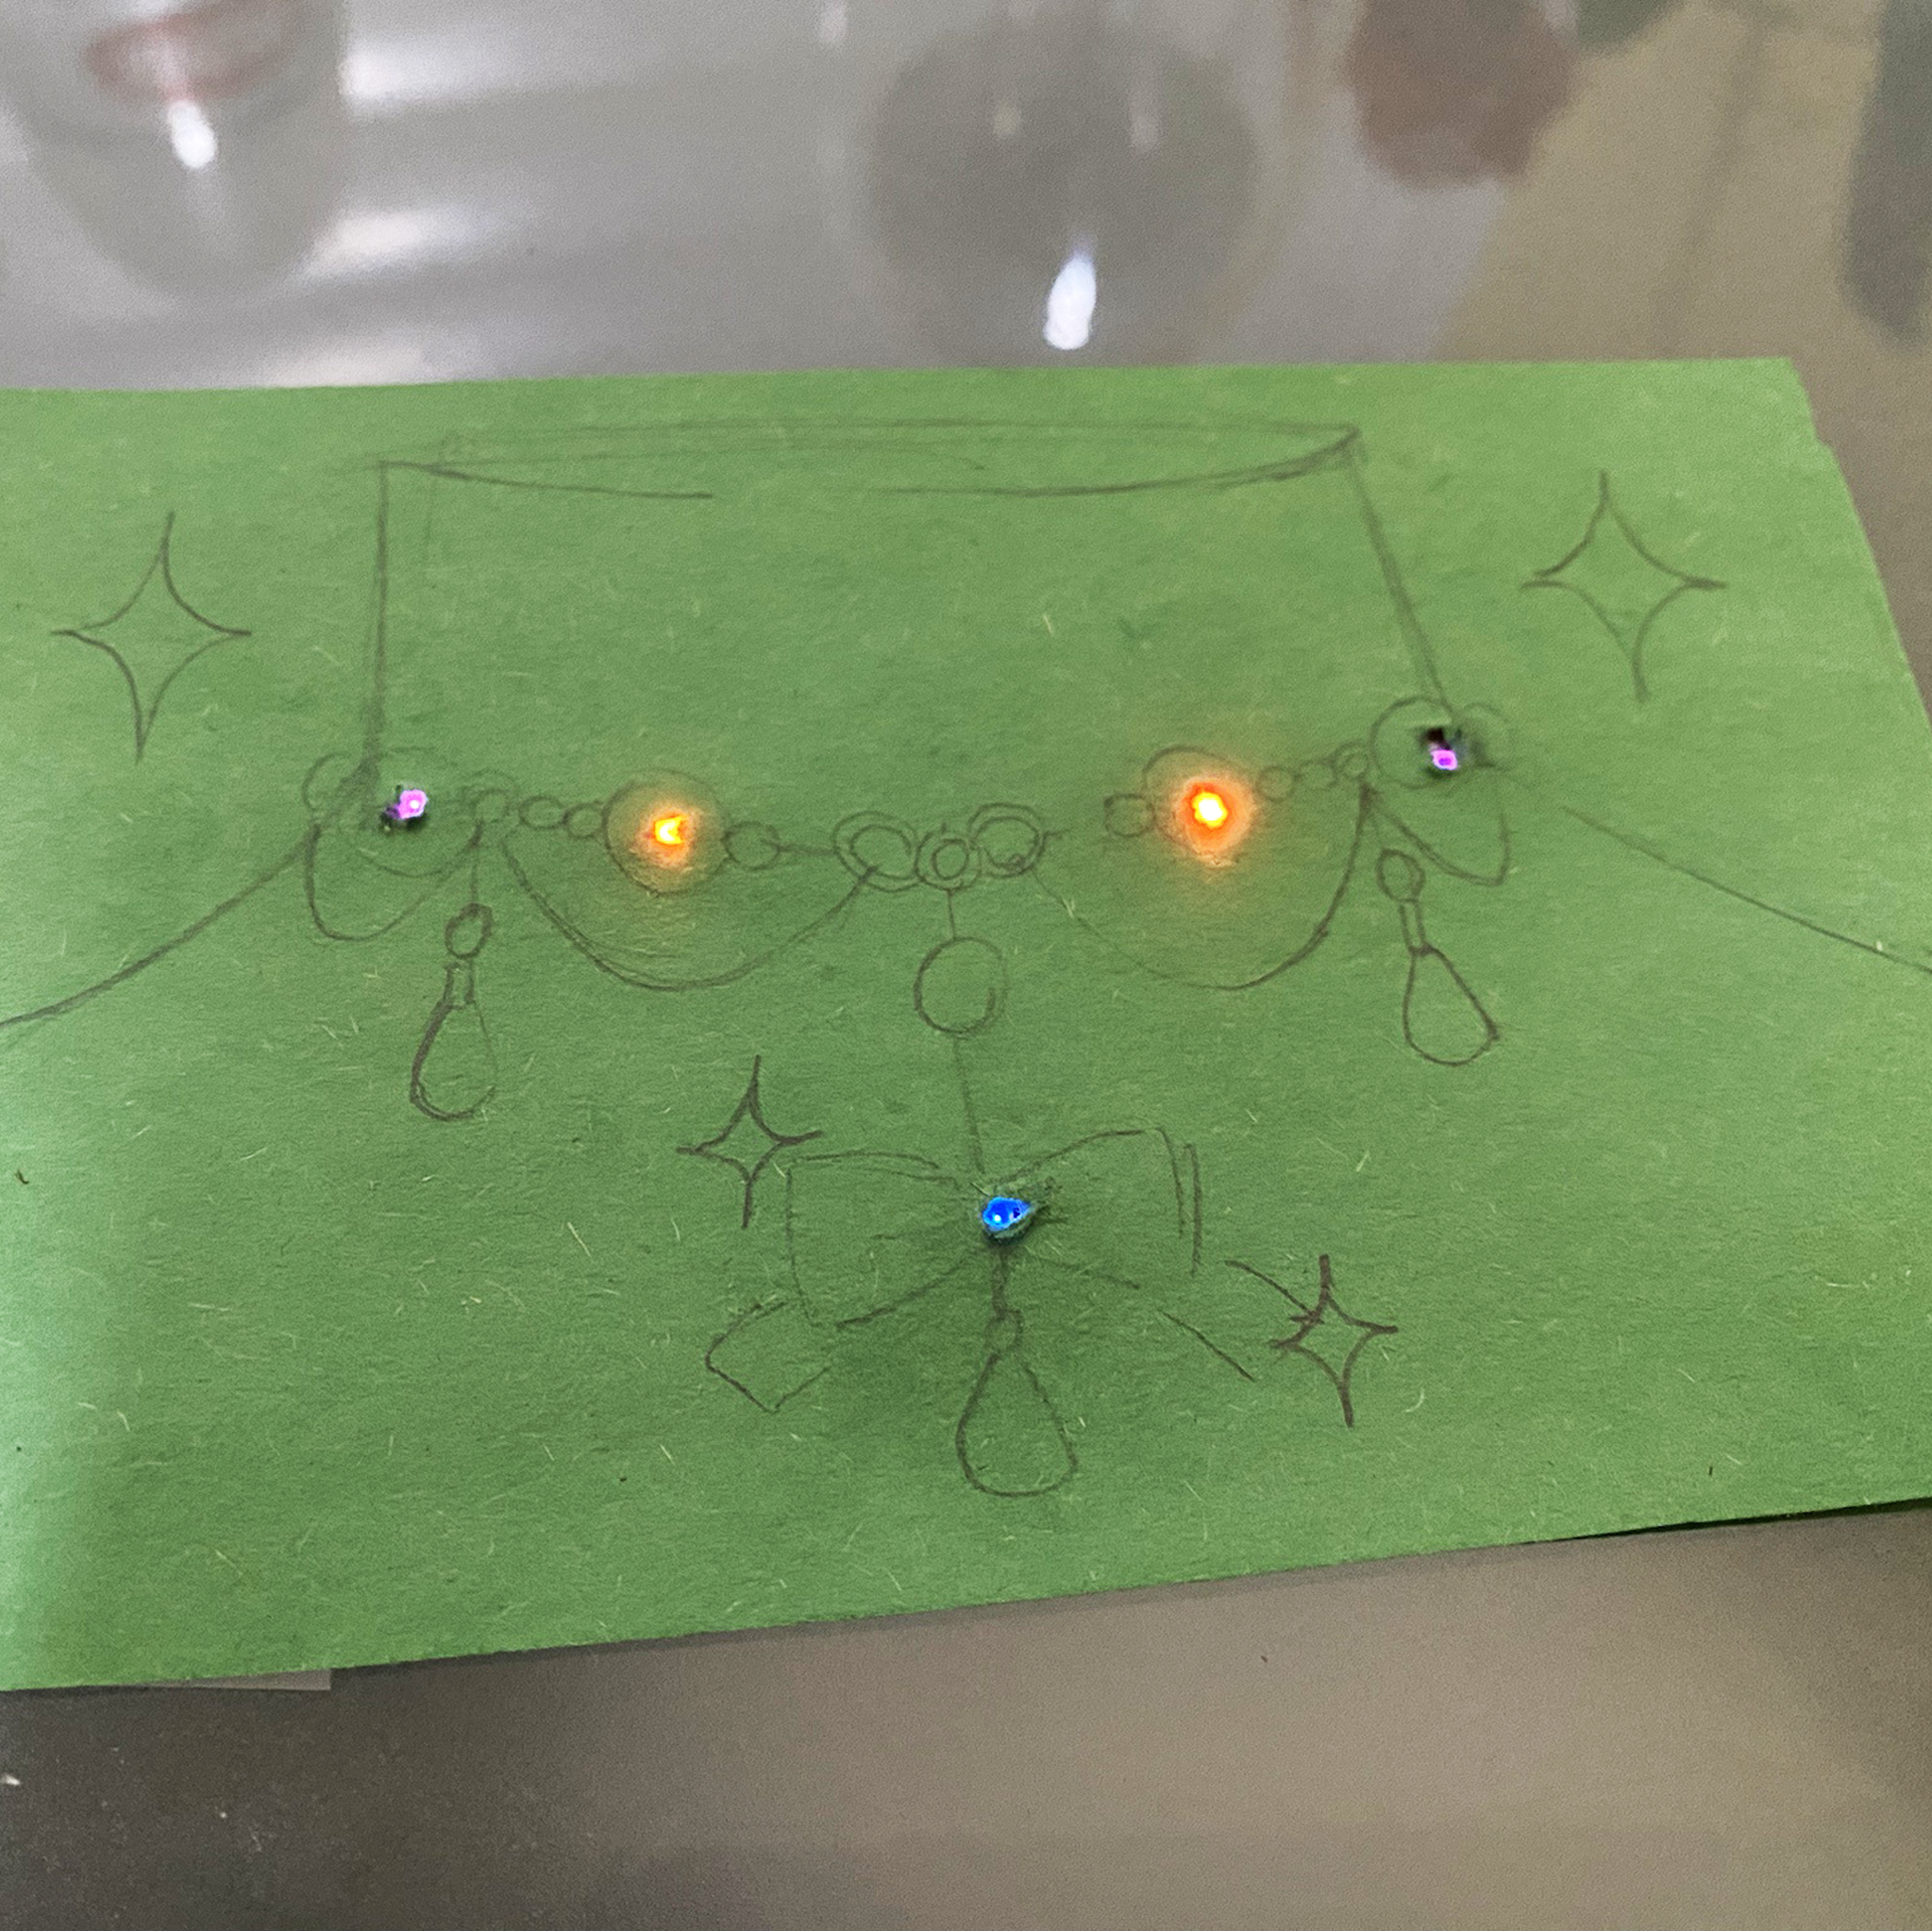
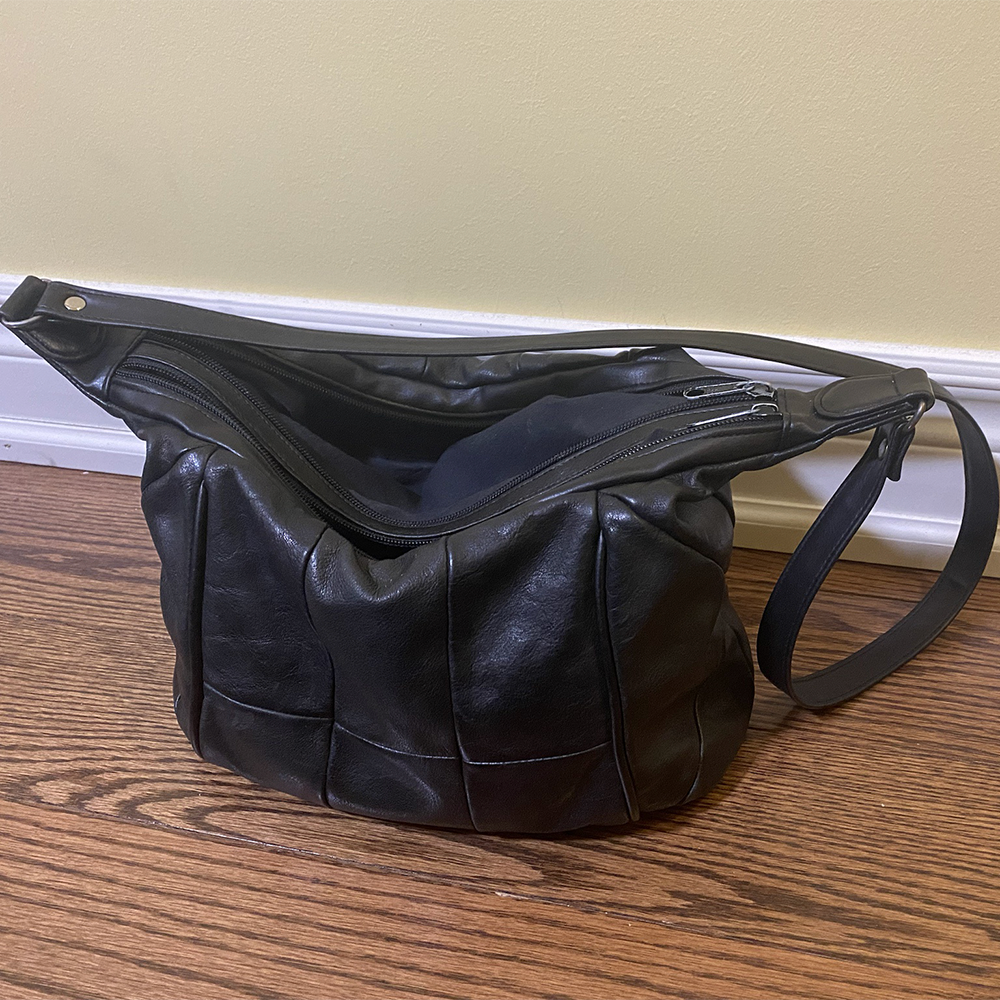
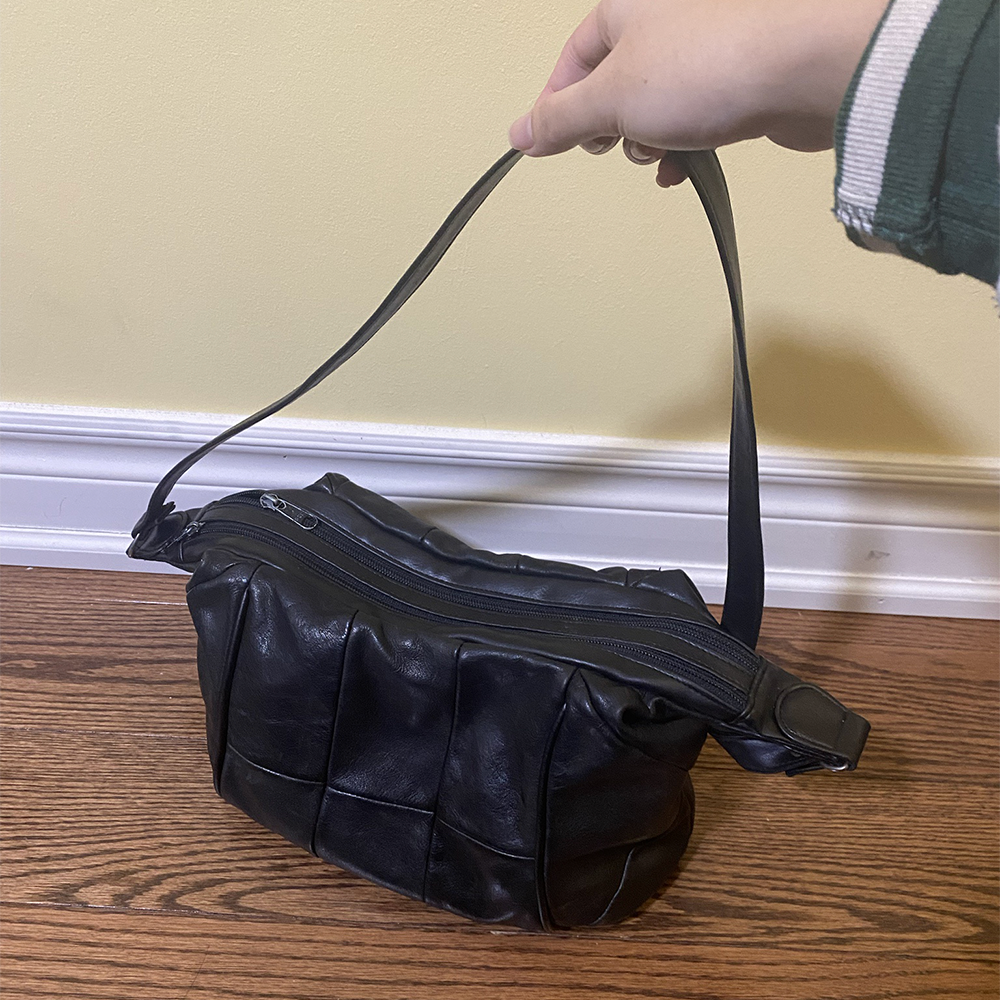
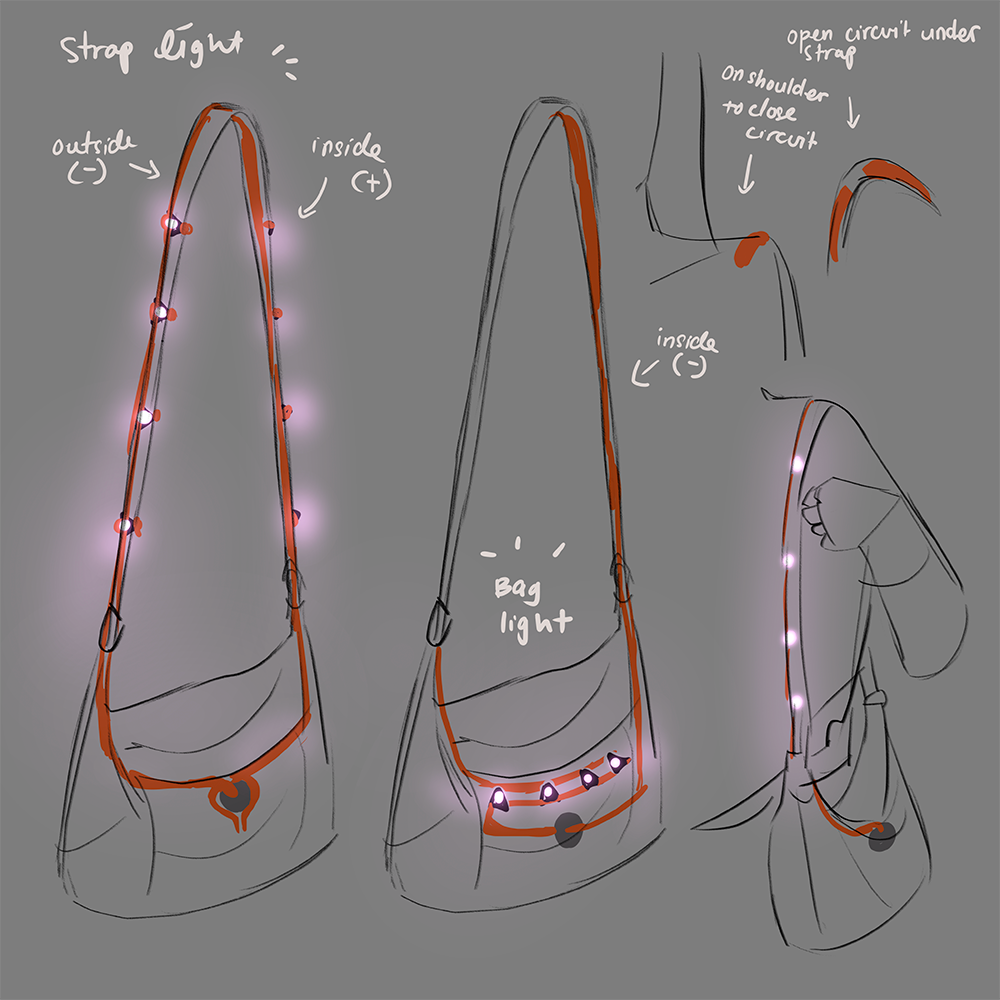
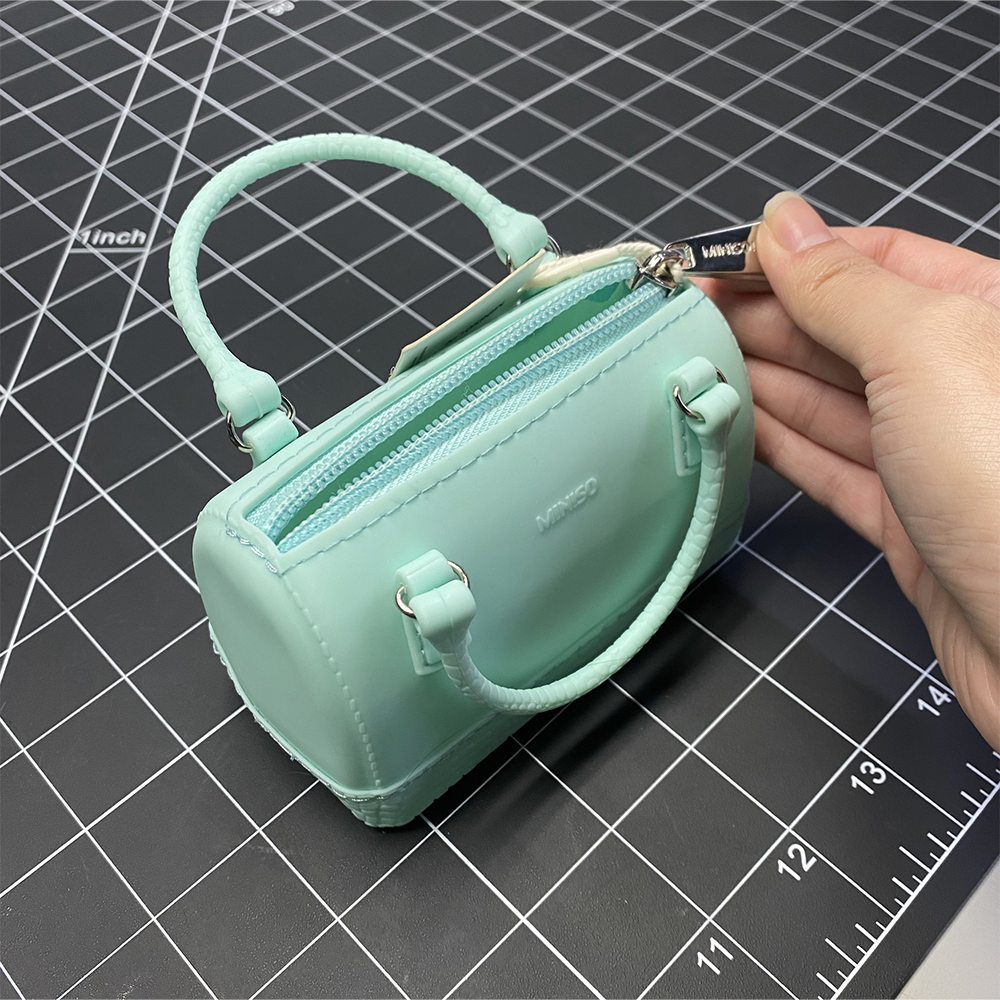
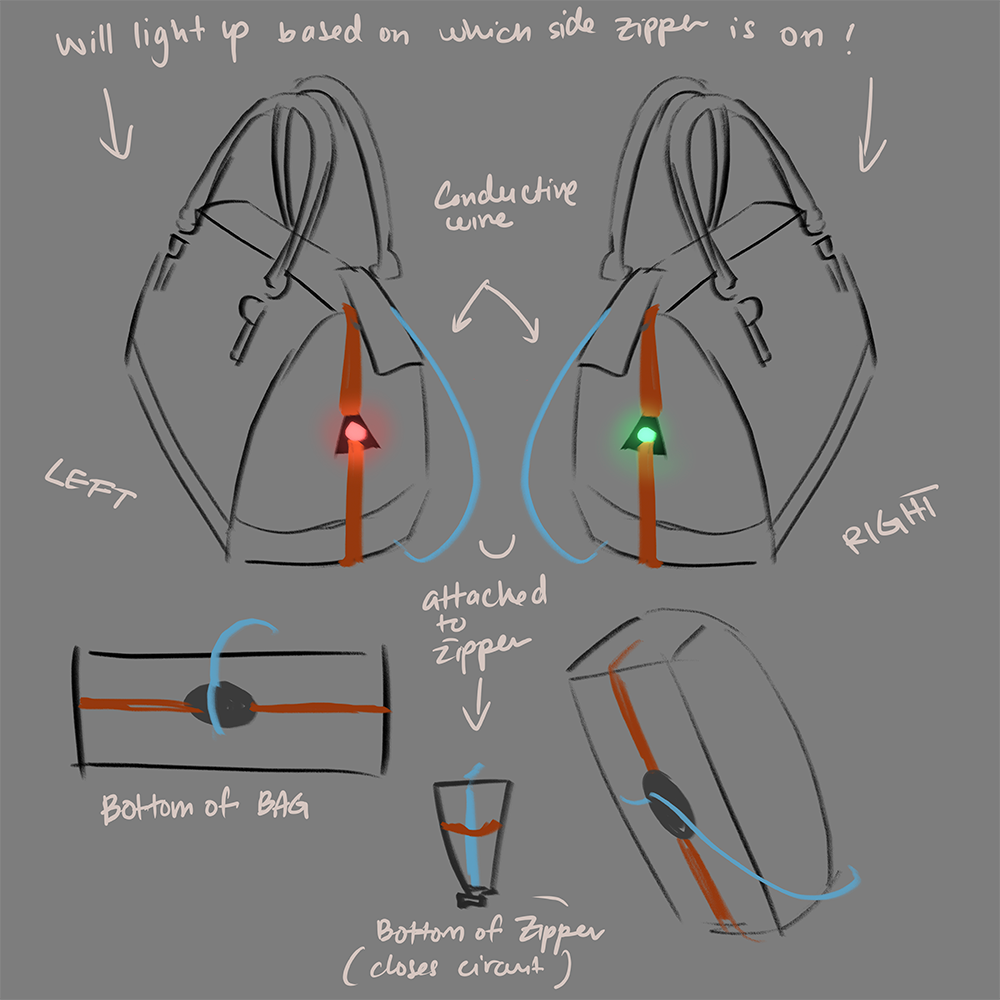
My wearable circuit is a bag that lights up when a button is pressed. When it's dark at night and you can't see what's in your purse, why pull out your phone flashlight when you could have lights inside the bag already? This circuit is meant to make the task of searching through your bag in the dark easier.


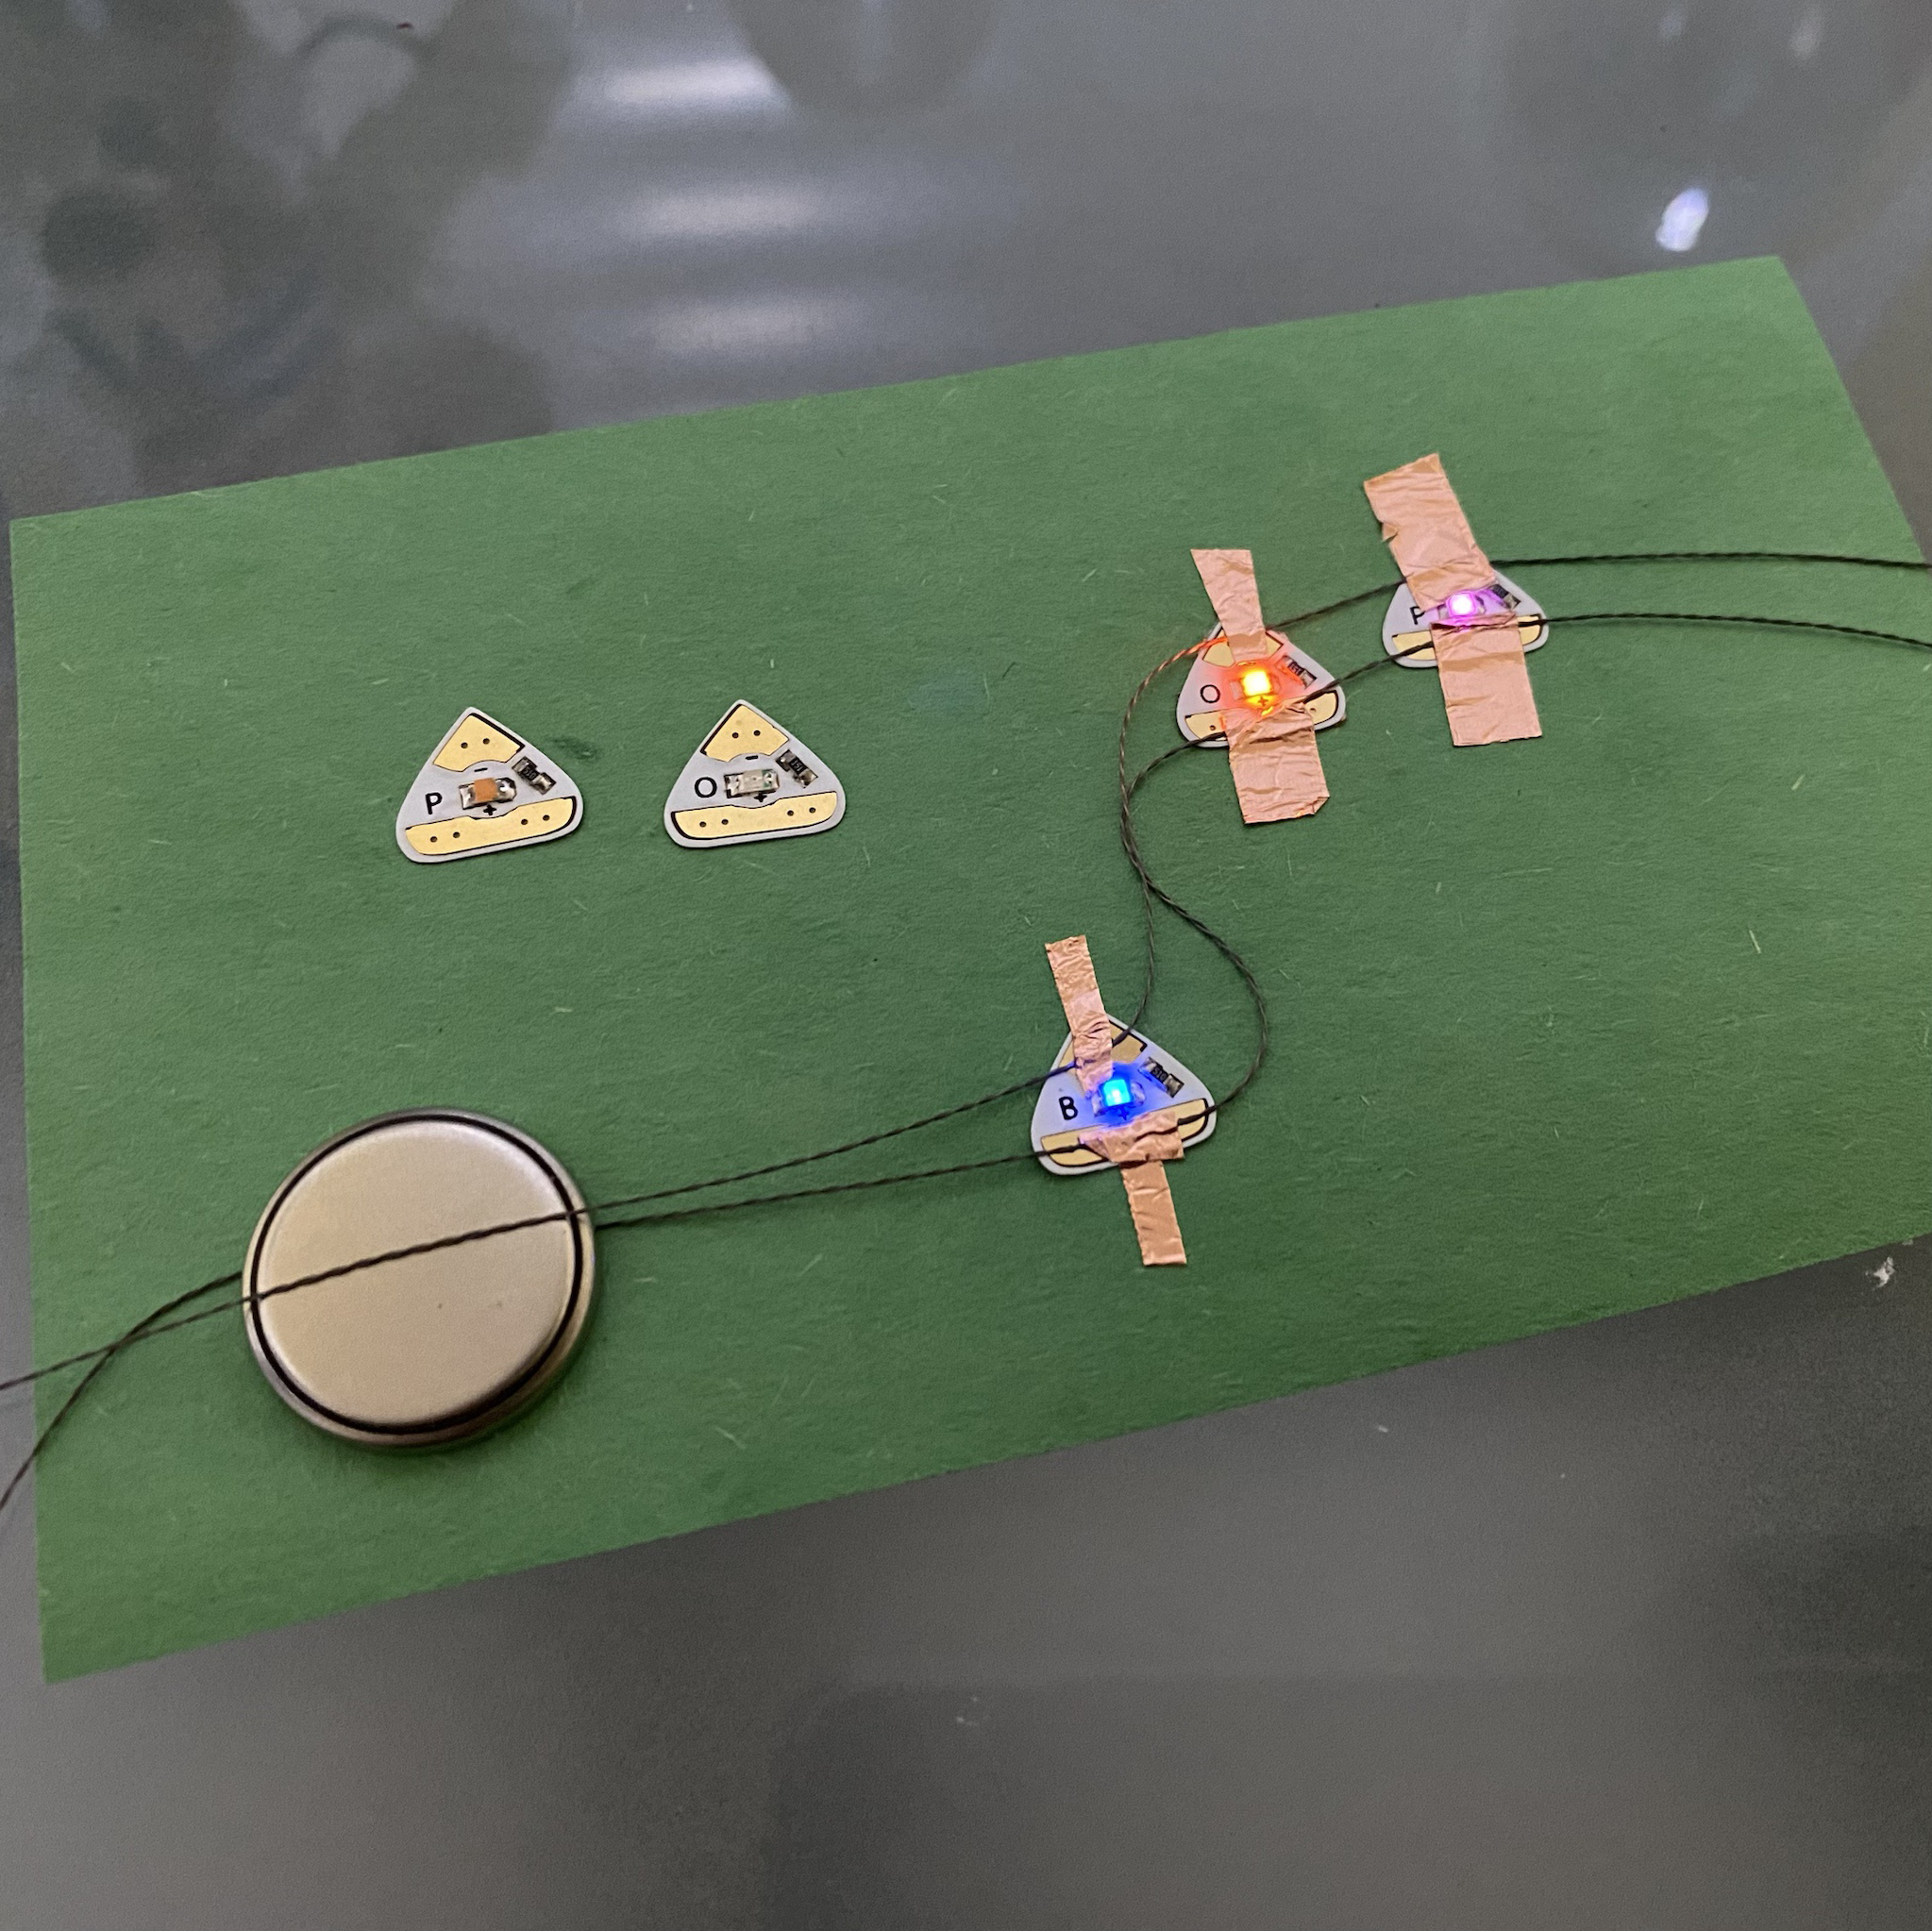
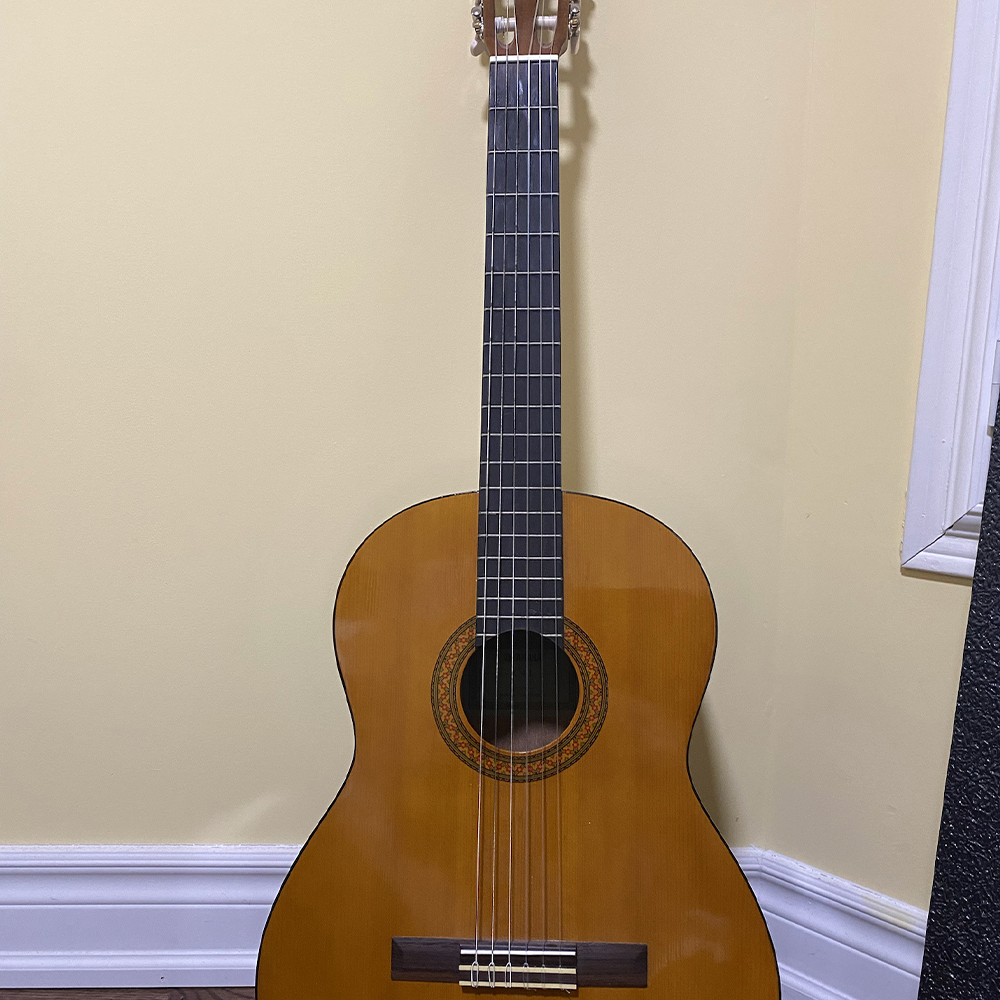
Non-Wearable Interactive Affordance Based Circuit

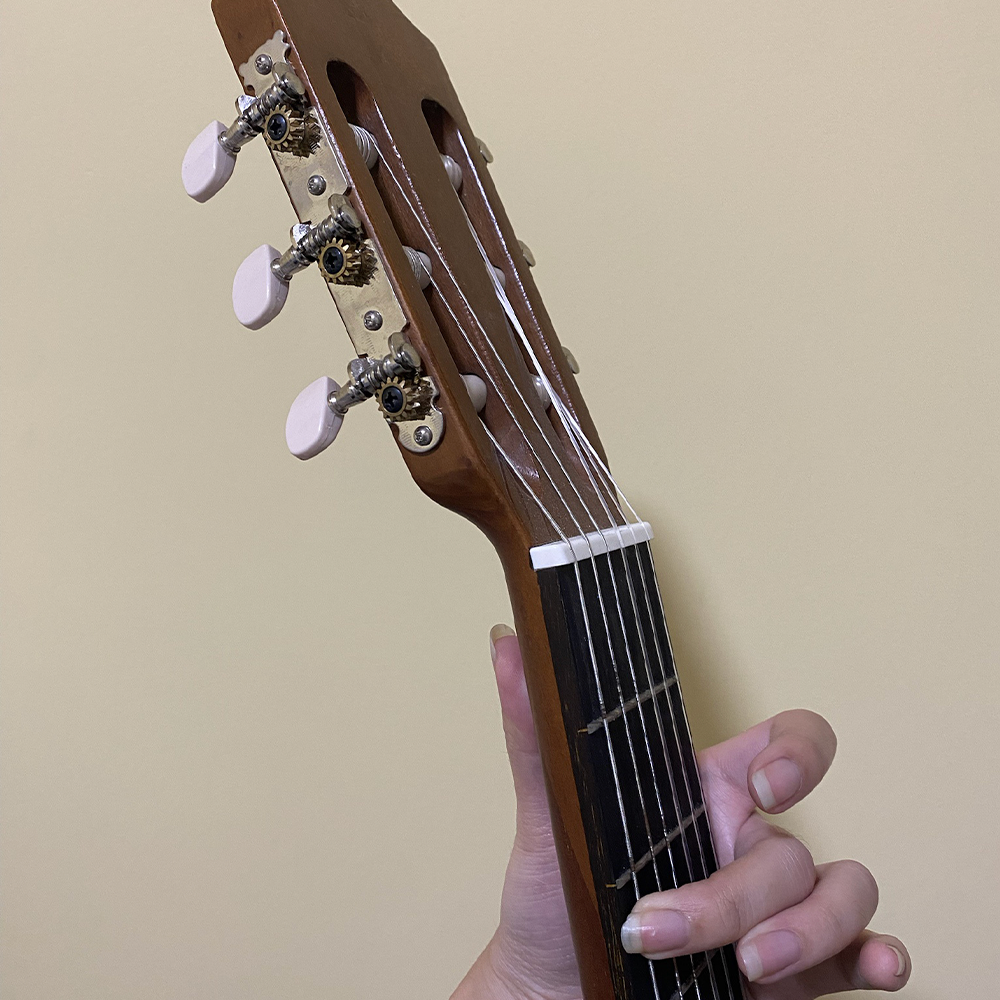
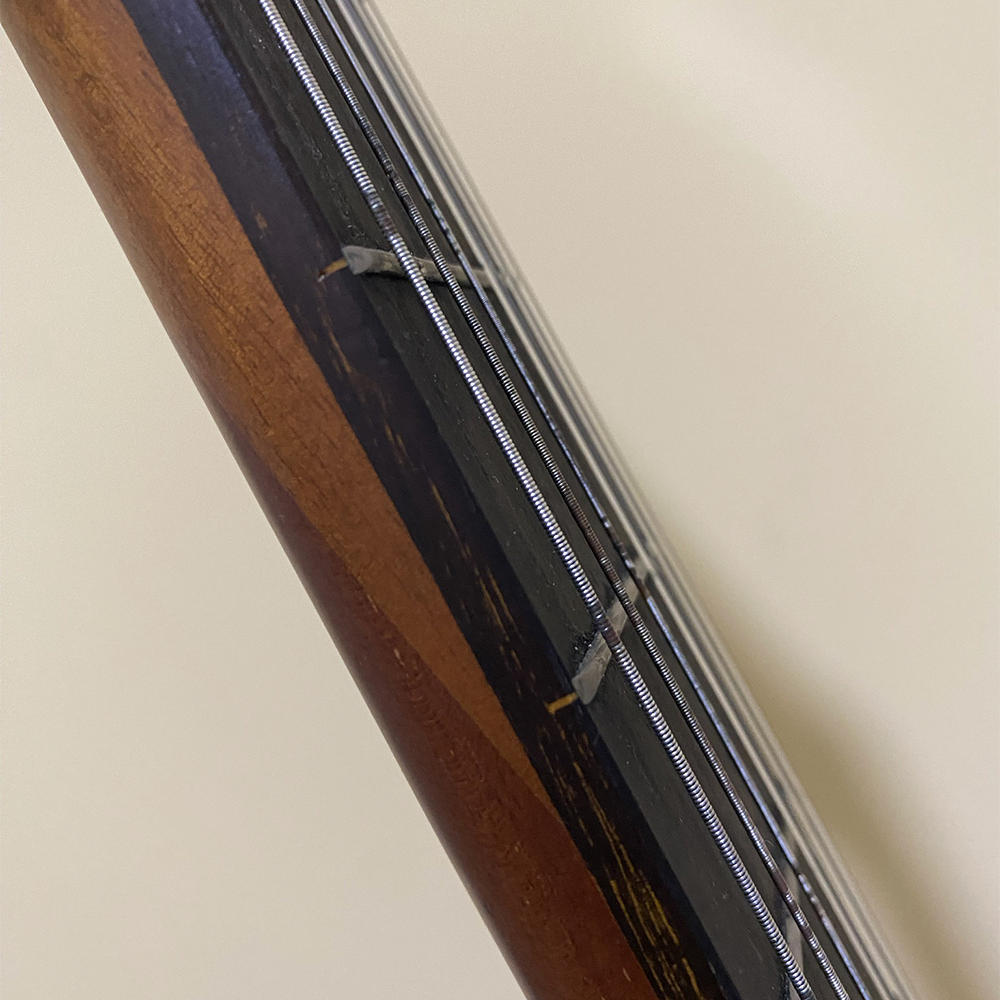
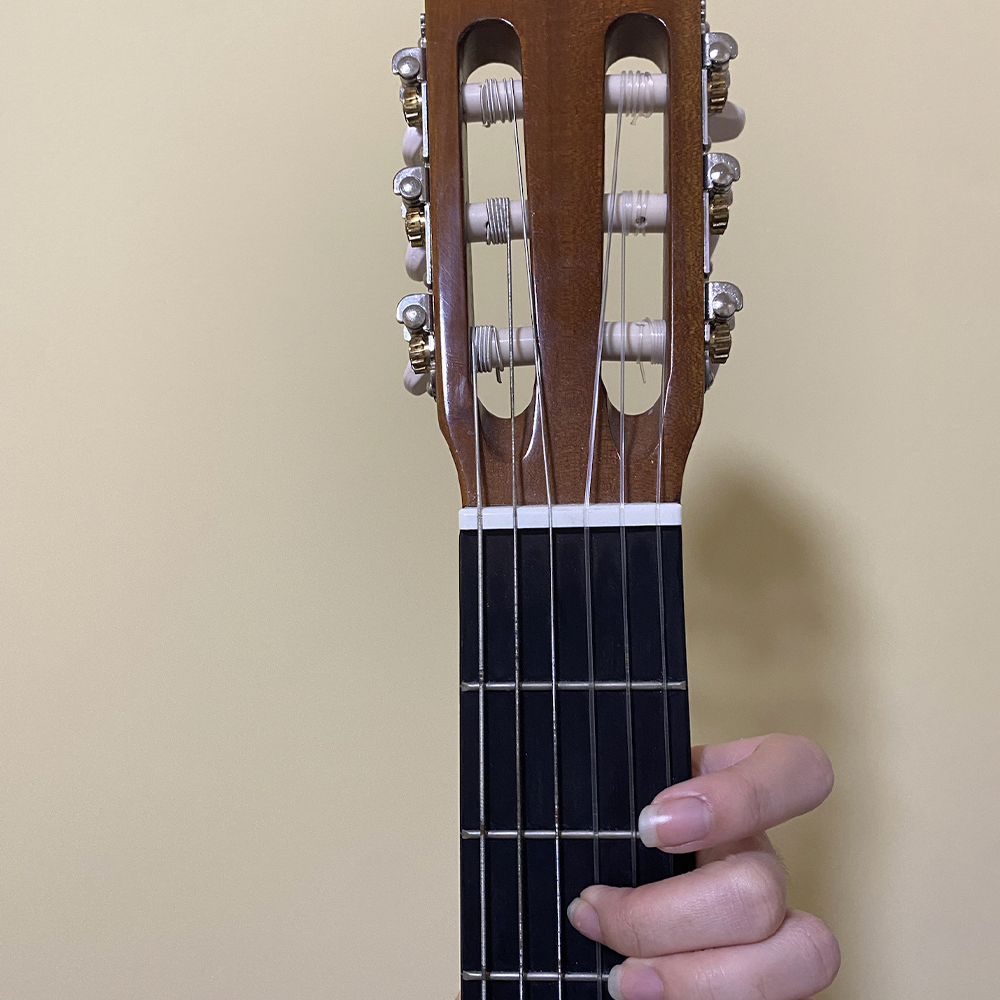
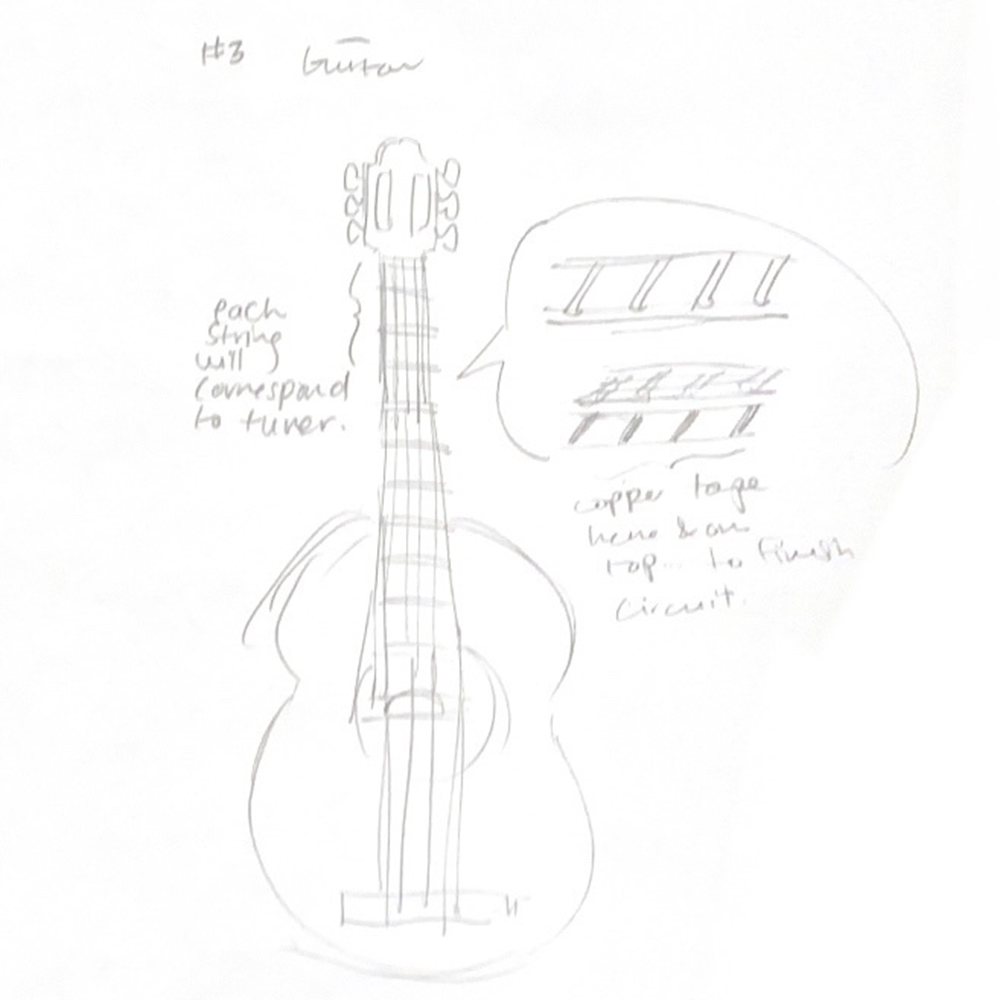
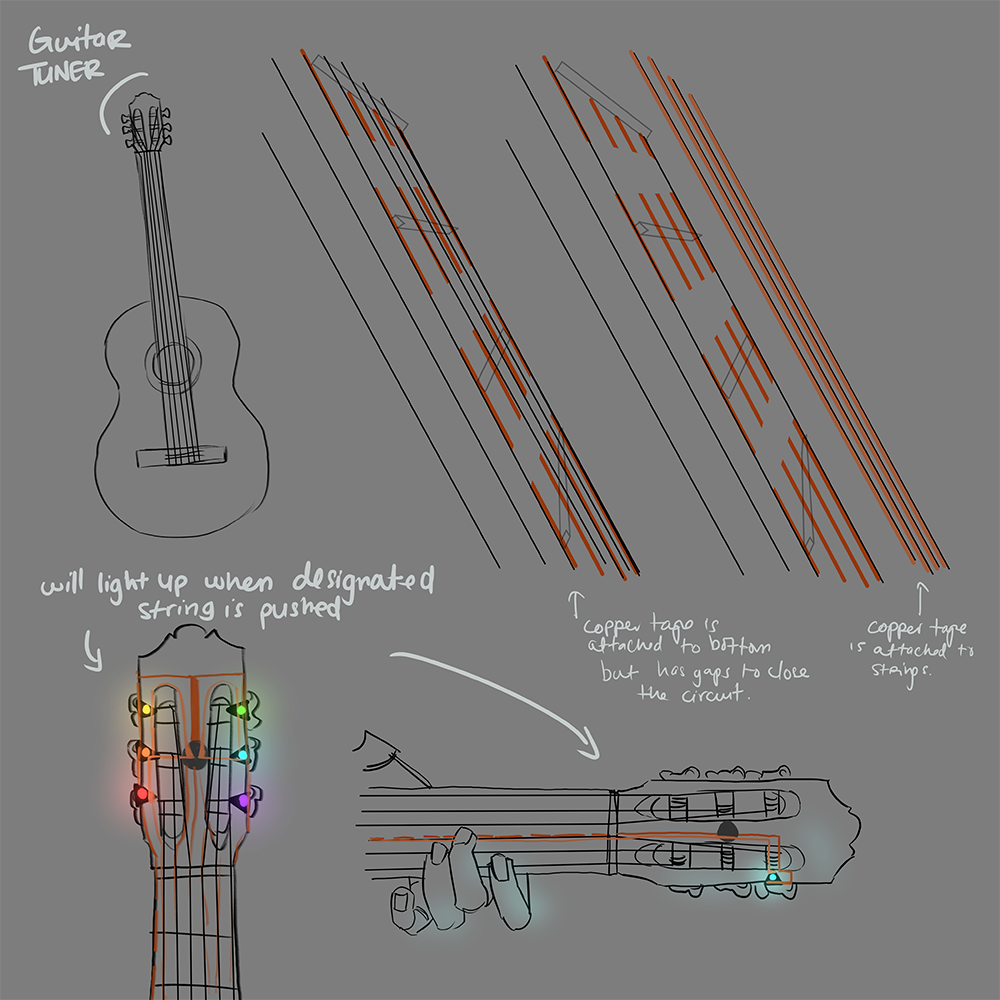
My non-wearable circuit is a guitar guide tuner. Each time you press a string, it tells you what its designated tuner is through light feedback. This is to help beginners figure out which string belongs to which tuner.

×

Powered by w3.css